Tuesday, March 27, 2012

Honey & Cinnamon Almond Biscuits (Gluten-free)


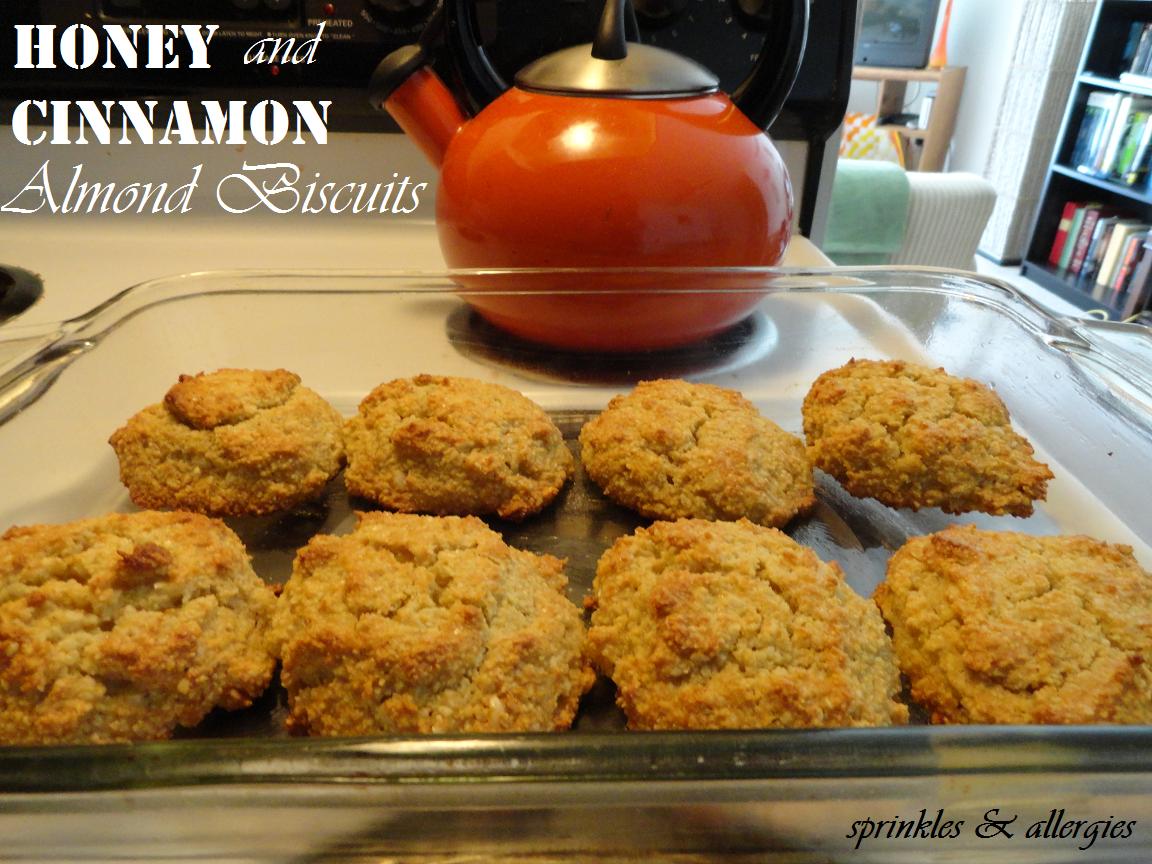
Our afternoon has been productive and this was the perfect way to relax. We founds ourselves having an afternoon tea-time with tasty sweet almond biscuits with cinnamon and honey. There was nothing proper and stuffy about it though, as we gobbled these tasty morsels up and dabbed some extra honey on top.

I was inspired by a recipe posted on Roost blog but I couldn't help but tweak the recipe to cater to my own taste buds--which are cinnamon junkies. Not enough to perform the spoonful of cinnamon challenge mind you, but enough to put it in a ridiculous amount of baked goods. Cinnamon makes everything just a little warmer and adds that little spark.


I used my homemade blanched almond flour for this recipe and it worked beautifully. I talk about how to make it in a previous post here, along with unblanched almond flour. For a less dense and lighter biscuit, I recommend using the blanched almond flour (no almond skins).


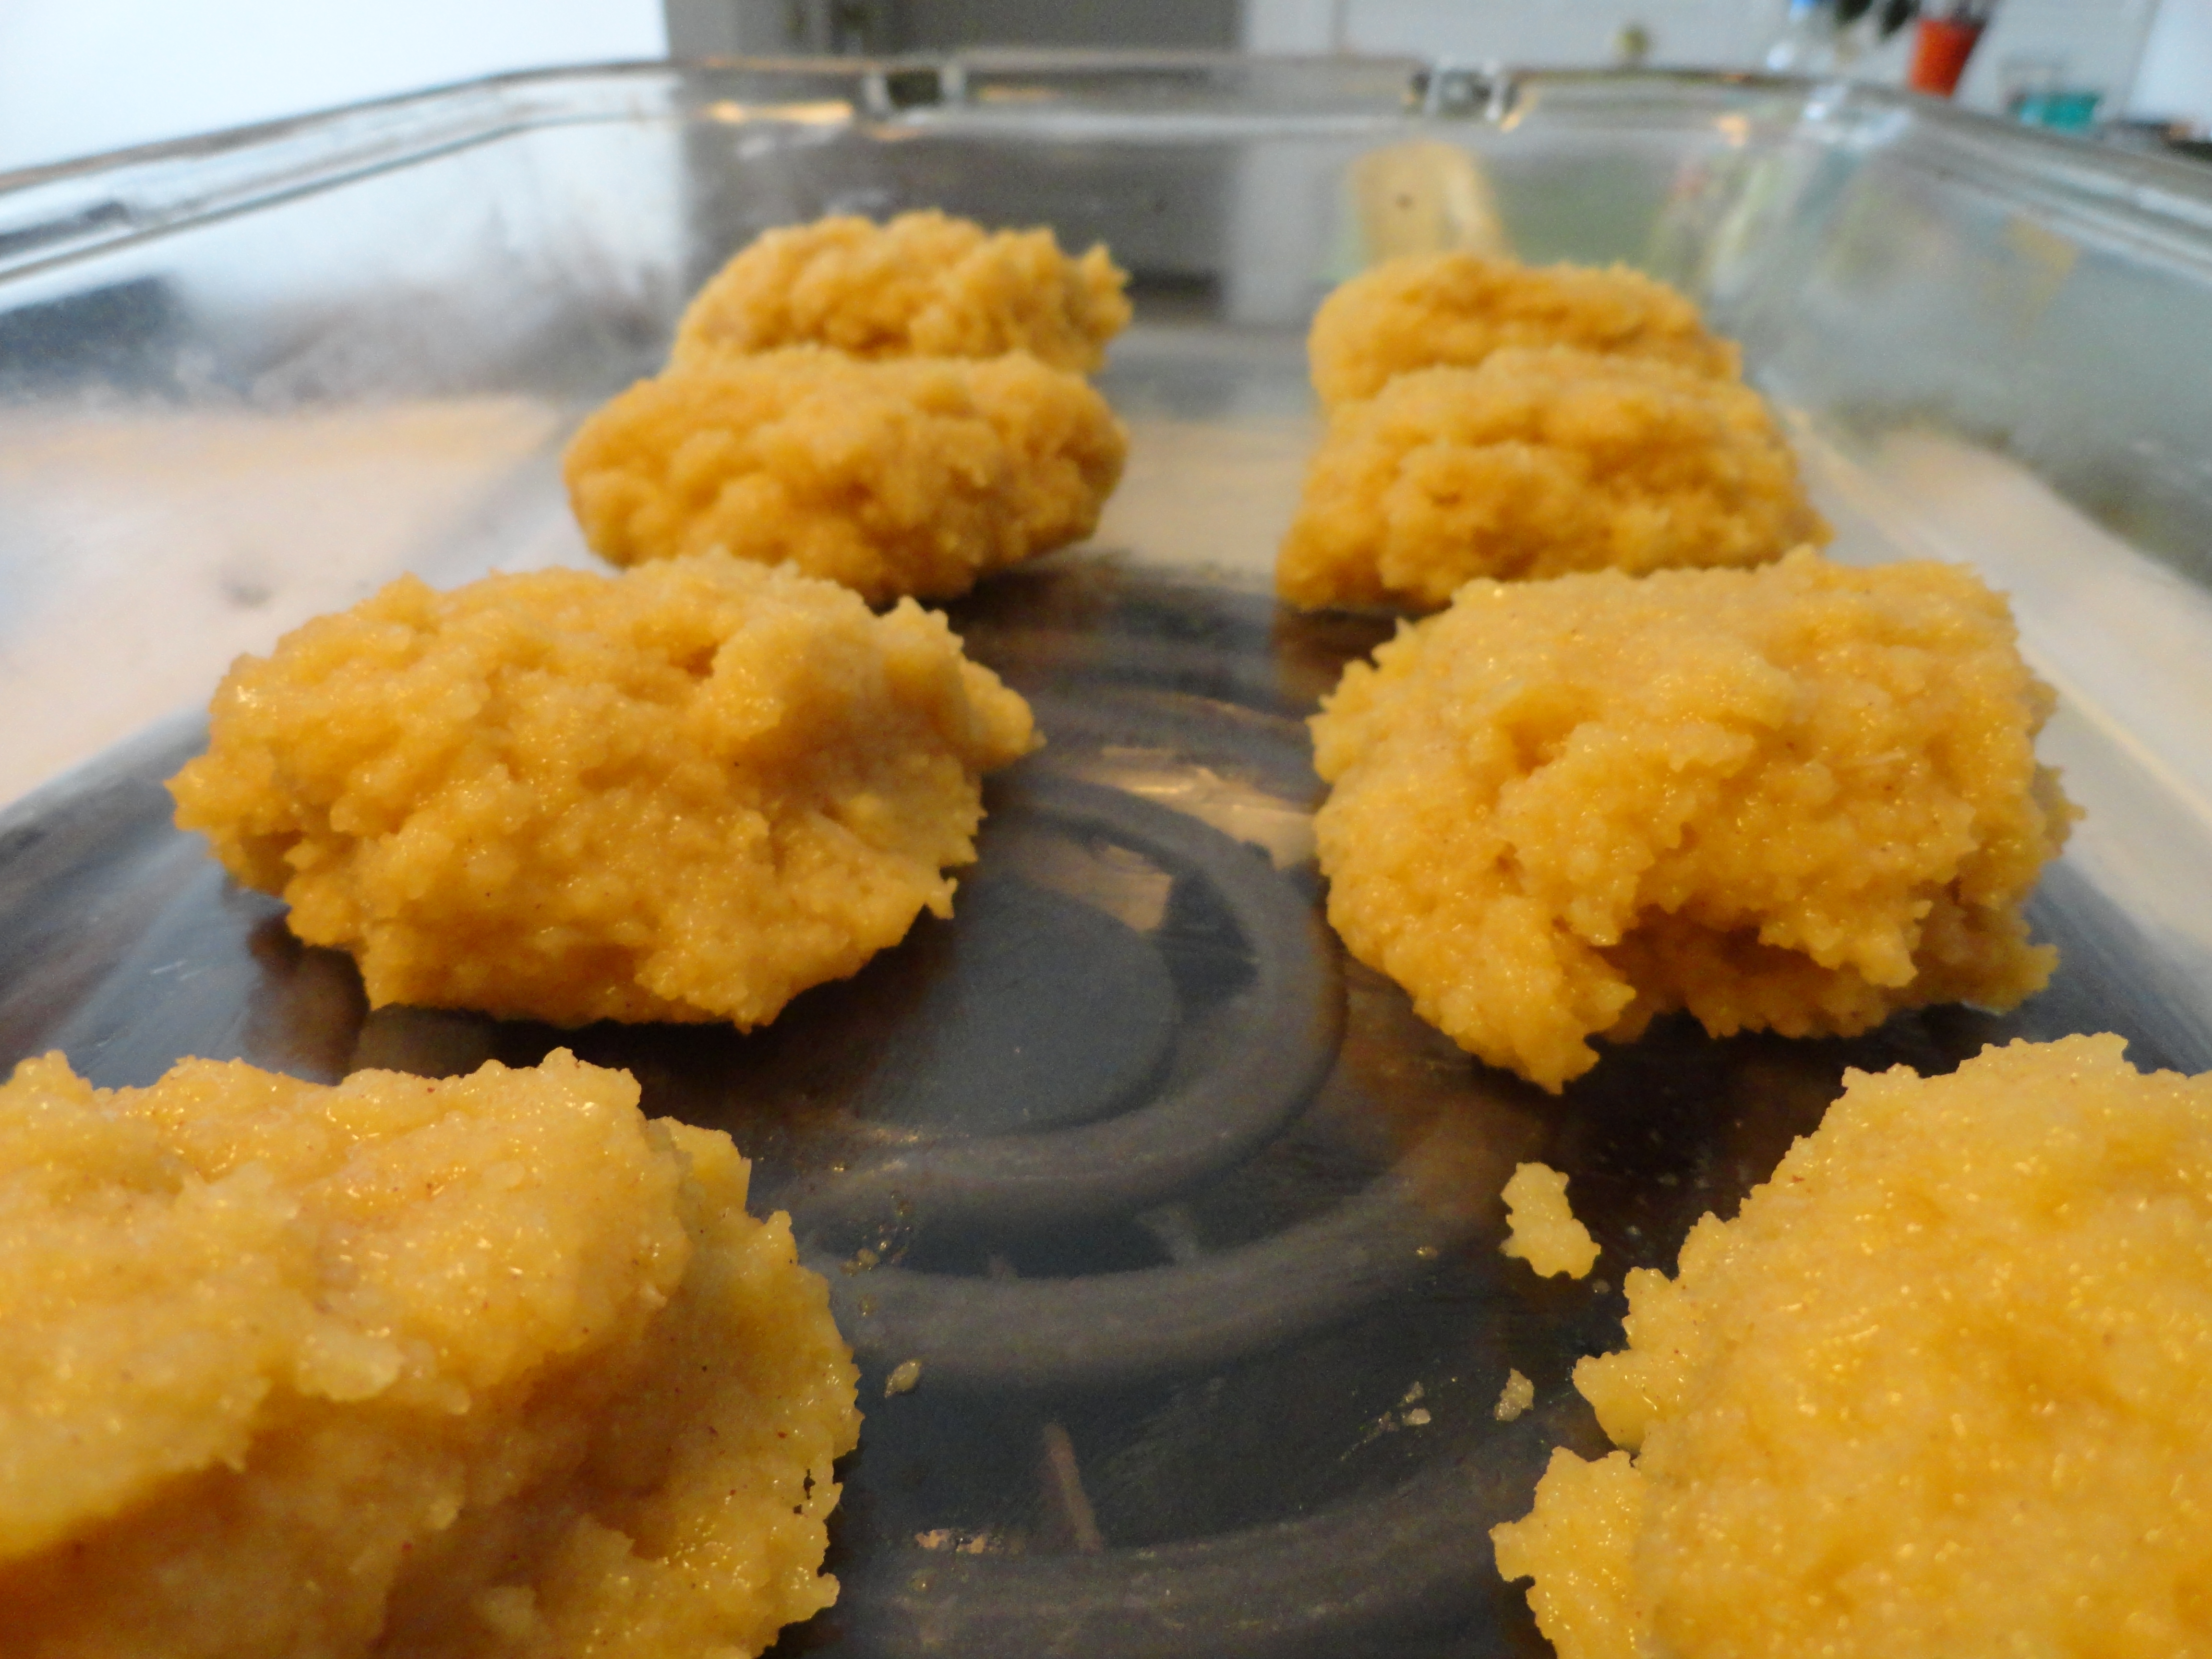
[caption id="attachment_874" align="aligncenter" width="468"] Biscuit drops before the oven.[/caption]
[caption id="attachment_875" align="aligncenter" width="468"]
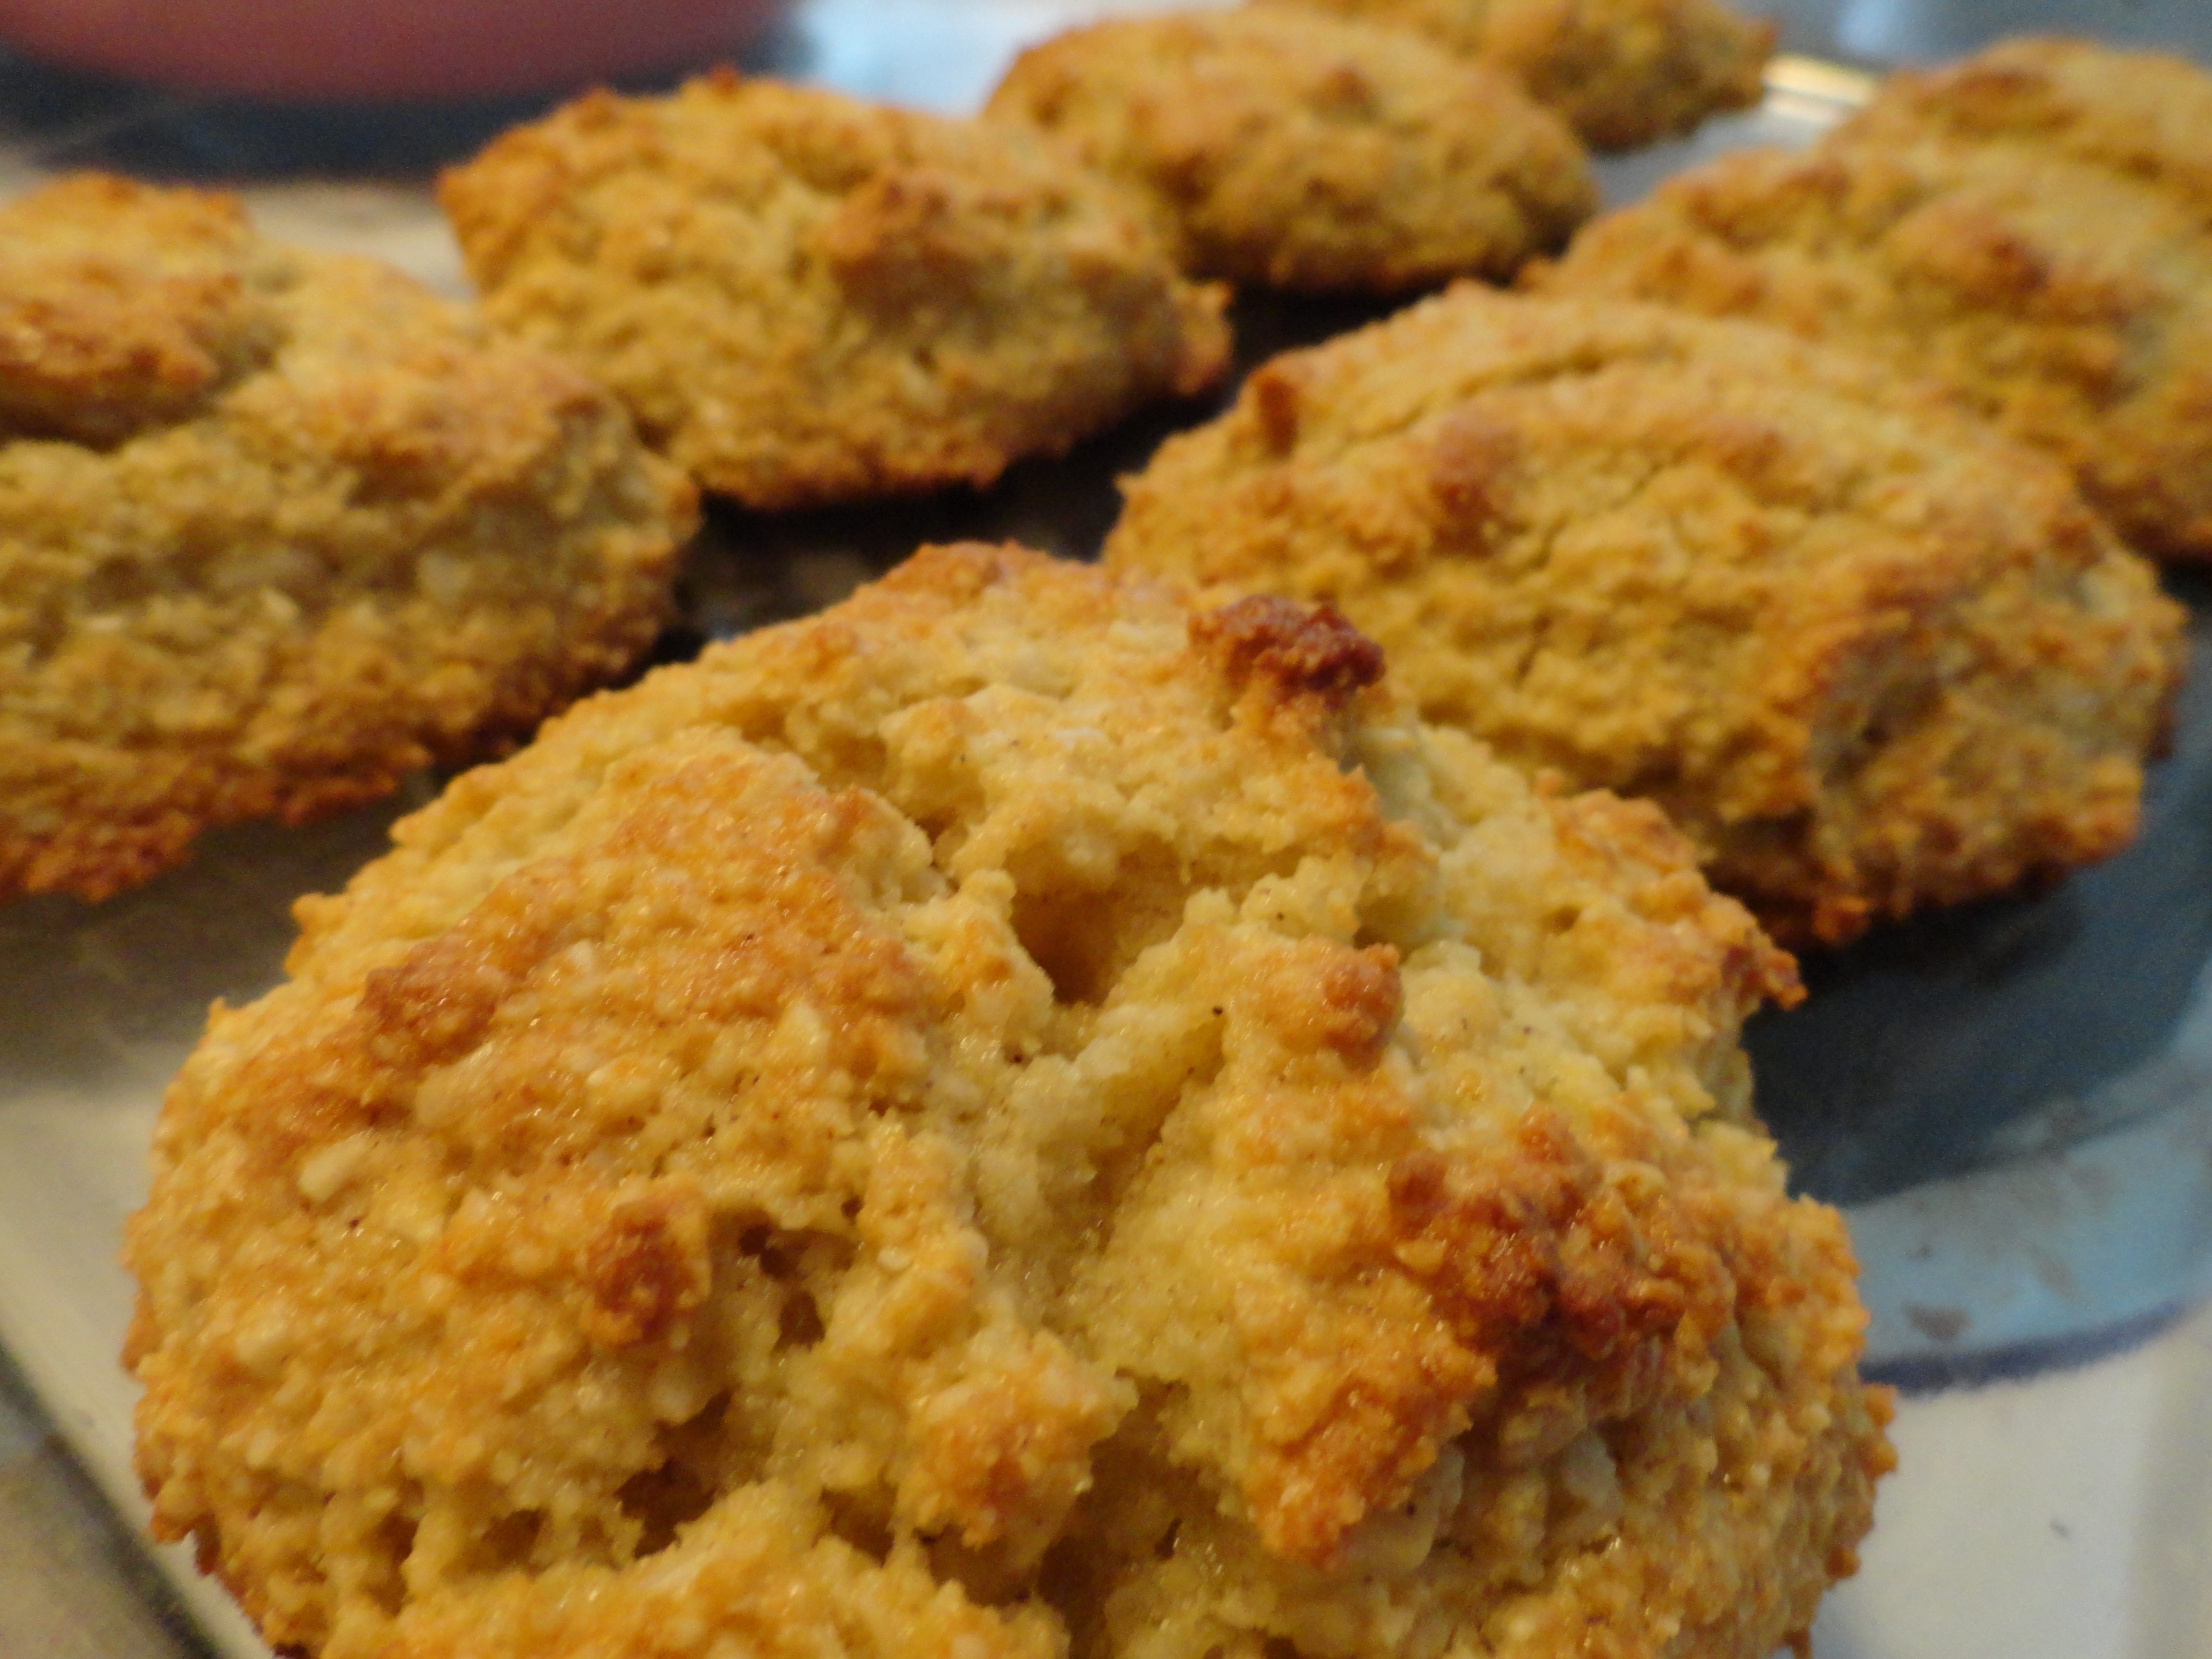
Warm and golden after the bake. Ready to devour.
Our afternoon break was perfect. Here's the recipe I used:

Honey & Cinnamon Almond Biscuits (Free of: Wheat, Gluten, Soy, Yeast, Corn, Peanuts, and Milk {casein}).

  • 2 1/2 cups almond flour (blanched)
  • 1/2 teaspoon baking powder
  • 1/2 teaspoon finely ground sea salt
  • 2 teaspoons of ground cinnamon (I probably used more since I love cinnamon).
  • a sprinkle of fresh lemon juice
  • 2 soy free eggs
  • 1/4 olive oil
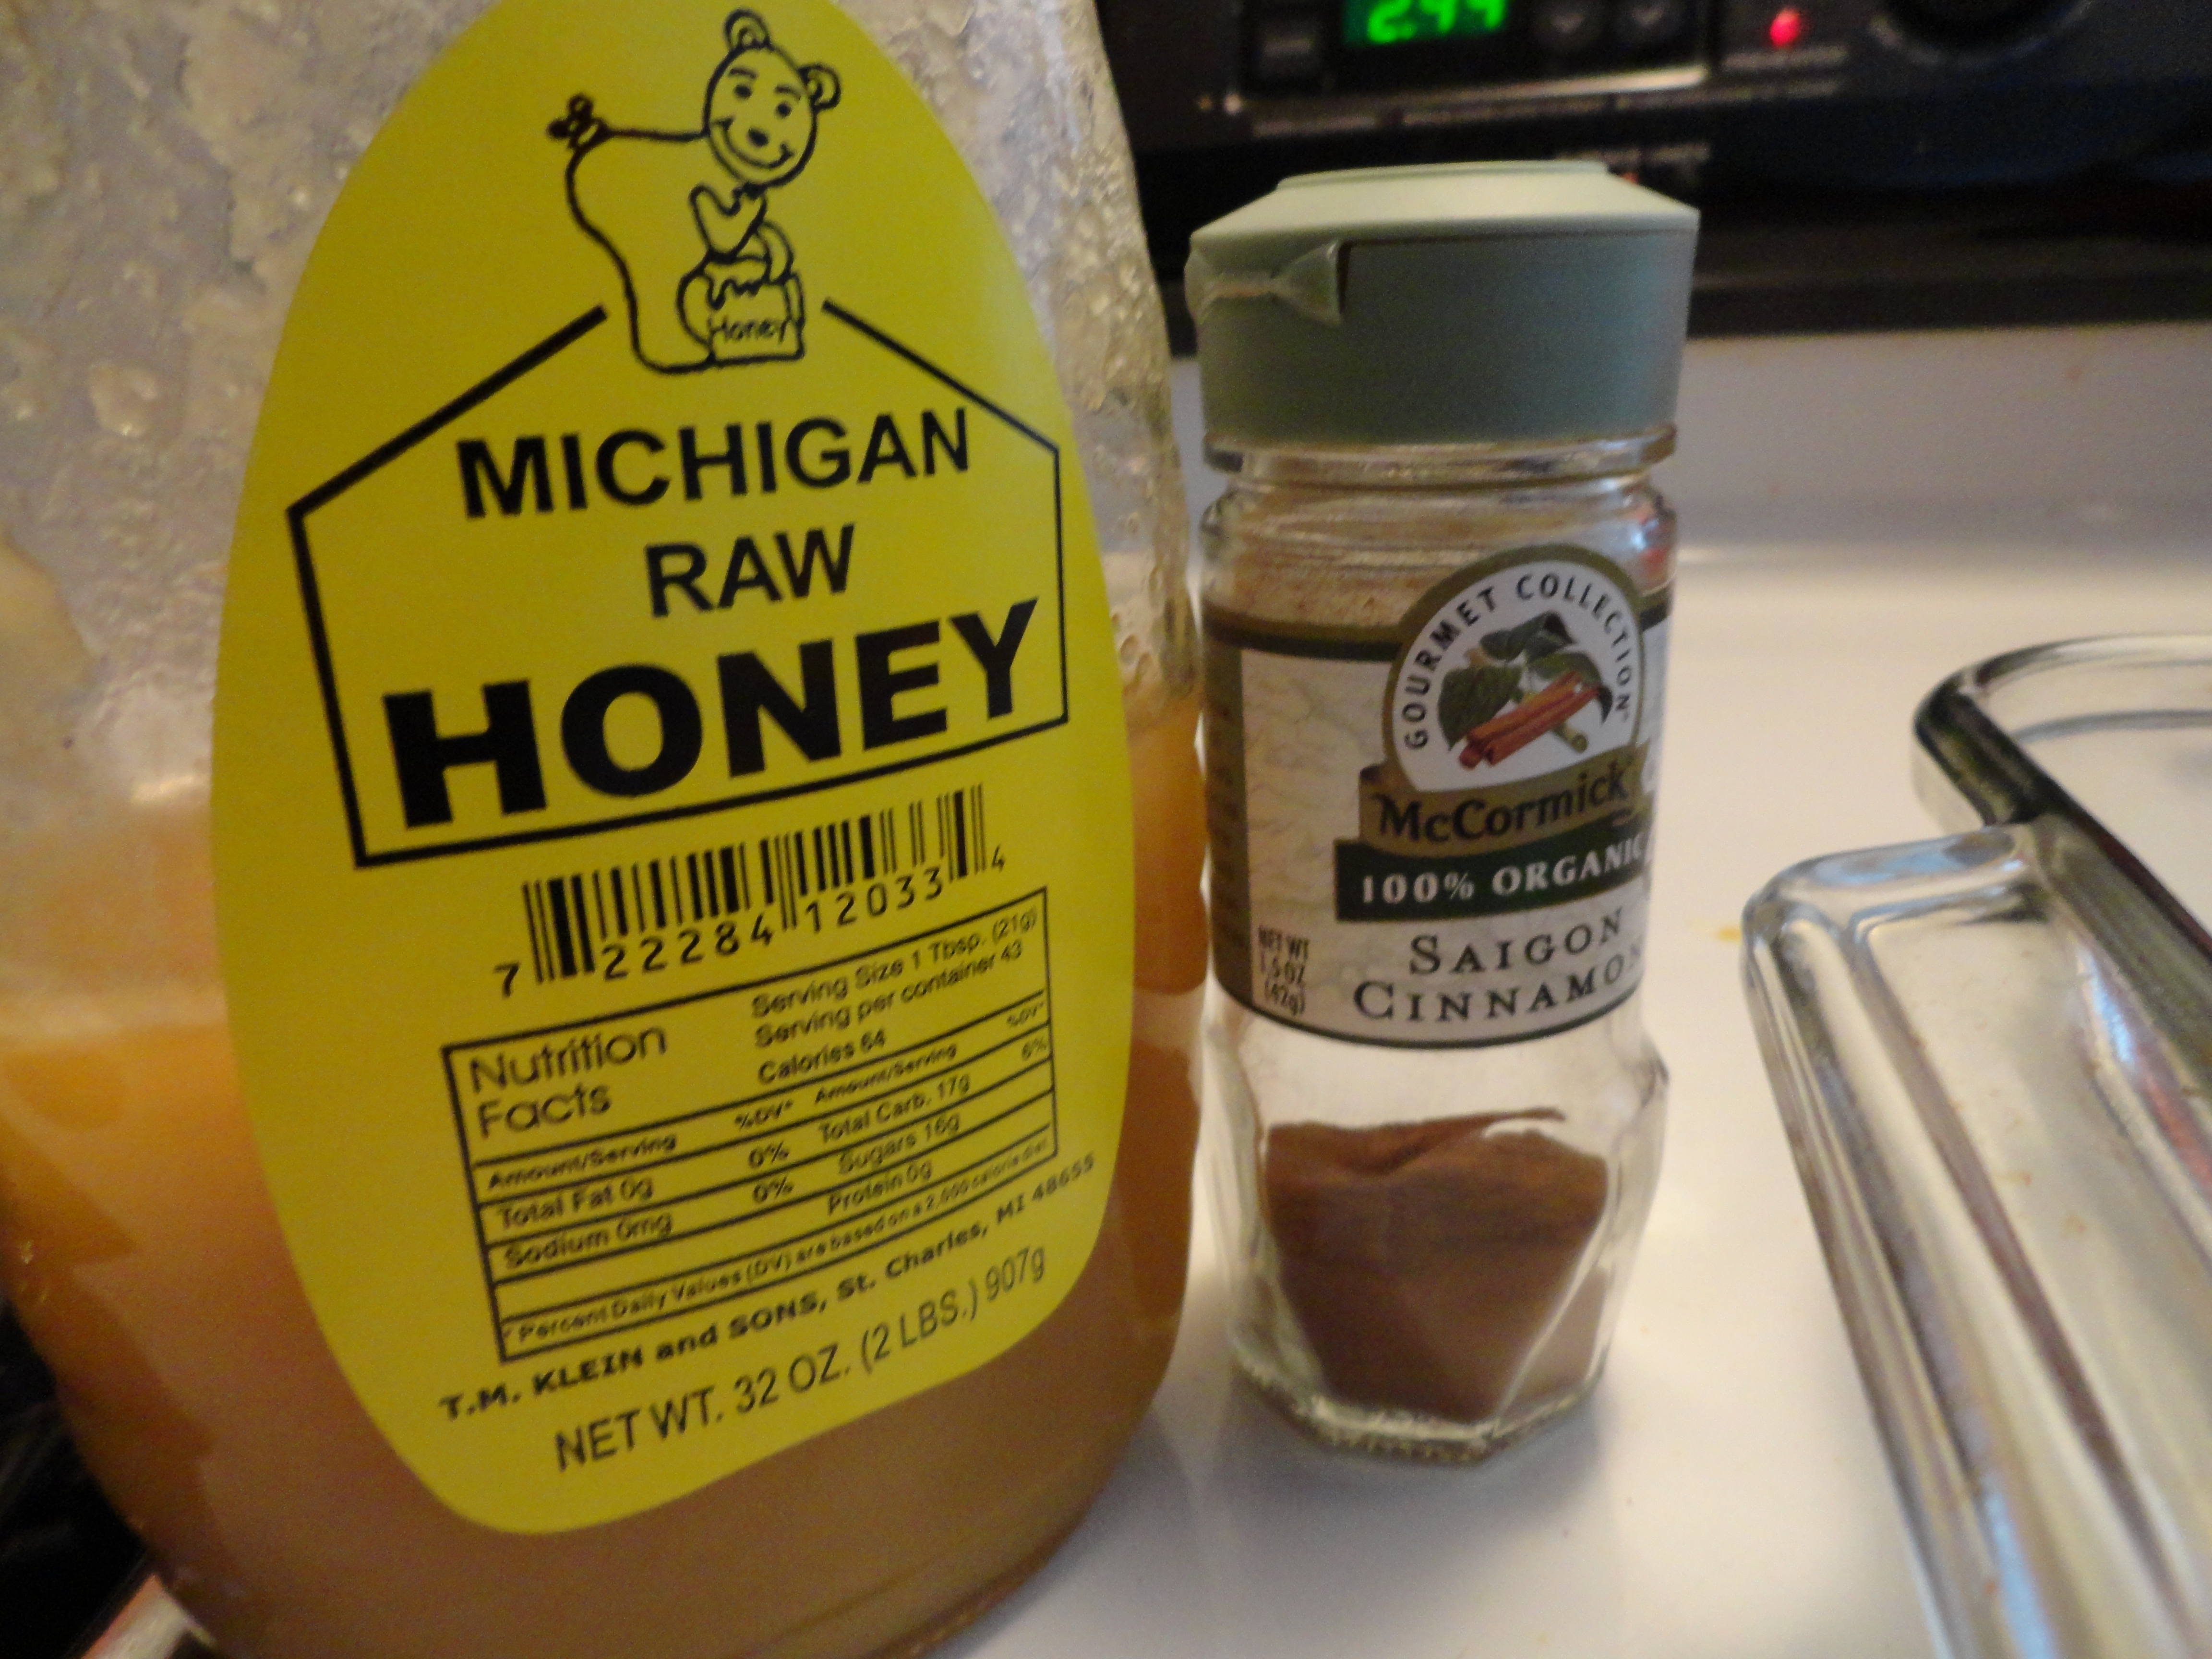
  • 1/4 raw local honey (We love Raw Michigan Honey!)
Preheat oven to about 350 degrees (will vary depending on ovens).

Combine dry ingredients together. Separately, combine the wet ingredients and stir well. Incorporate the wet  ingredients into the dry ones and mix well. I contemplated adding some vanilla extract, but decided I would try that another day. Place 8 equal spoonfuls on a baking dish or sheet that has been well greased (some prefer parchment paper, but I've never used it myself). Bake for approximately 20 minutes. I baked mine for about 18. Drizzle a little extra honey on top and serve after cooling a bit.

These babies are surprisingly filling--and low carbohydrate. Great for those who are on the Specific Carbohydrate Diet for medical reasons. Once again, thanks to Coco at Roost blog for the inspiration.

What's your favorite baked good to make gluten free or with almond flour?

~~~~~~~~~~~~~~~~~~~~~~~~~~

Sunday, March 25, 2012

Self Sustaining Spring

This spring, we at Sprinkles and Allergies are challenging ourselves to be more Self Sustaining. Take our challenge for Self Sustainable Spring at Sprinkles & Allergies by planting at least one herb, vegetable, or fruit plant this spring. Join us and share your progress! We'd love to know what you're doing to make a greener spring. Know where your food comes from by growing some of it yourself.


Our indoor garden is preparing for an outdoor move very soon. The usual whispers of spring were anything but quiet this year. Explosions of blossoms, birds, buzzing, and furry creatures started weeks ago here, which is much more than I could have hoped for in previously notorious bitter cold February and March. A mild winter means a wild spring--a time for initiating self sustainable gardens, compost, and overall renewal. Though we live in a small apartment, it's still surprisingly doable, mostly thanks to our large bay windows and balcony. We love breathing in the fresh wisps of spring.

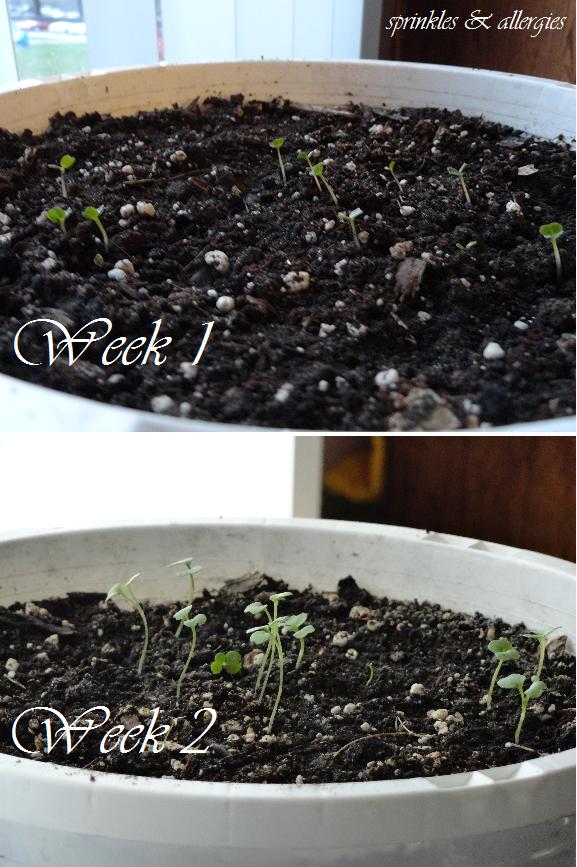
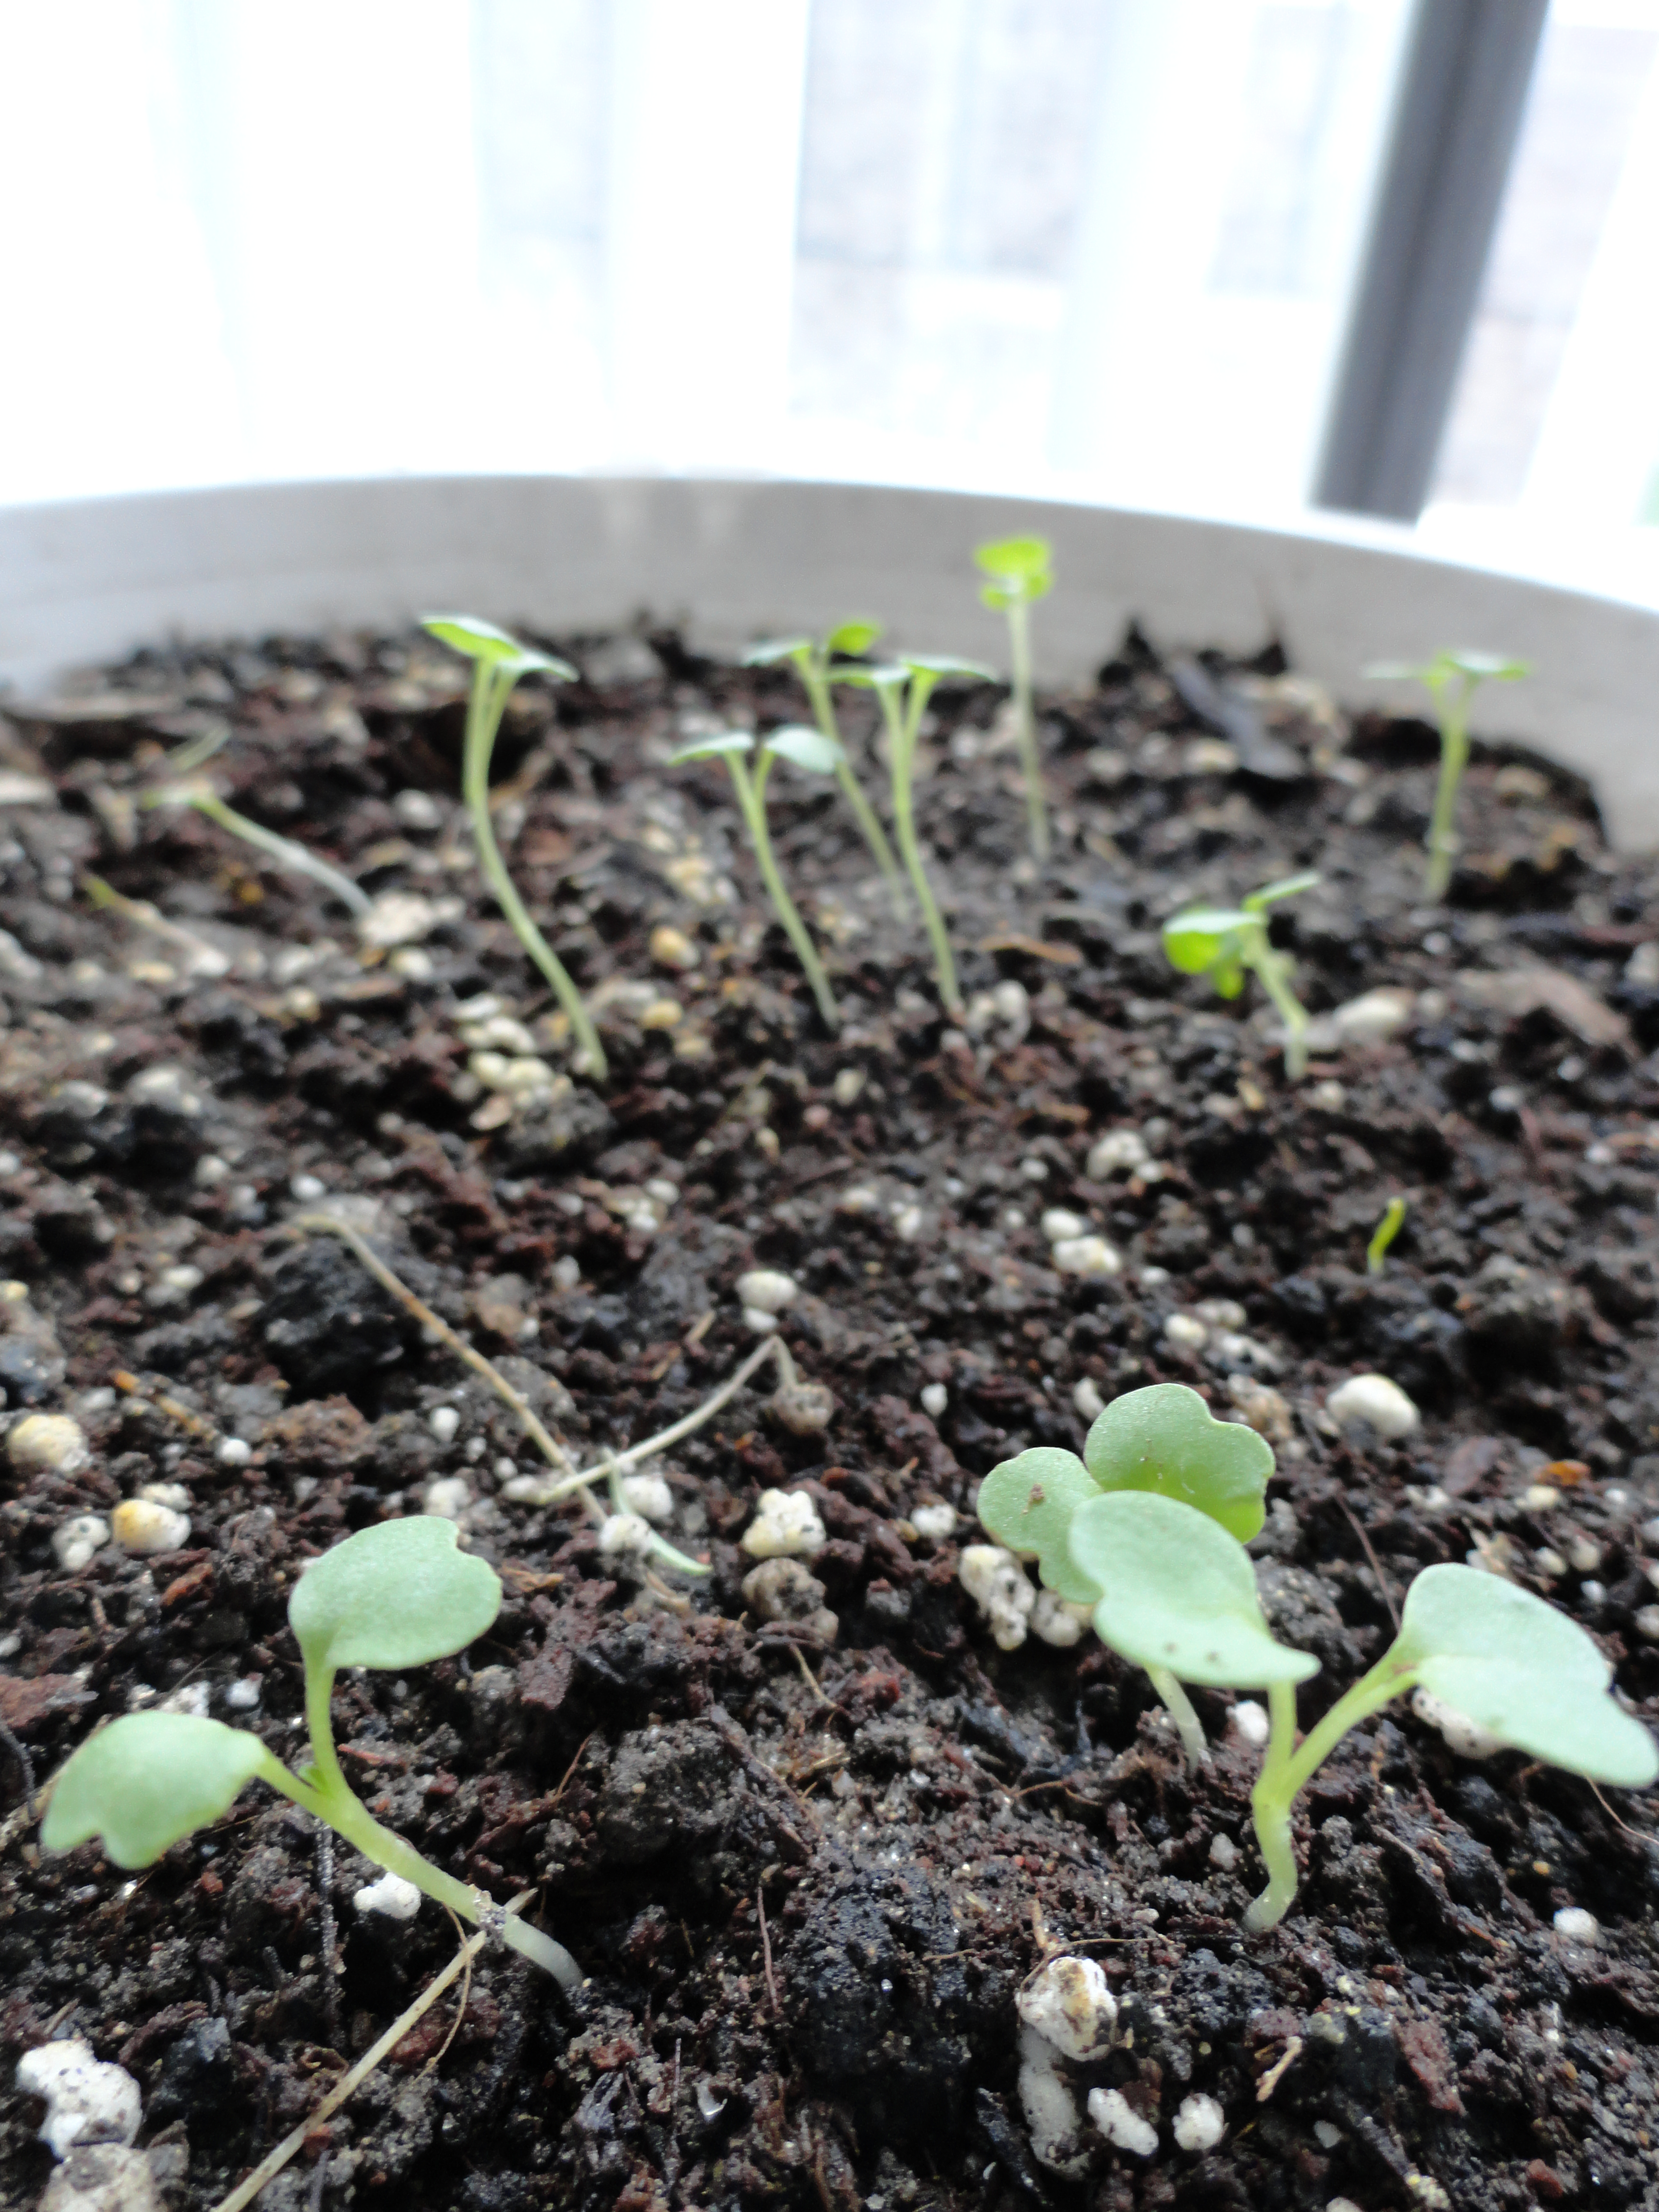
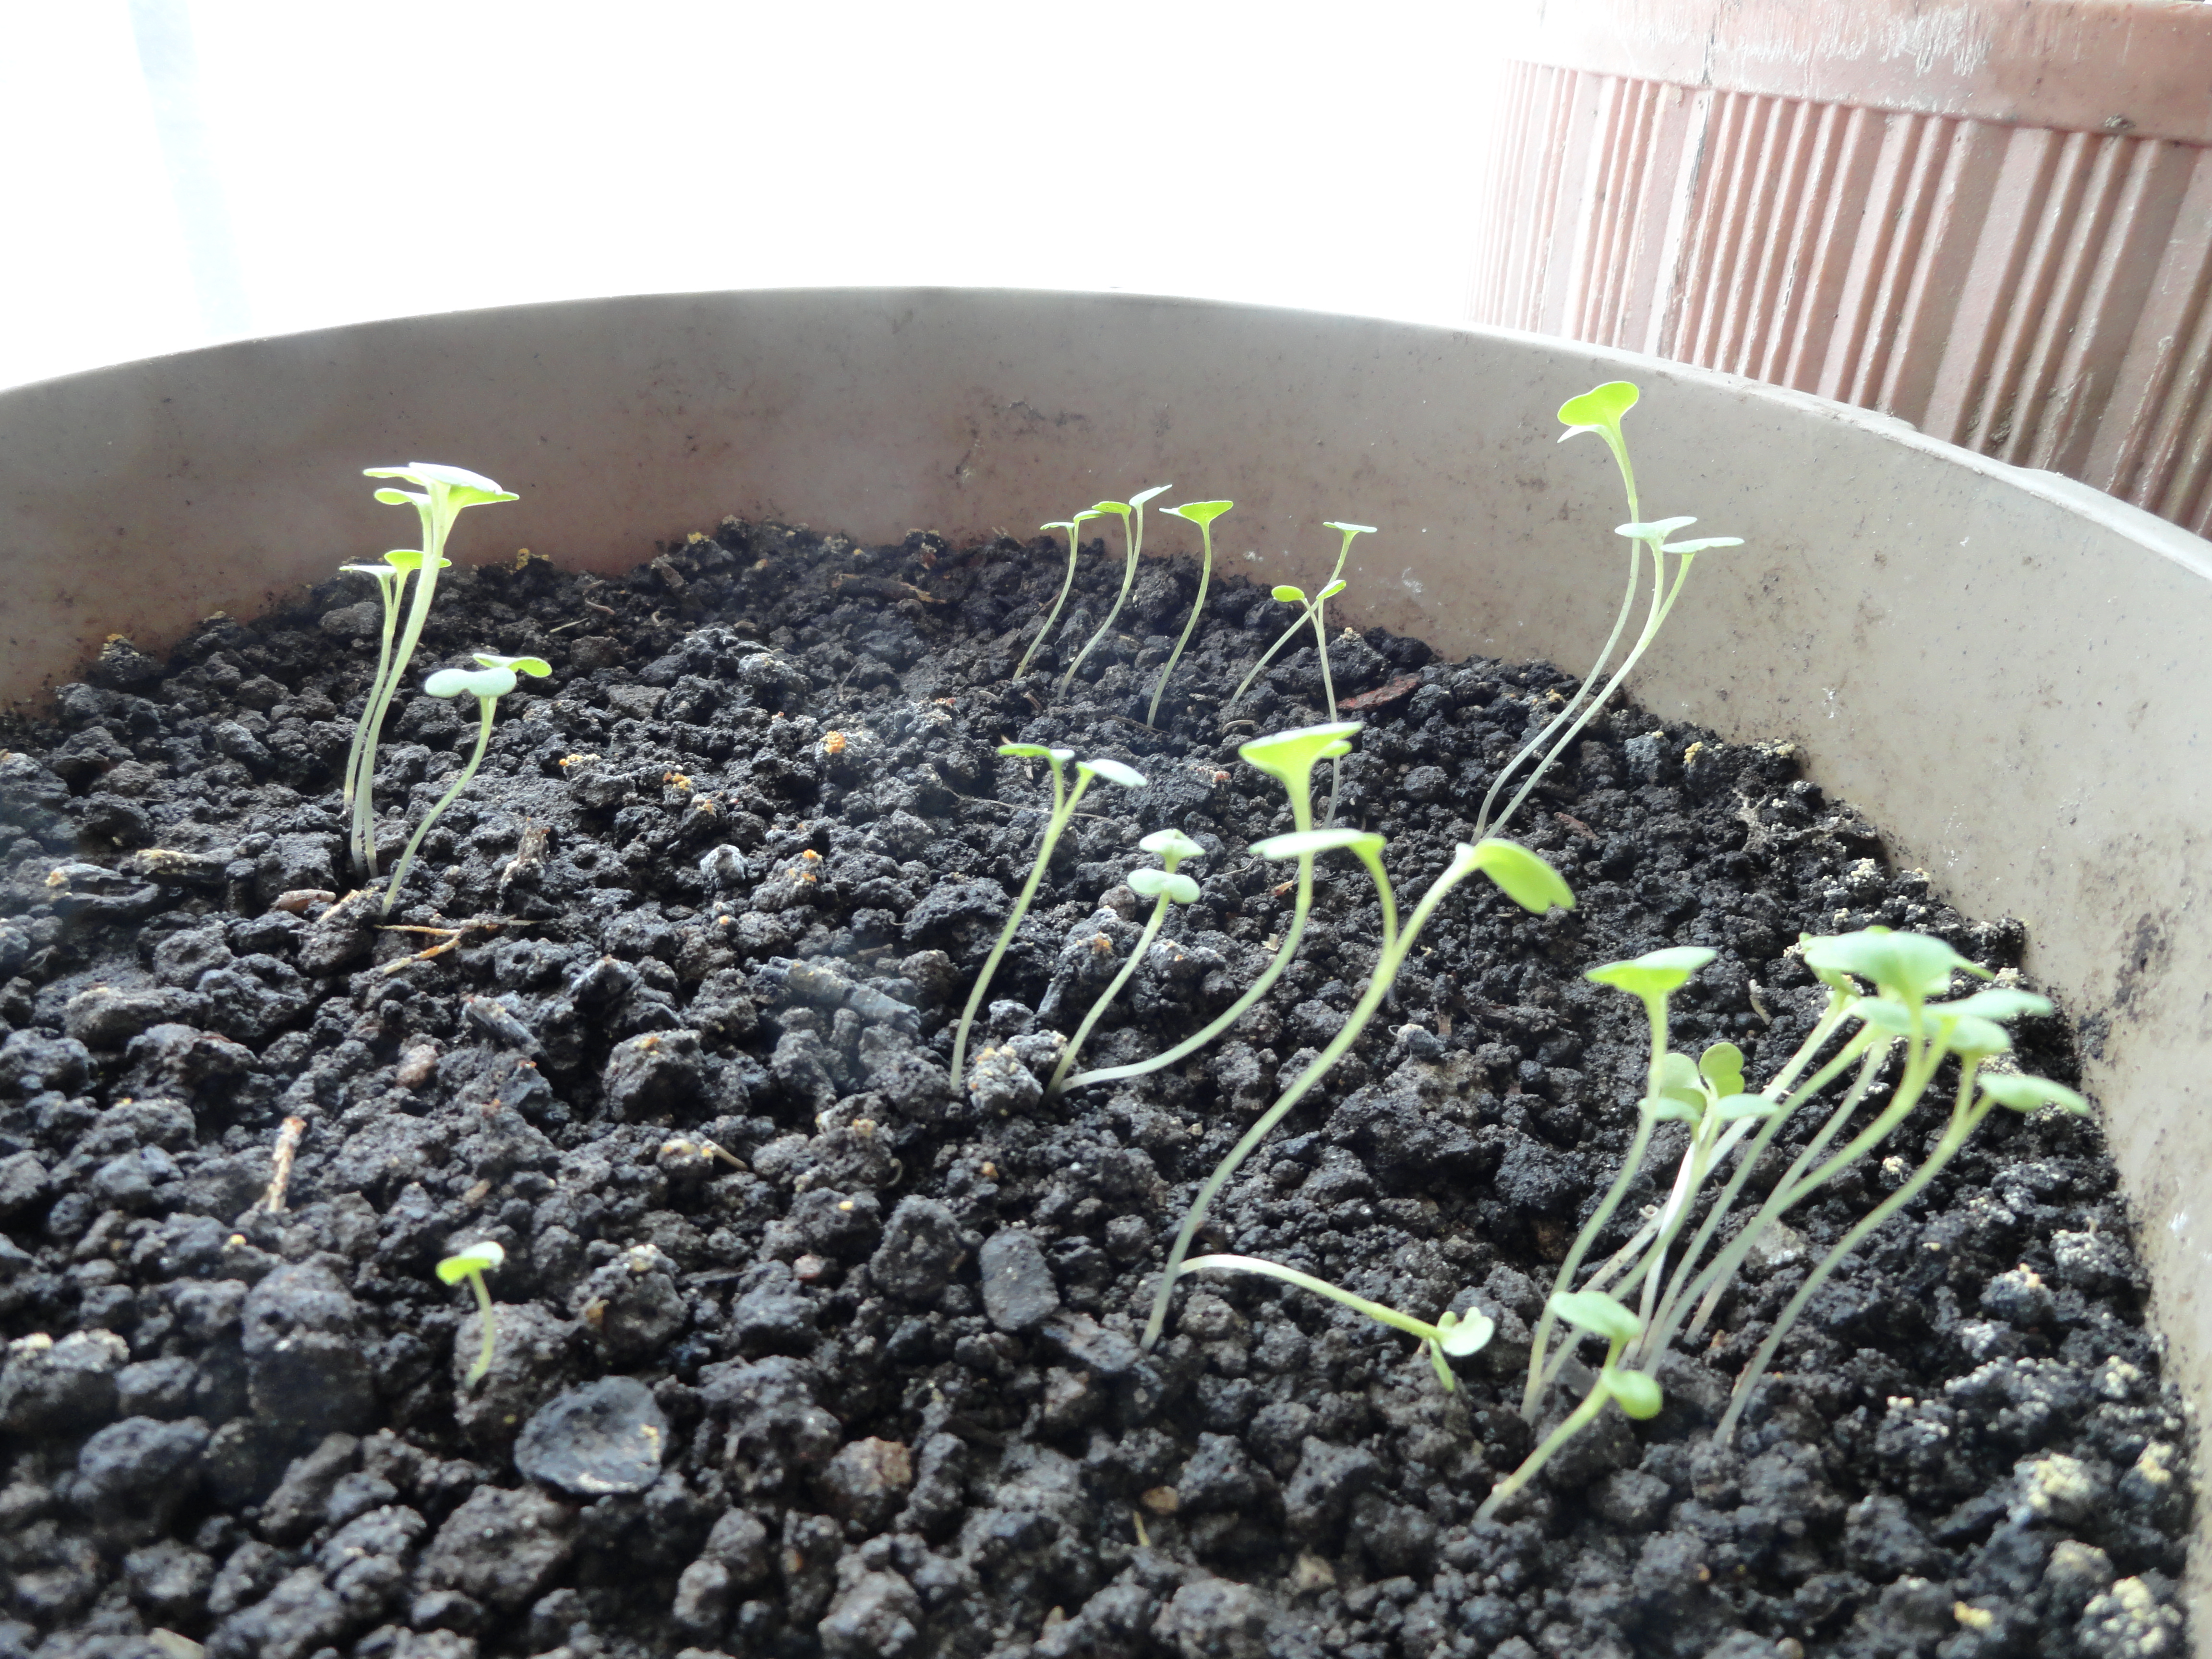
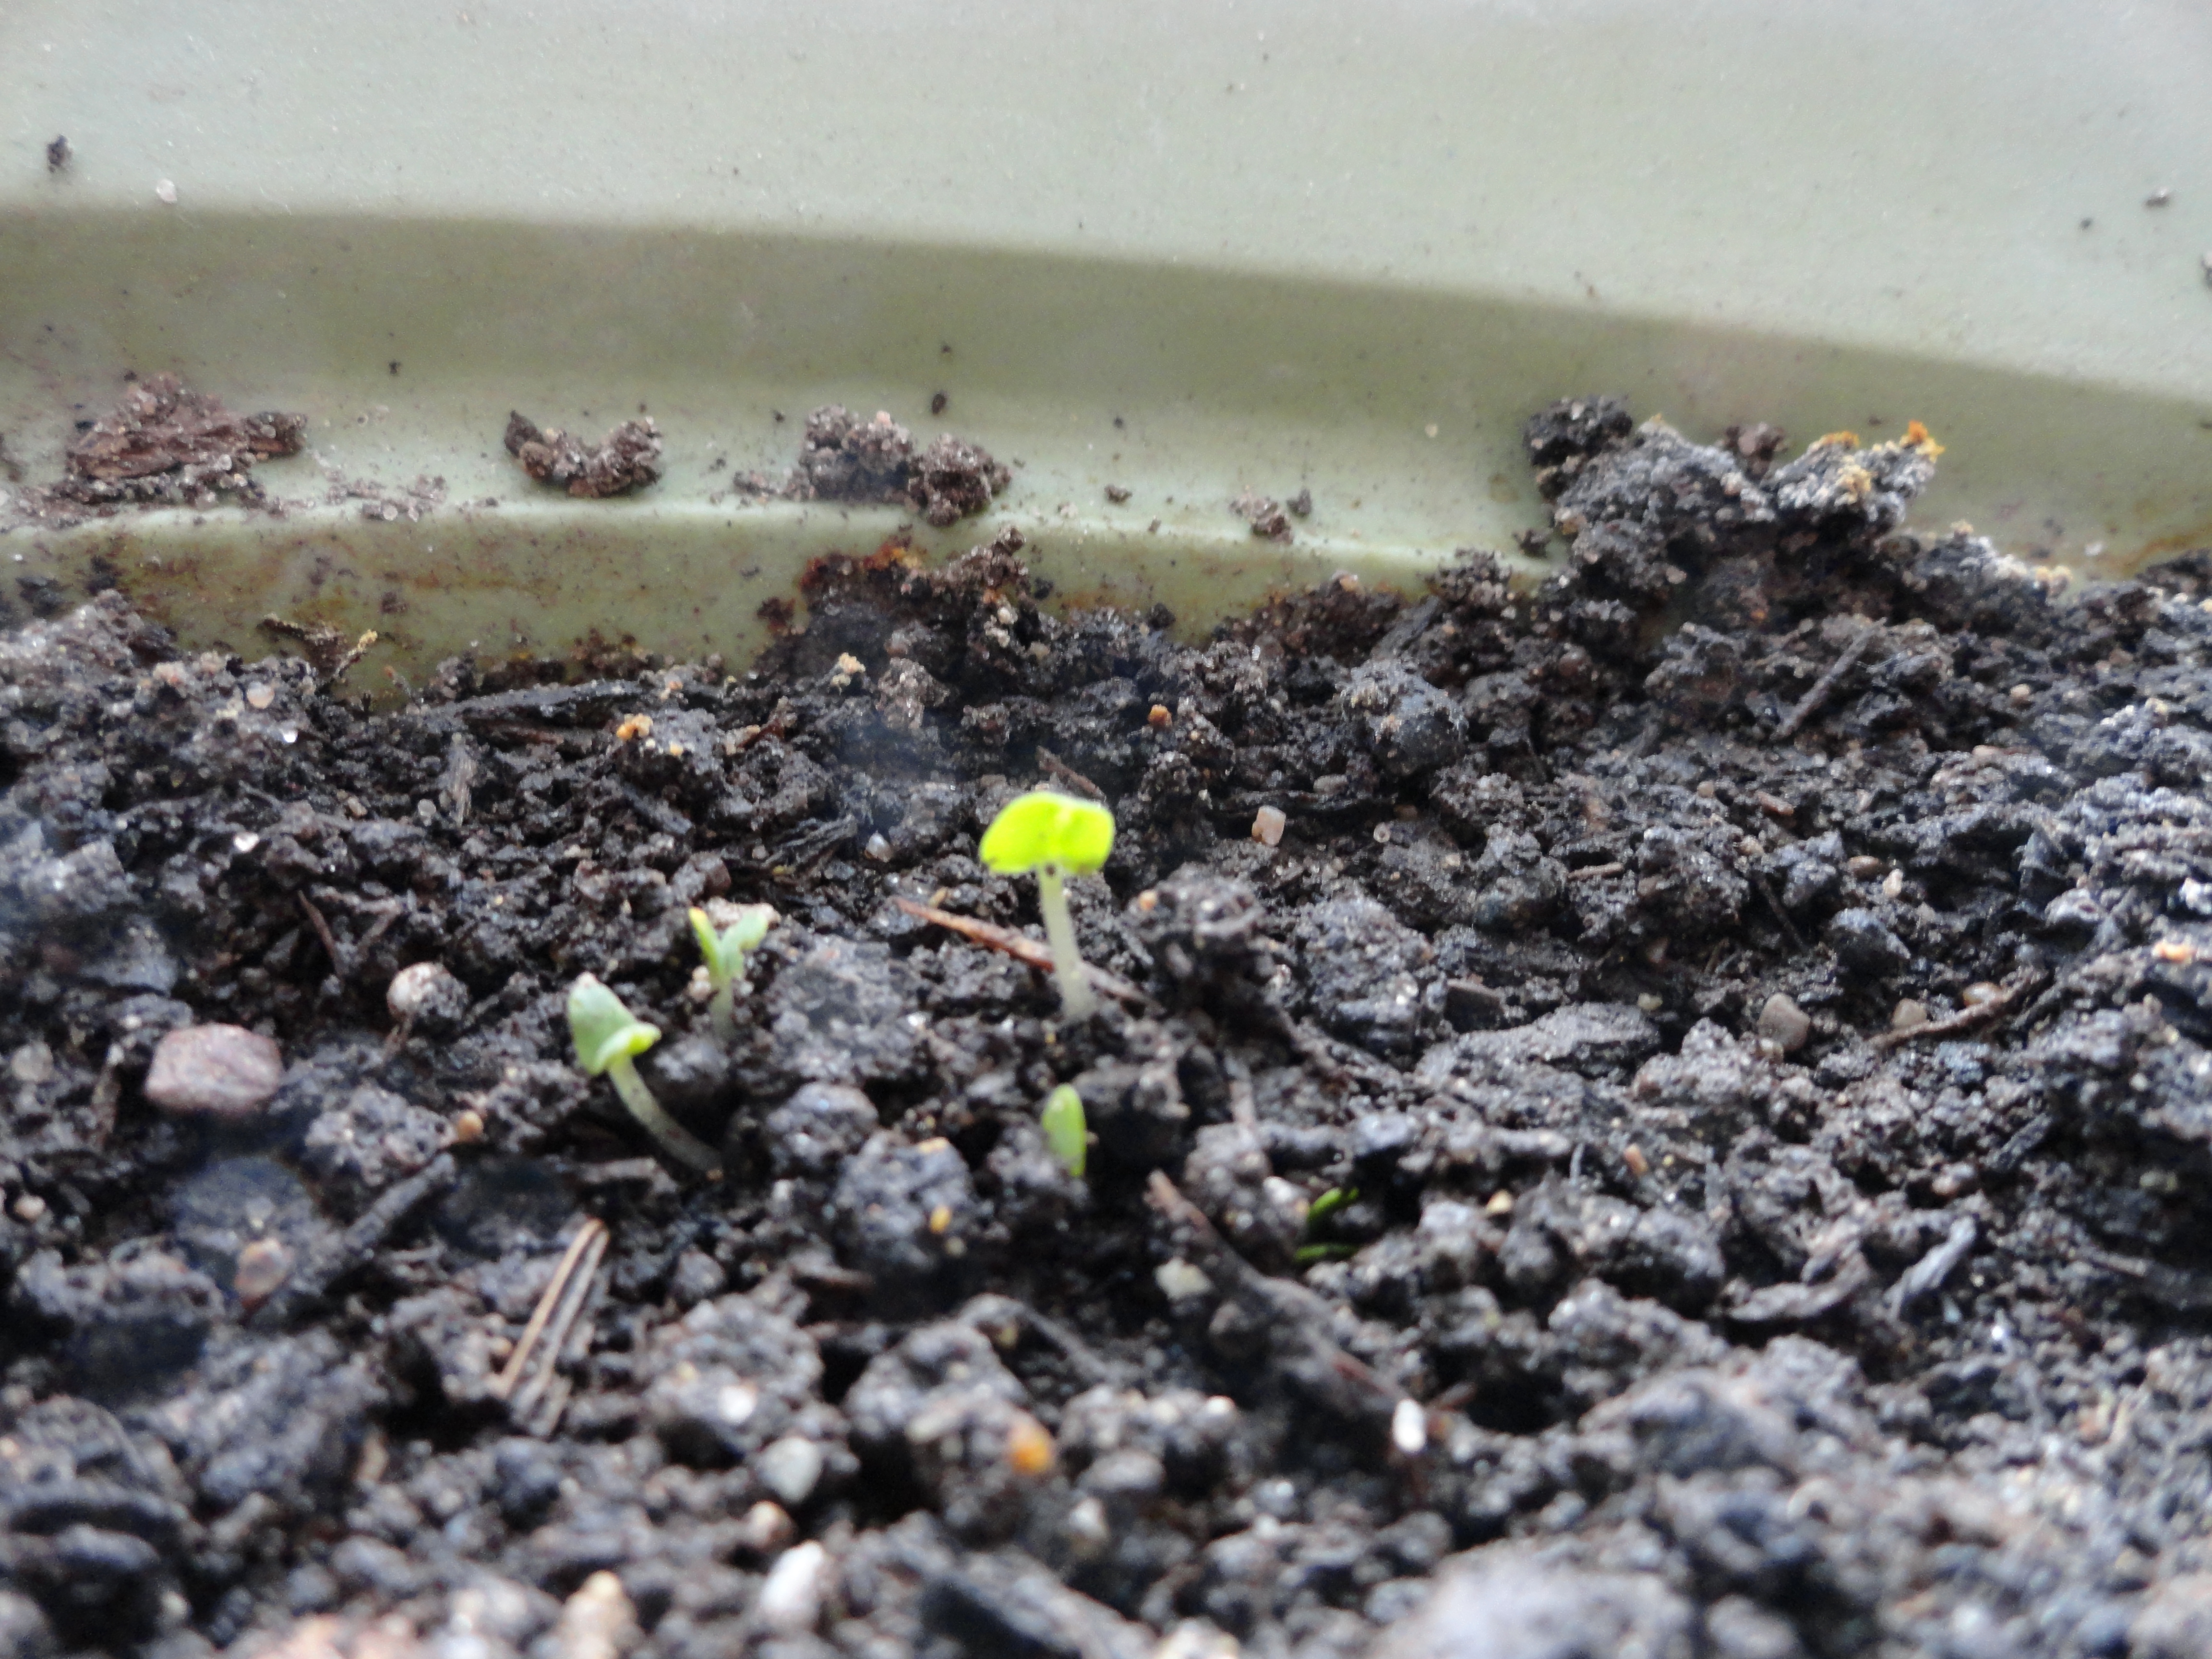
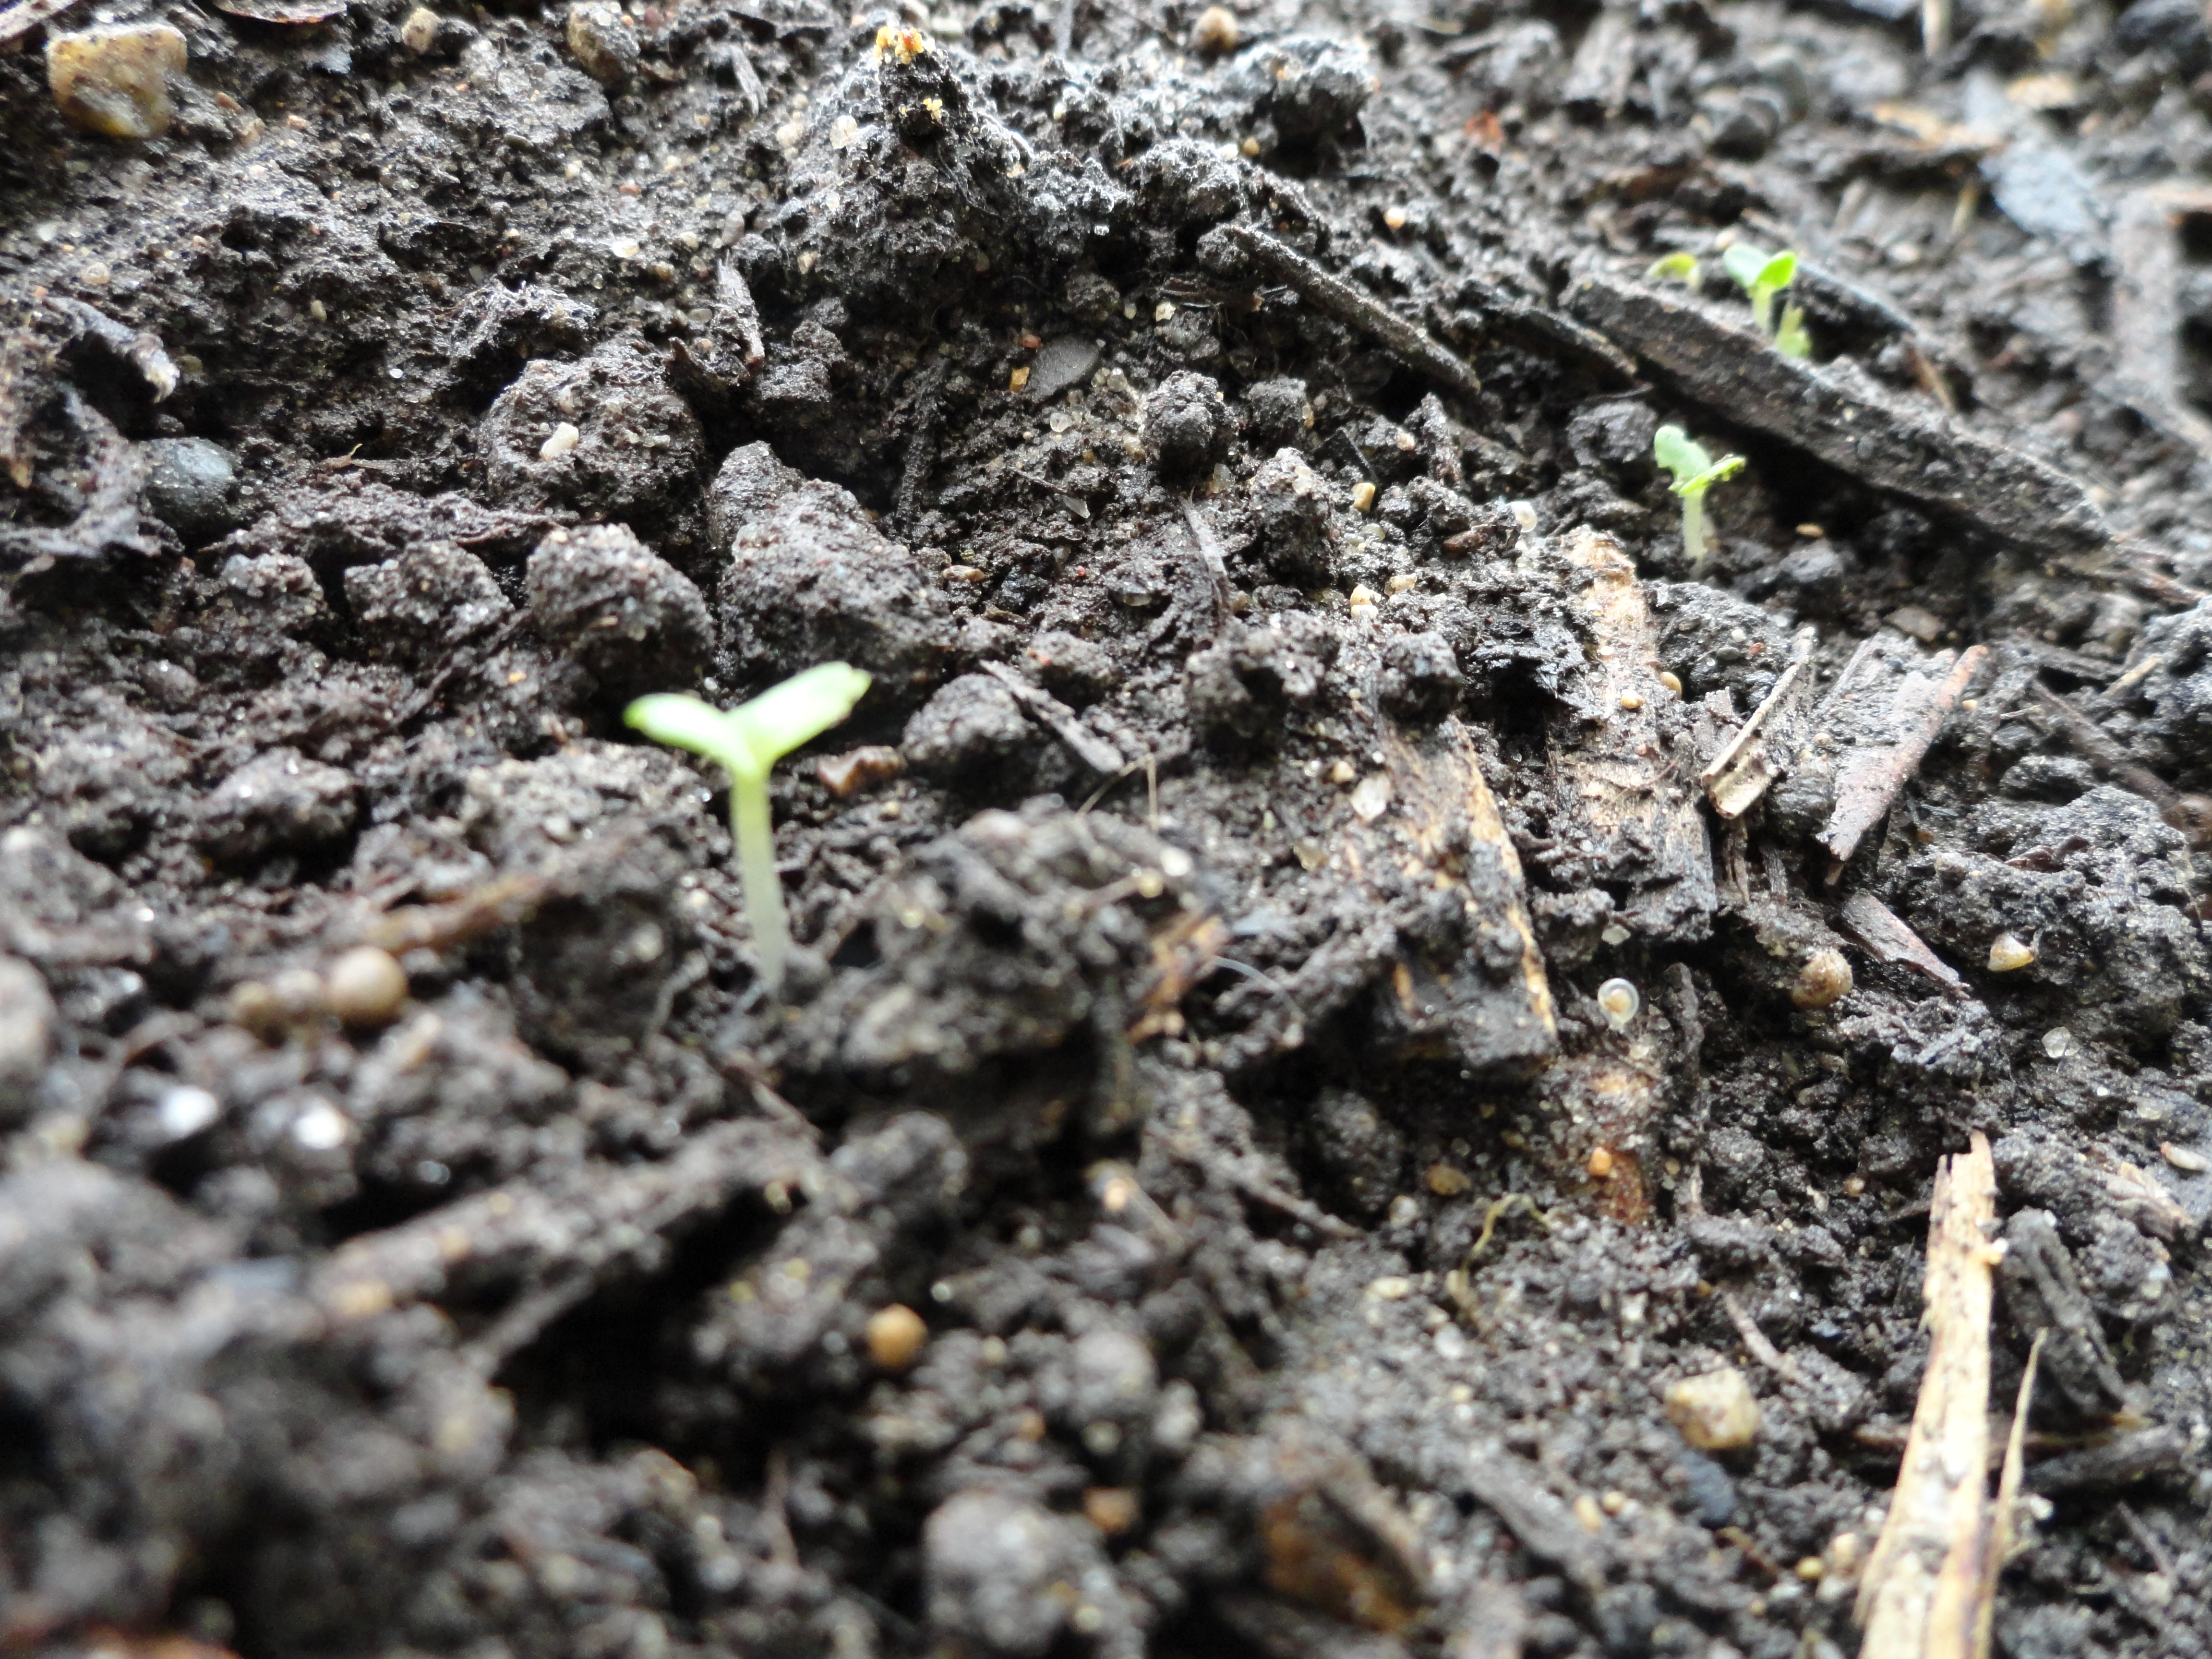
We've been growing Basil and Arugula from the seed for about a week and a half now. I can't believe how much the Arugula has shot up in such a short time. This week, we'll be planting some broccoli and parsley to go along with the other plants since our Kale tree seems to be on the fritz after the winter months.


Above, our arugula is thriving but tending to lean more towards the sun. We'll be moving it outdoors to the balcony soon where it can grow stronger in the full sun. Below, our baby basil are starting to peek through the moist soil.


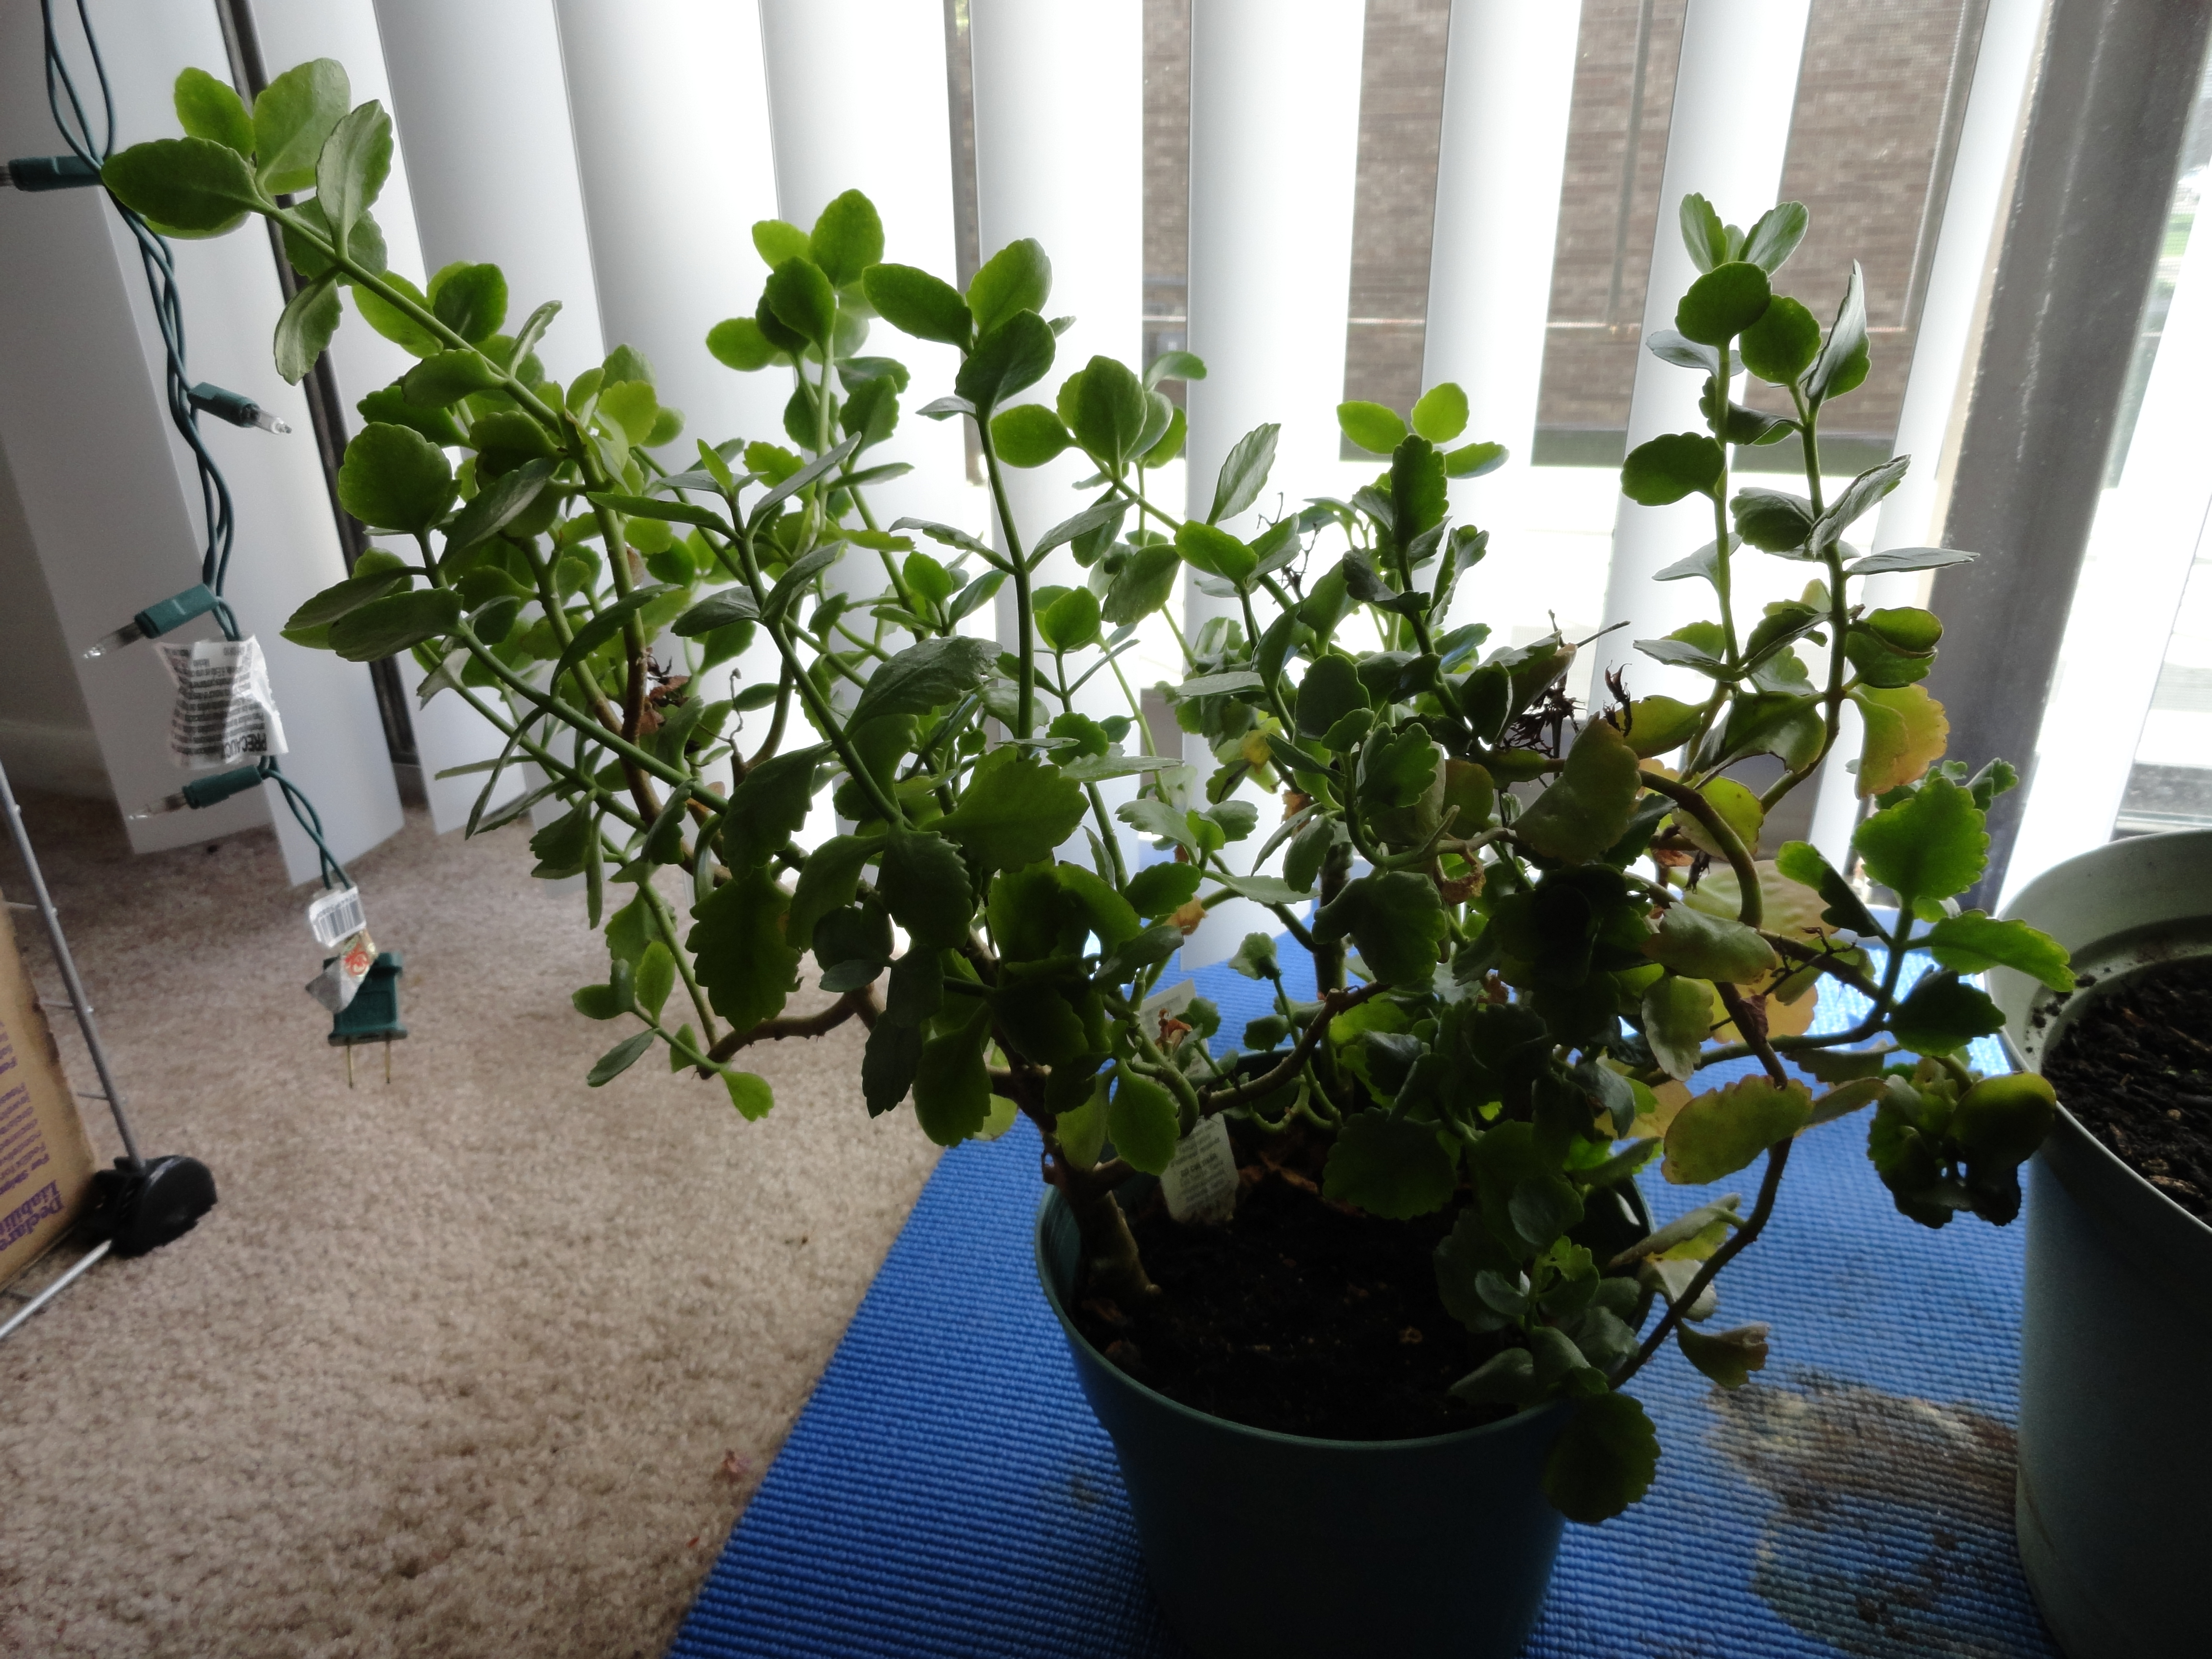
This plant has special meaning to us.

Over a year ago, Yan surprised me with a beautiful flowering plant called a Kalanchoe. The day he got it for me marked the first month of our relationship together. This little tree-like gem has been through a lot, even having been knocked clear off our balcony and ripped out of the pot during a nasty thunderstorm last summer. Today it still grows strong and is beginning to show signs of blossoming again for the spring. I think we'll need a bigger planter for it soon as it's been growing out of control lately! The flower meaning of Kalanchoe is endurance and lasting affection. When asking Yan if he knew this today, he said "Well...uh...of course!! That's the reason I got this one! Yeah!" Nice try Yan ;)

Check out our fall indoor herb garden here.

~~~~~~~~~~~~~~~~~~~~~~~~~~~~~~~~~
Tuesday, March 20, 2012

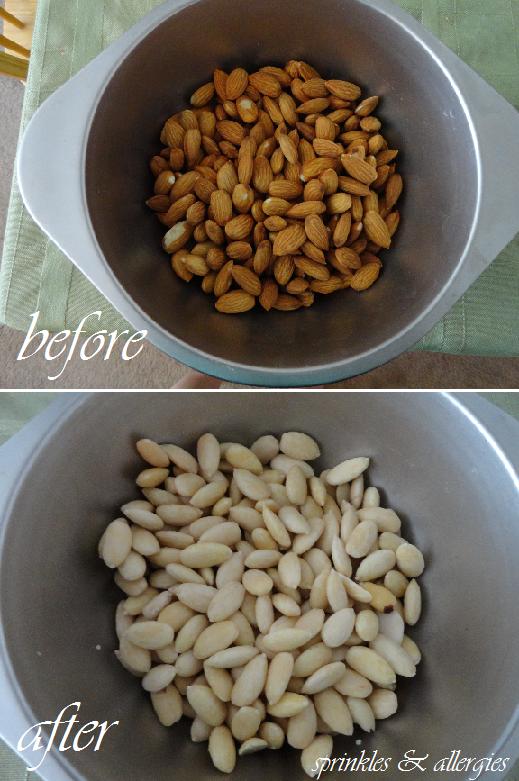
How to Blanch Almonds


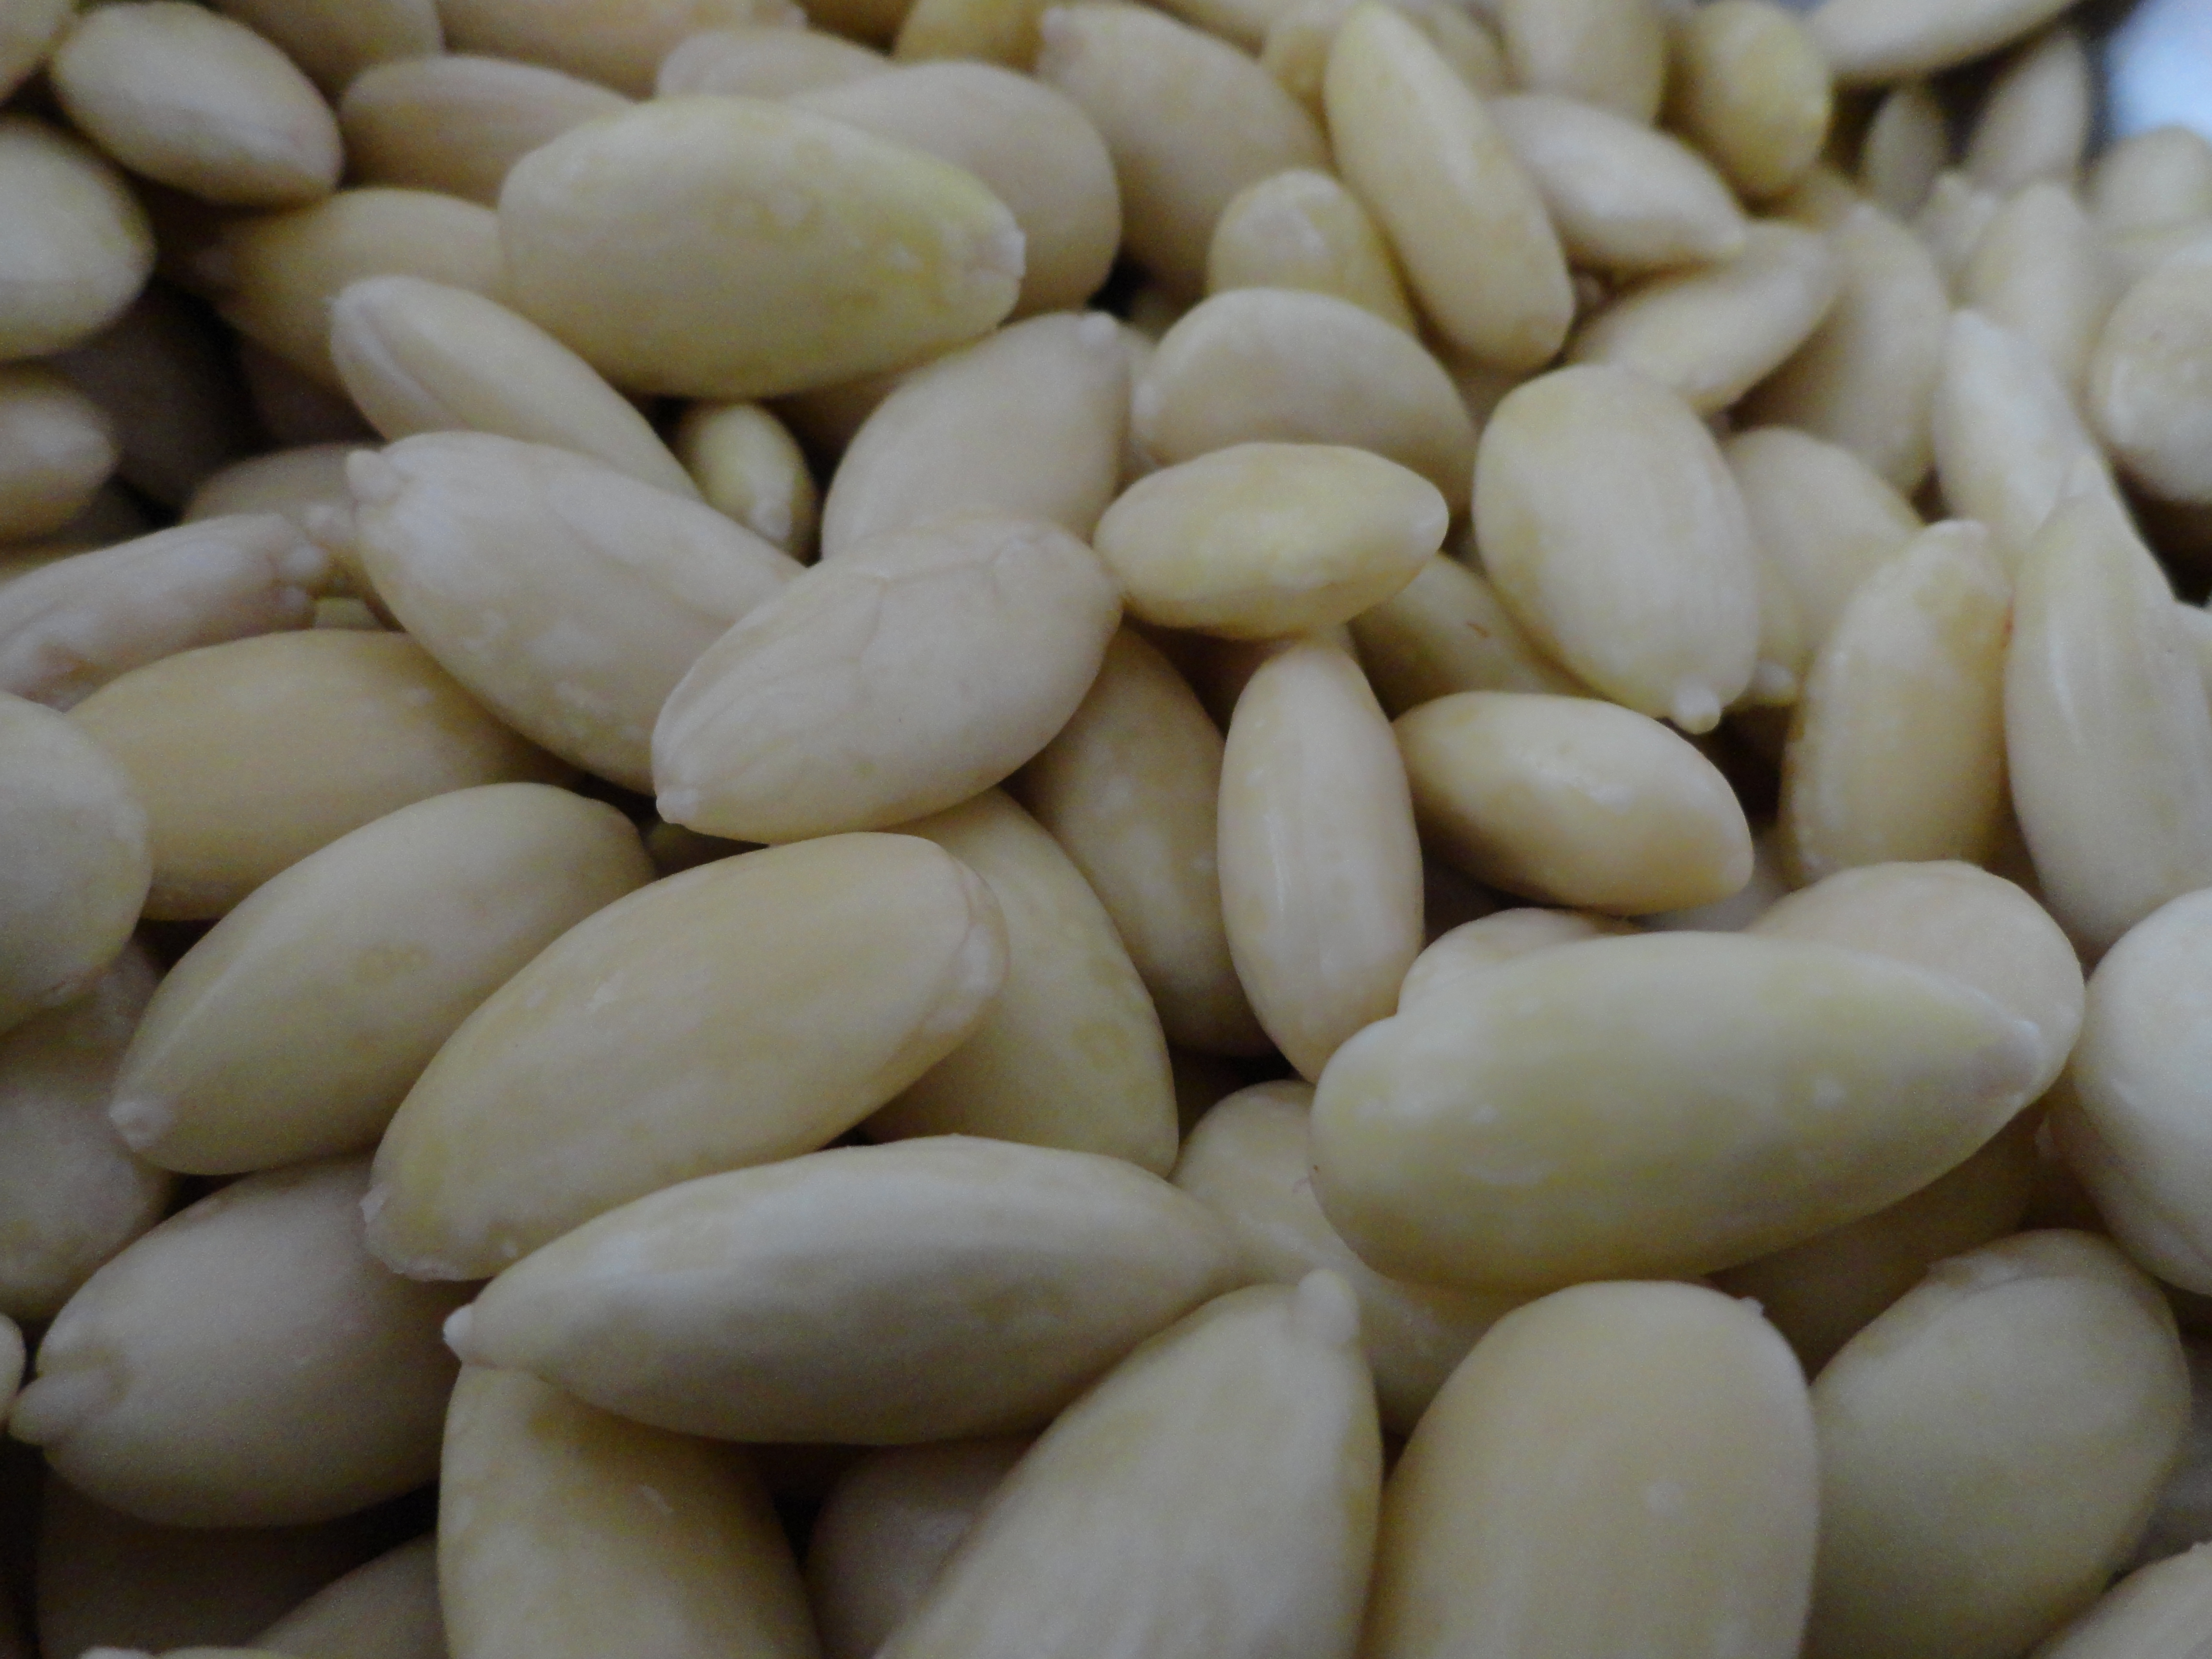
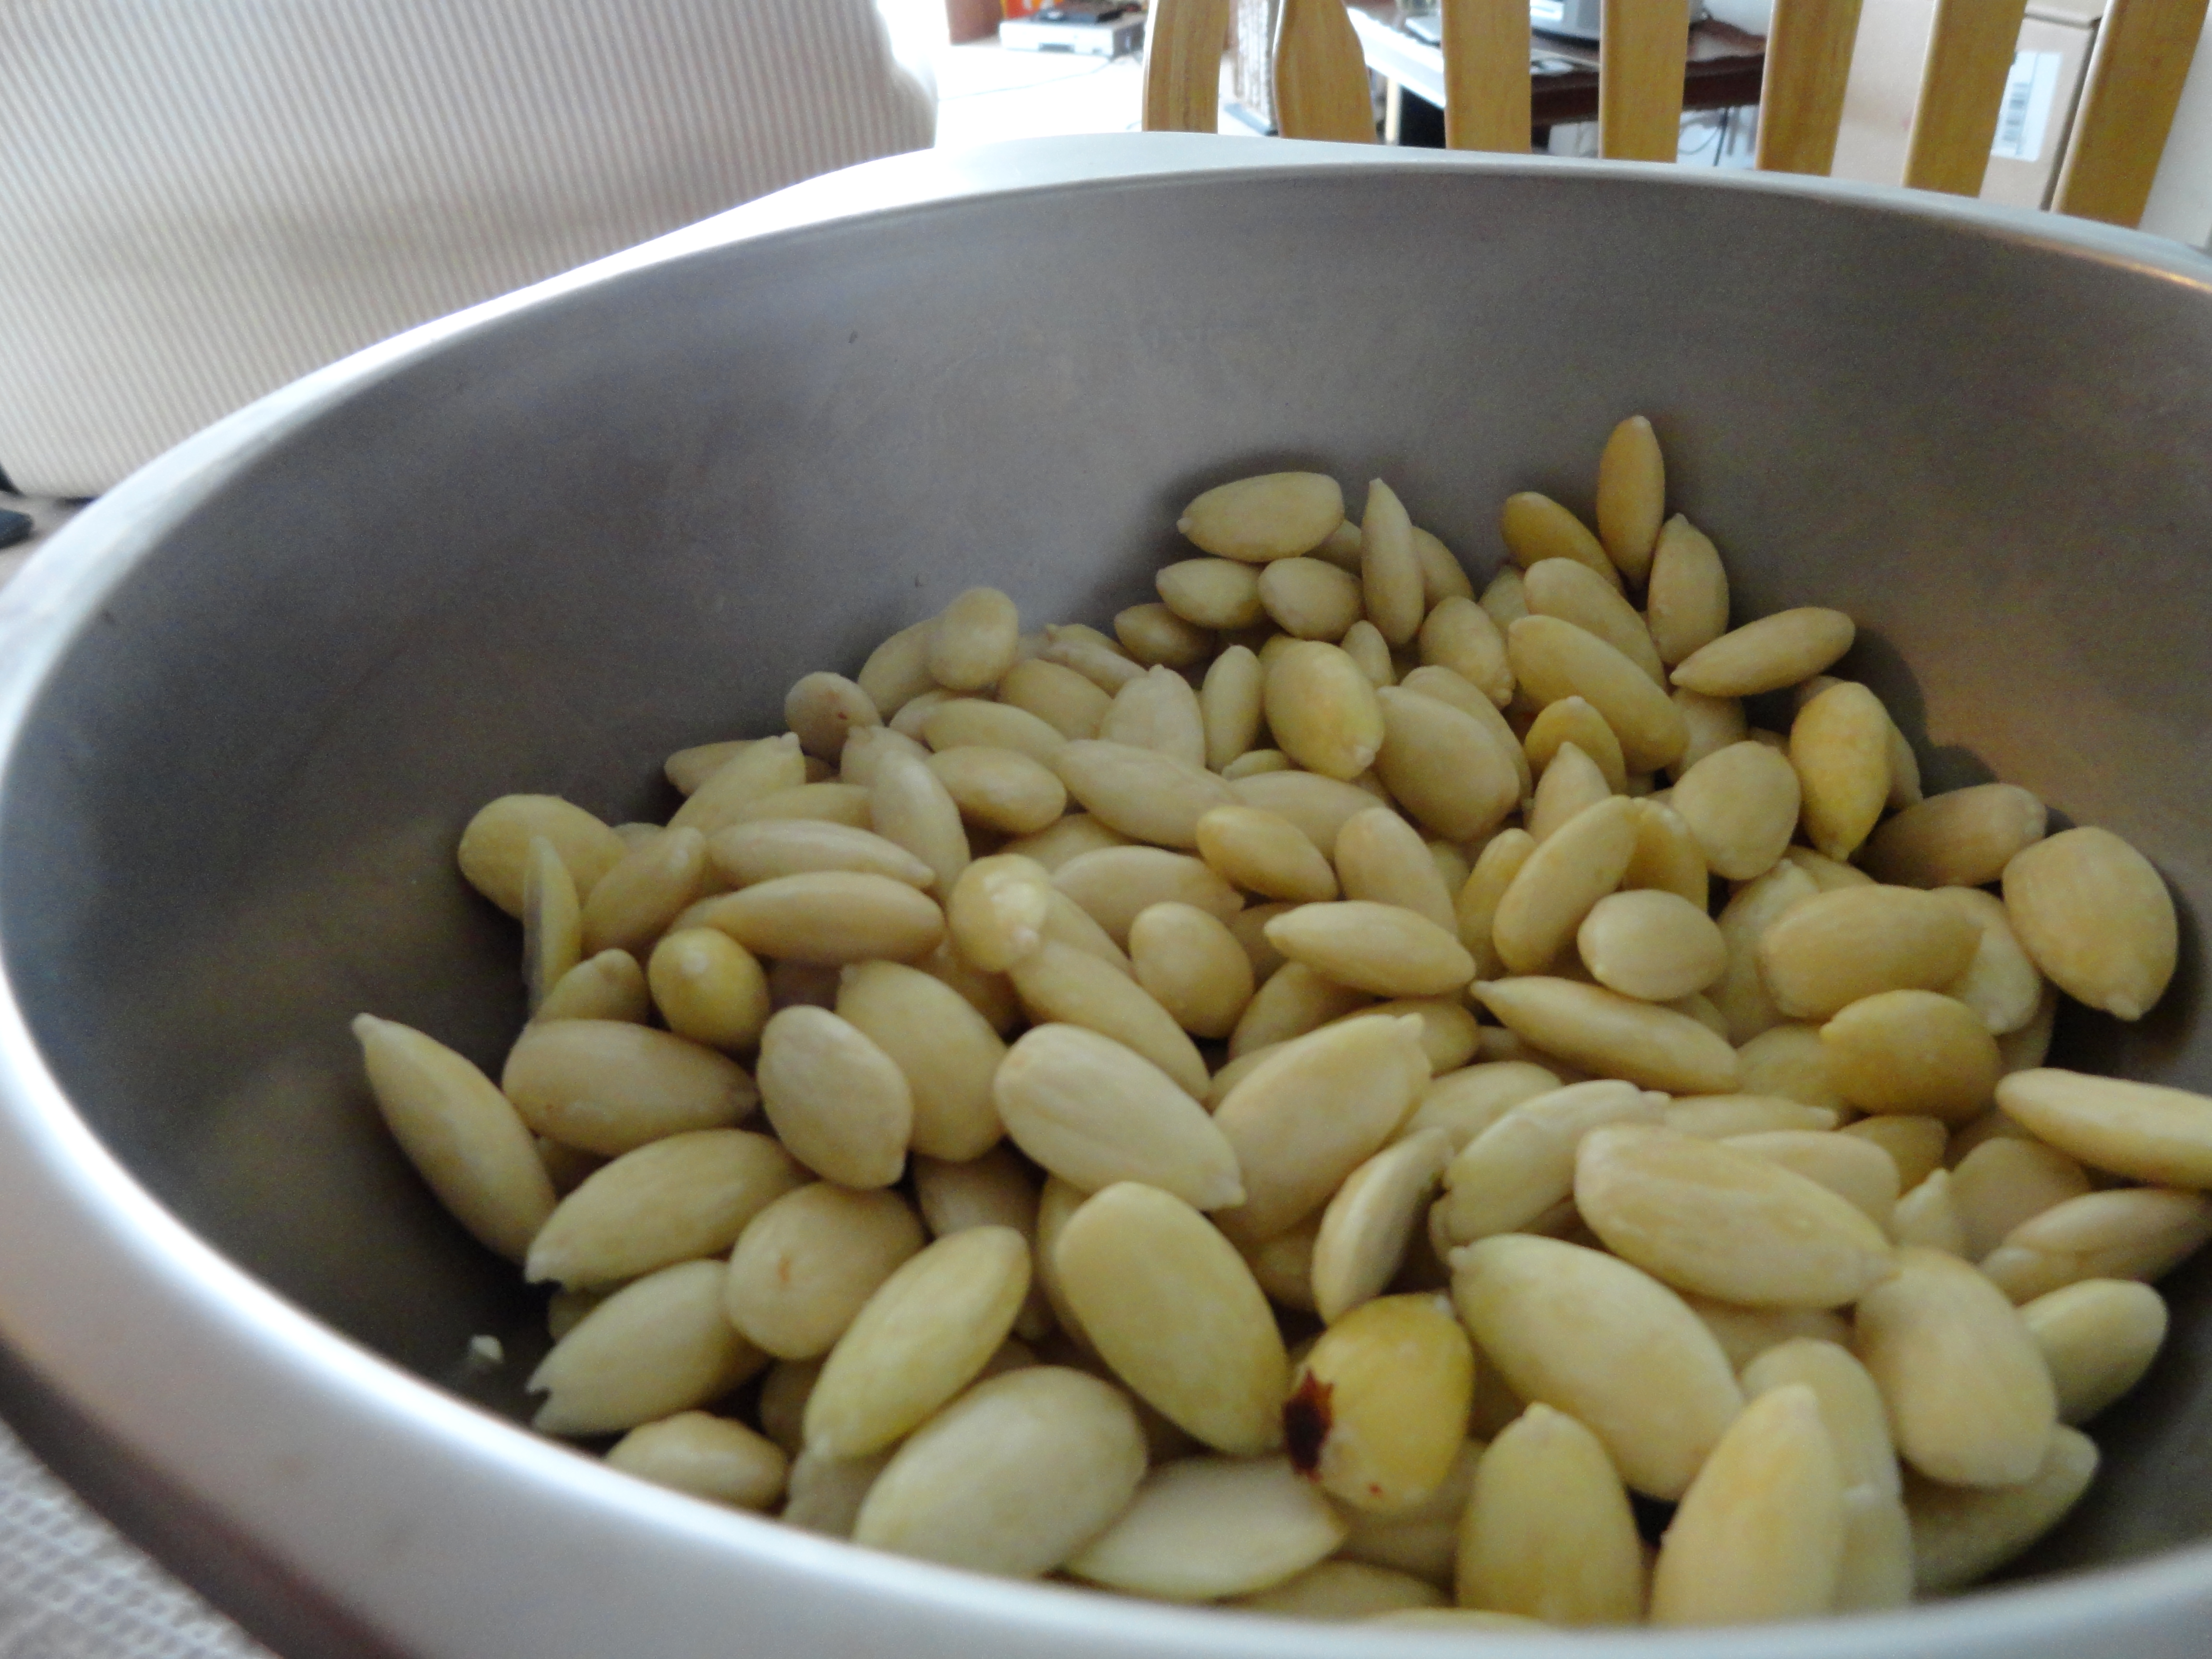
Blanched almonds are awesome. Essentially, they are just almonds with the skin off. After making my first batch, I was interested to see if my boyfriend Yan could eat them without an allergic reaction. He is usually mildly allergic due to his Hay Fever. After eating a few, I was ecstatic to hear he was not having a reaction from the blanched almonds!! So it wasn't the actual nut he was allergic to, it was merely the skin of the almonds.

I'm about to make my second batch since we've been flying through the first one so quickly, and I plan to use it to make blanched almond flour for a light fluffy almond cake recipe I'm working on. The one I was working on with unblanched almond flour will probably be too dense to be called a proper cake. Here's to experimentation!


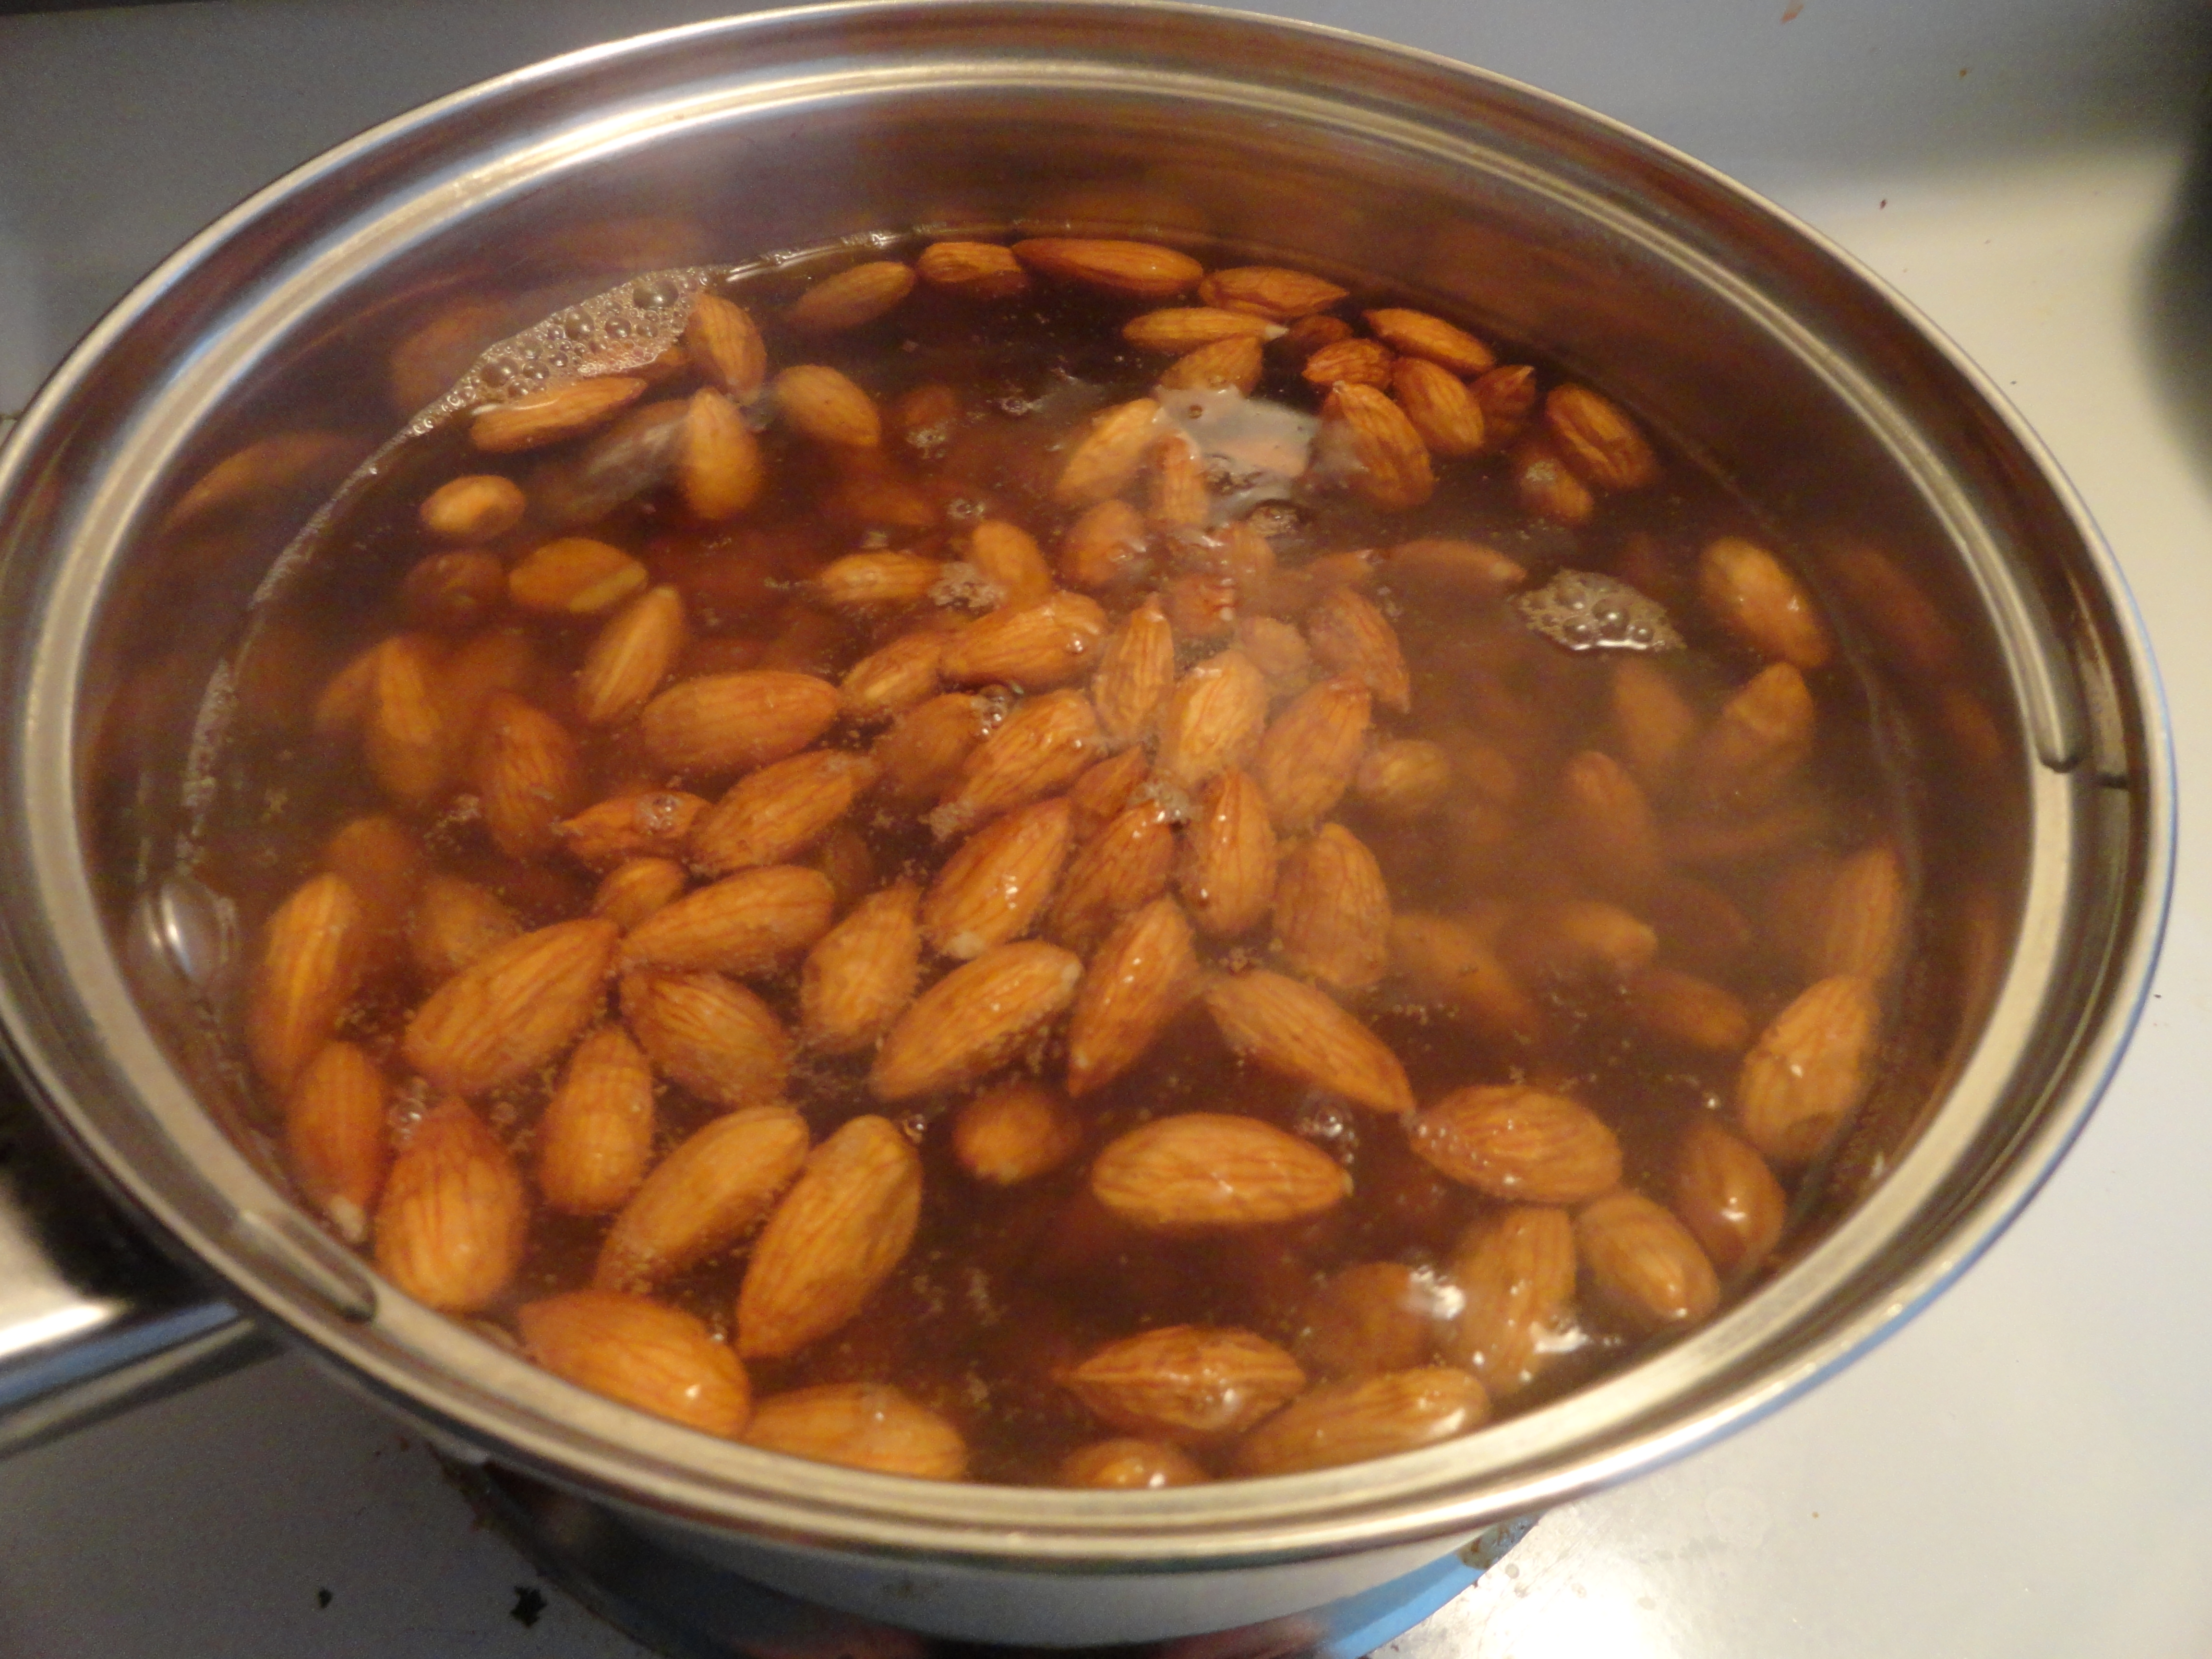
To blanch the almonds, start out by boiling a sauce pan of water.Drop the rinsed almonds with the skin on into the boiling water for only about one minute. Emphasis on the one minute--if you boil them too long, you may end up with almond butter instead of crunch almonds. Nearing the one minute mark, most of the almonds will start floating to the top of the water, much like ravioli does when it's almost done cooking.


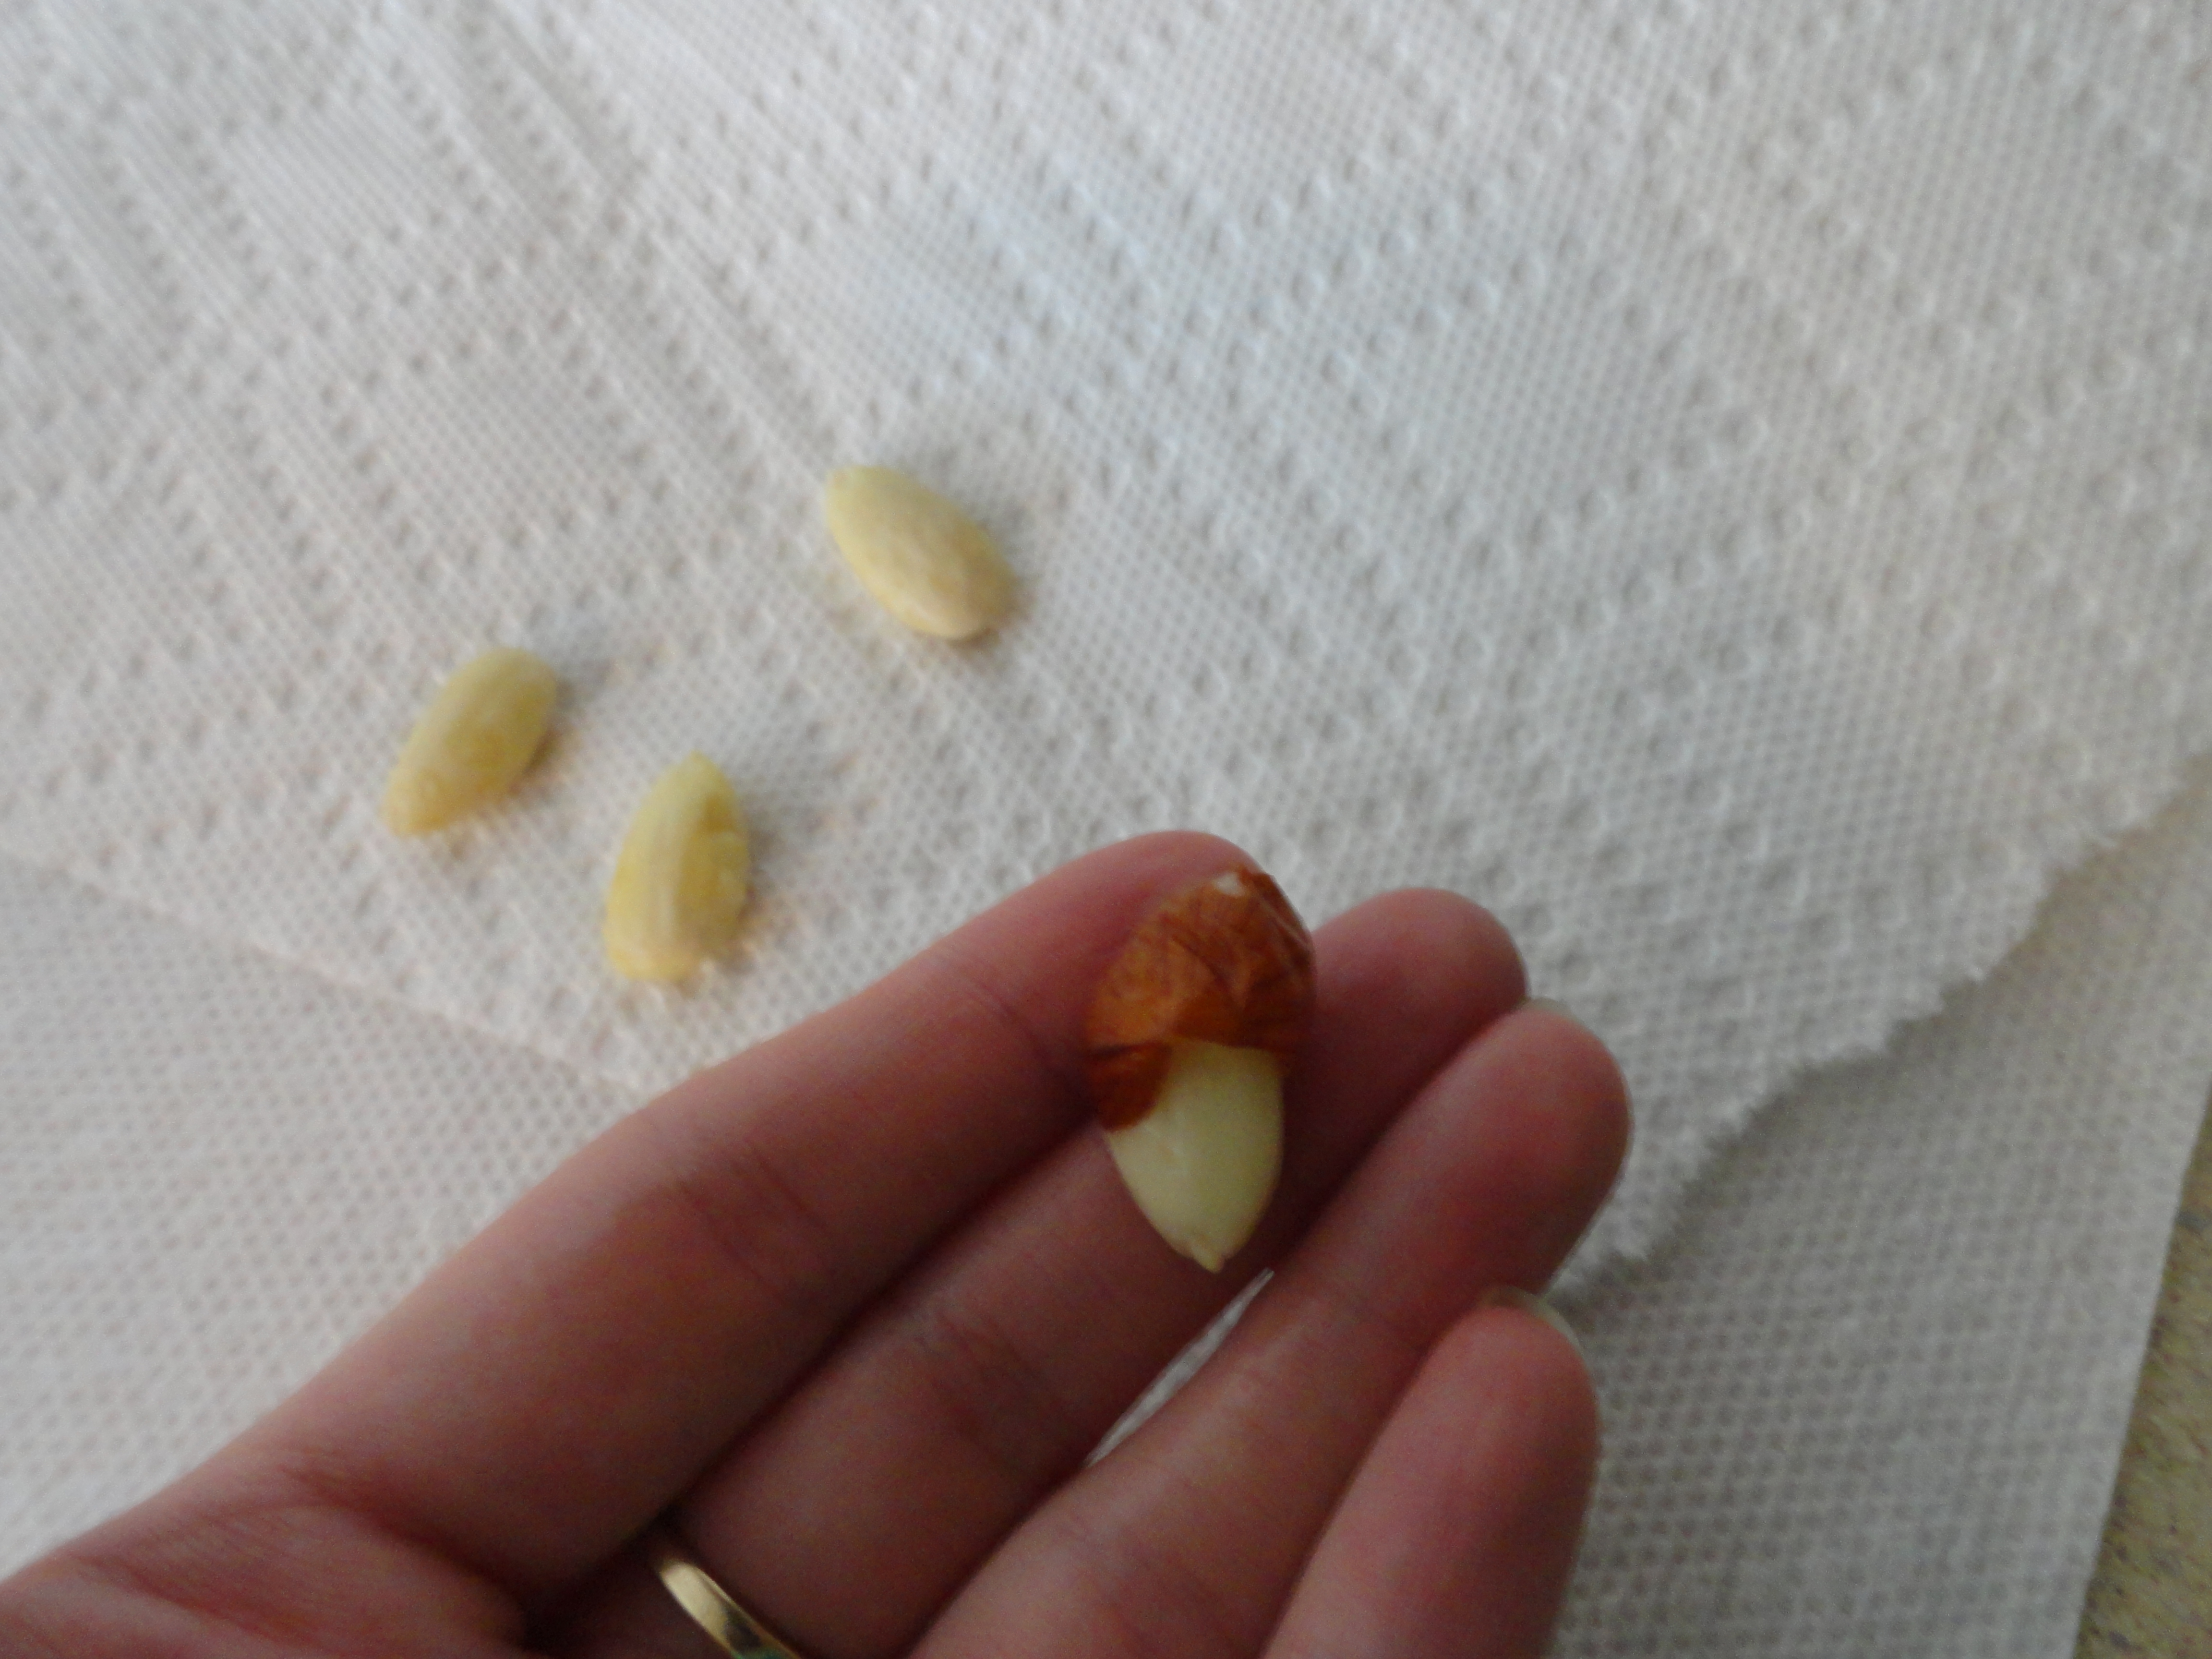
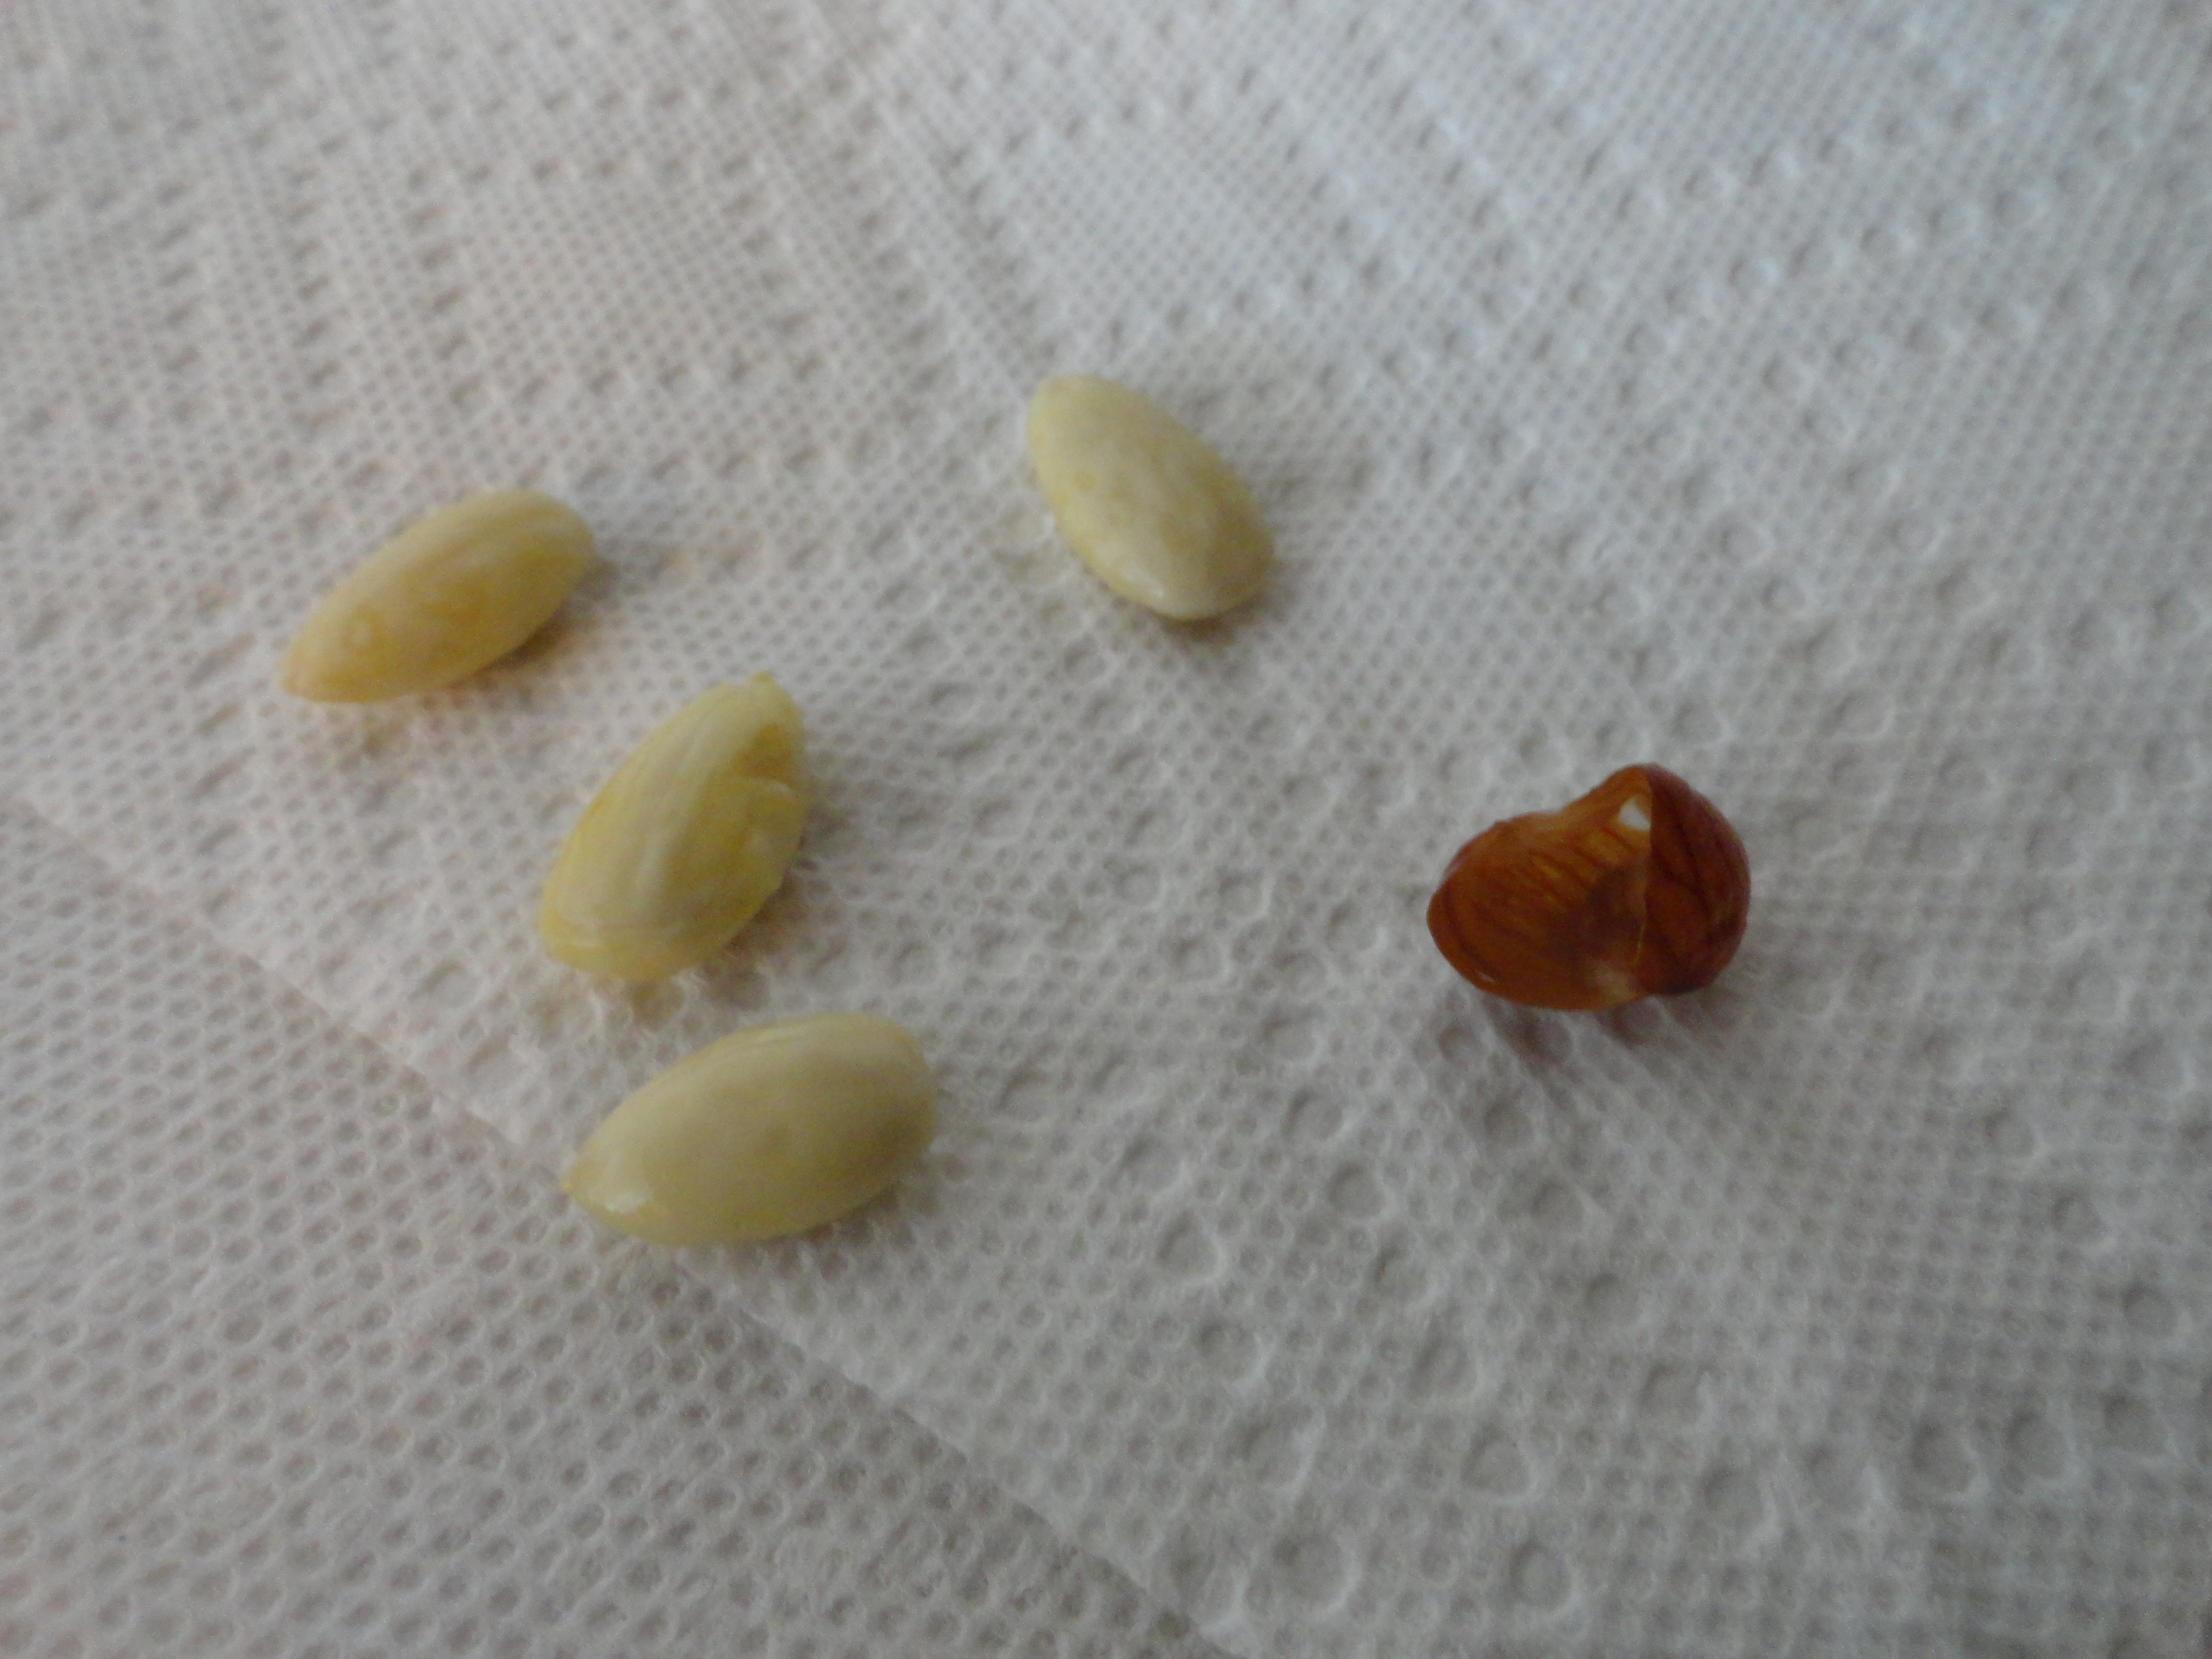
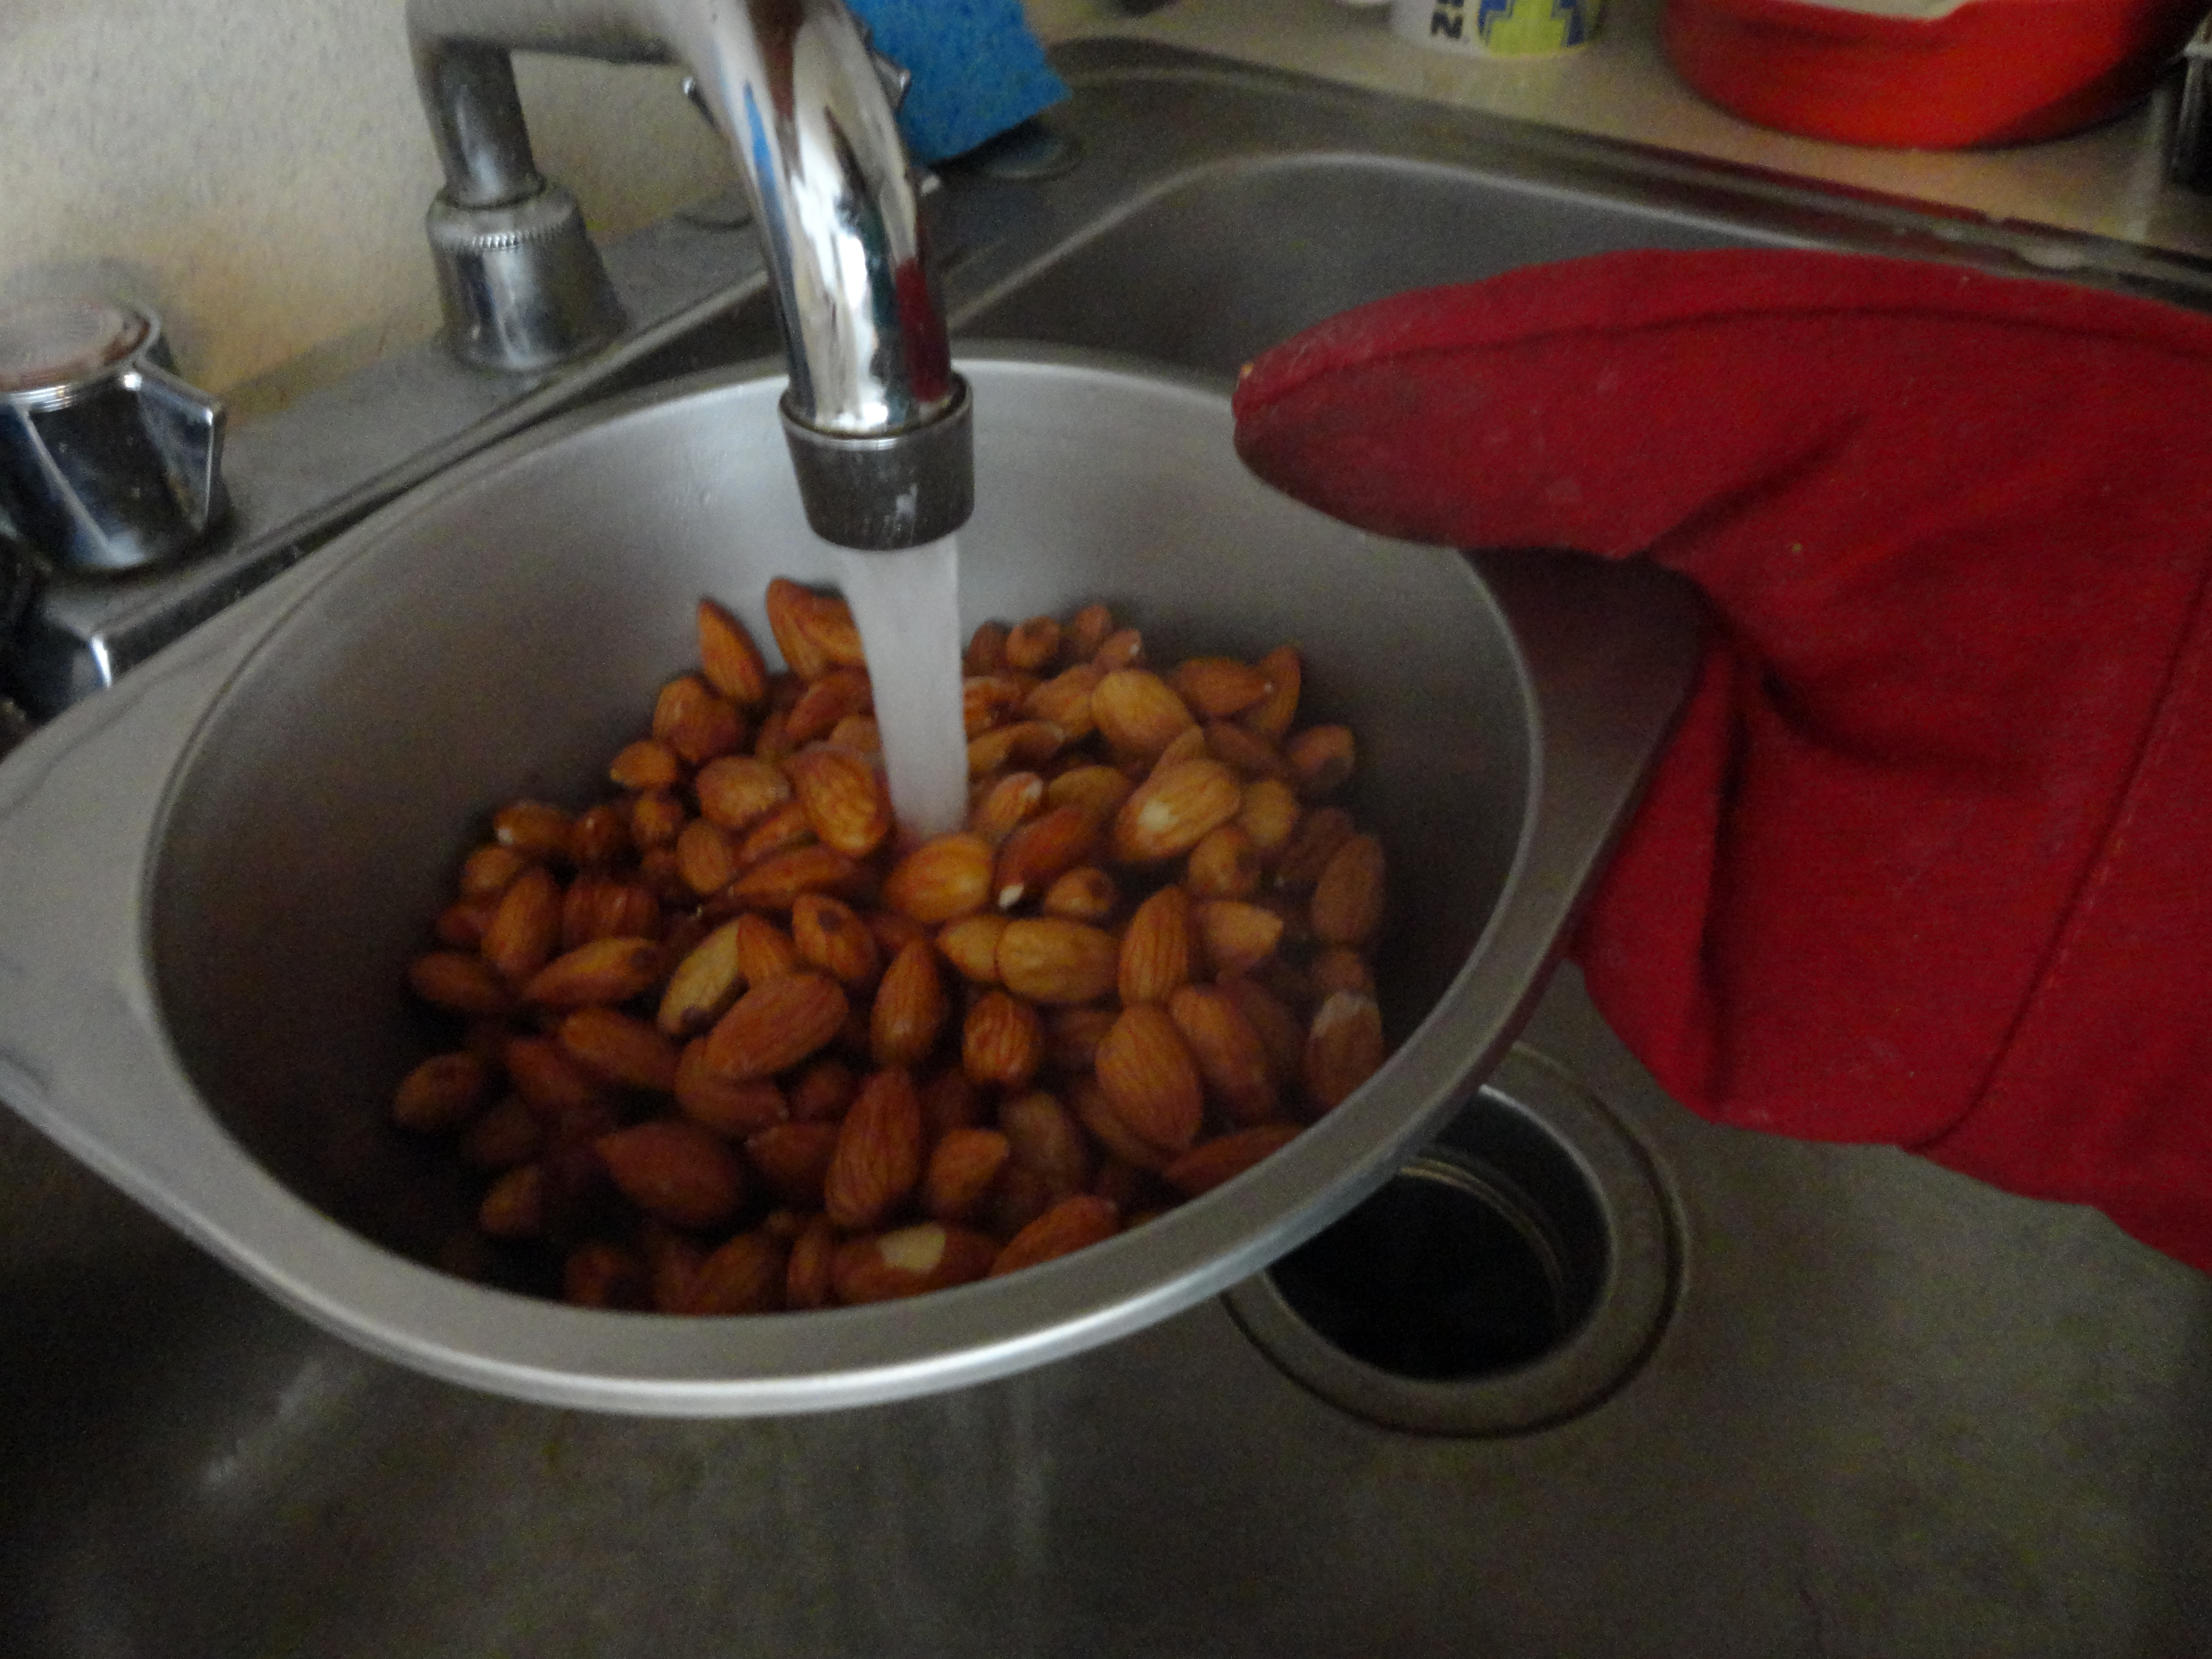
After one minute, strain the almonds out of the hot water and rinse them immediately with cold water to bring the temperature down. Once cooled, dry them off and begin lightly peeling the skin off. Usually they just slide or pop right out of the skin when light pressure is applied by the hands.


This is what we think of no more Almond allergies for Y:


He's "cured"! Well sort of.

And we're about to embark on a delicious Blanched Almond Flour cake recipe extravaganza. Hopefully.

Until then, we'll be enjoying the 80 degree weather (in March!?) while chomping on fresh almonds.

~~~~~~~~~~~~~~~~~~~~~~~~~~~~~~
Monday, March 12, 2012

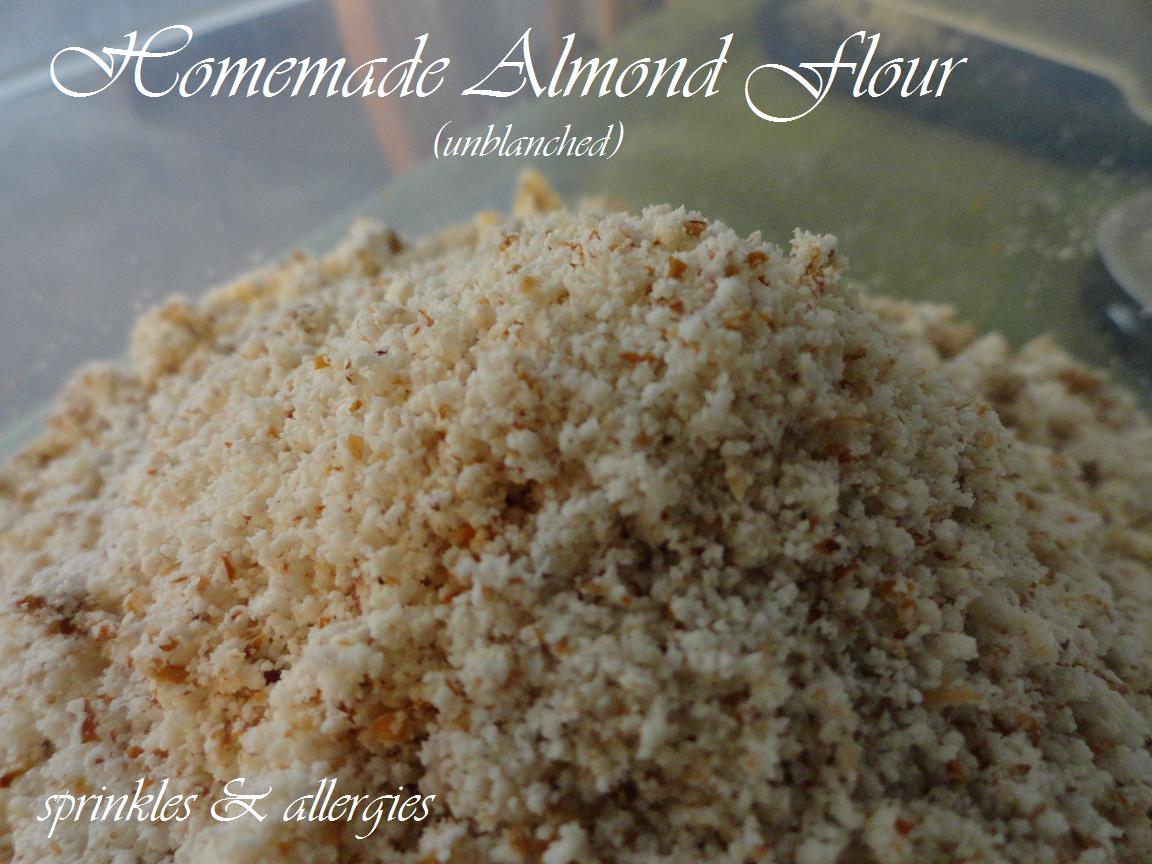
Homemade Almond Flour (unblanched) and Cacao & Spiced Almond Milk


After making a few batches of Almond Milk (check out the recipe and process here!), I've been left with a big lump of almond pulp which has been patiently chilling in my fridge for a few days. I decided to grind up the meal/pulp into a finer flour that I can go on a baking spree with. Making your own almond flour really saves a huge sum of money, as store bought pre-ground flour can cost upwards of $14.99 a pound. I buy my own almonds at about 5.99 or 6.99 per pound and not only get 64 ounces of milk out of each 2 cups of almonds, but then I have 2 cups of almond flour after each batch of milk I make.

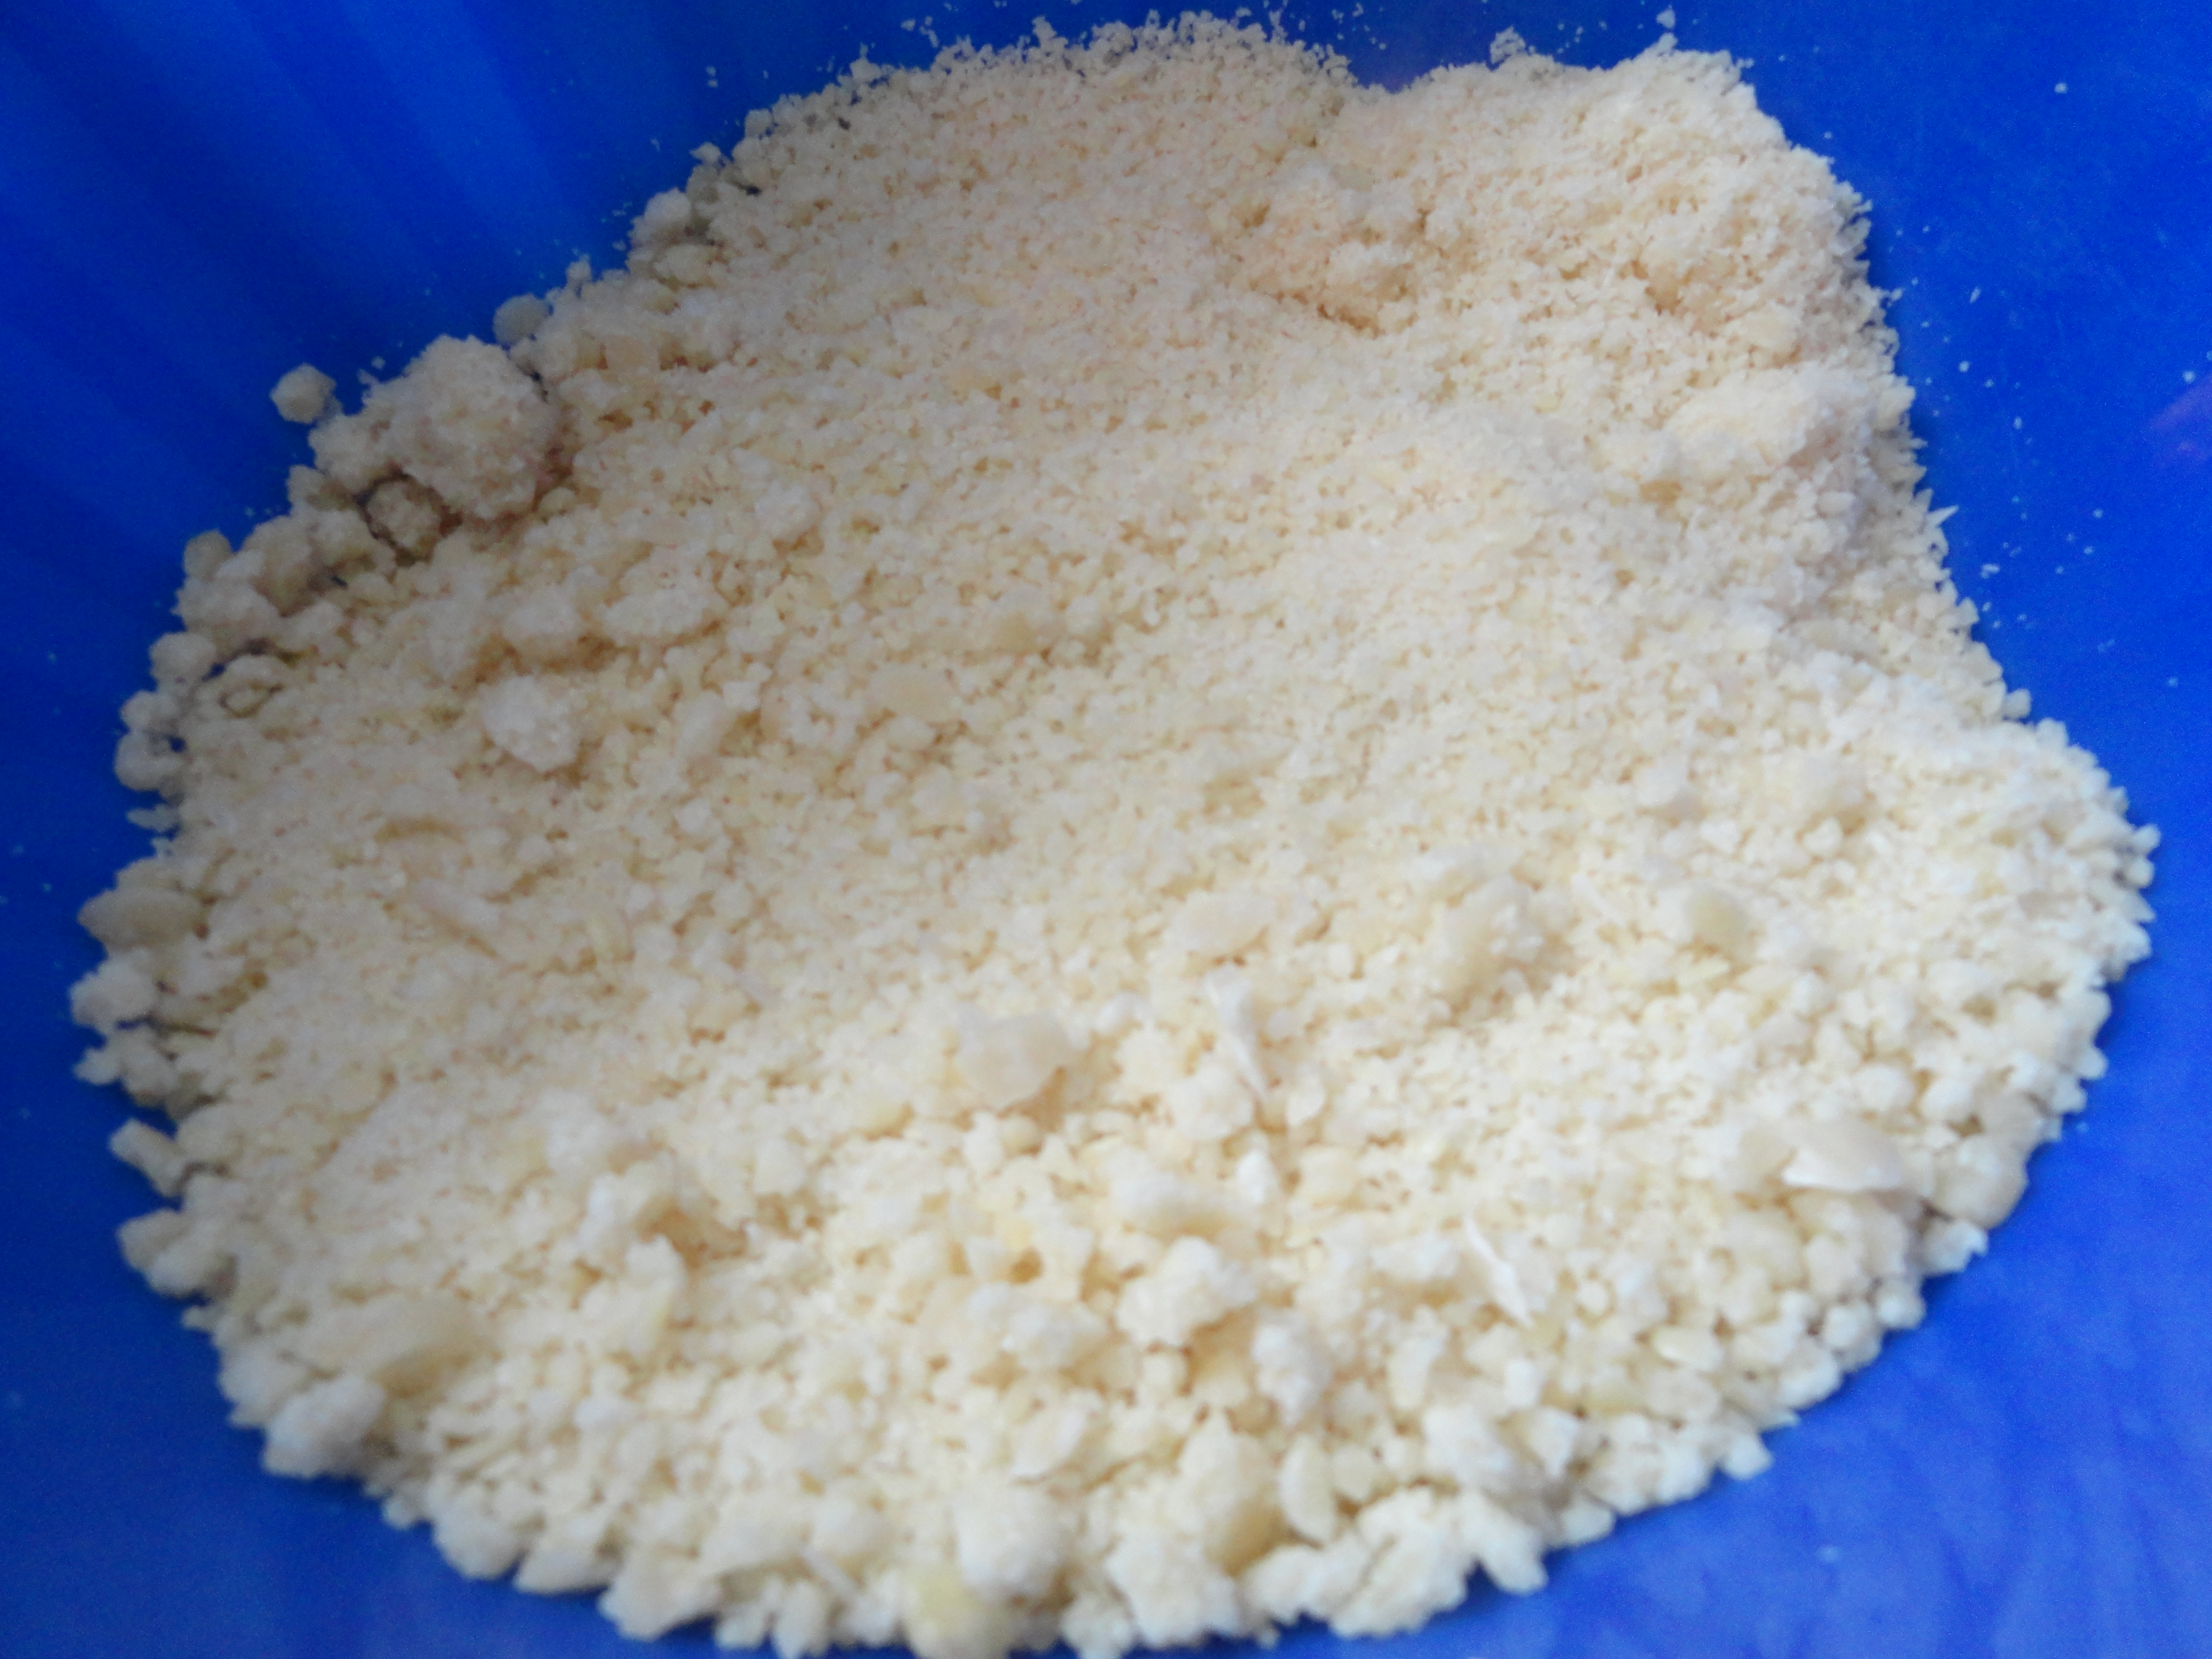
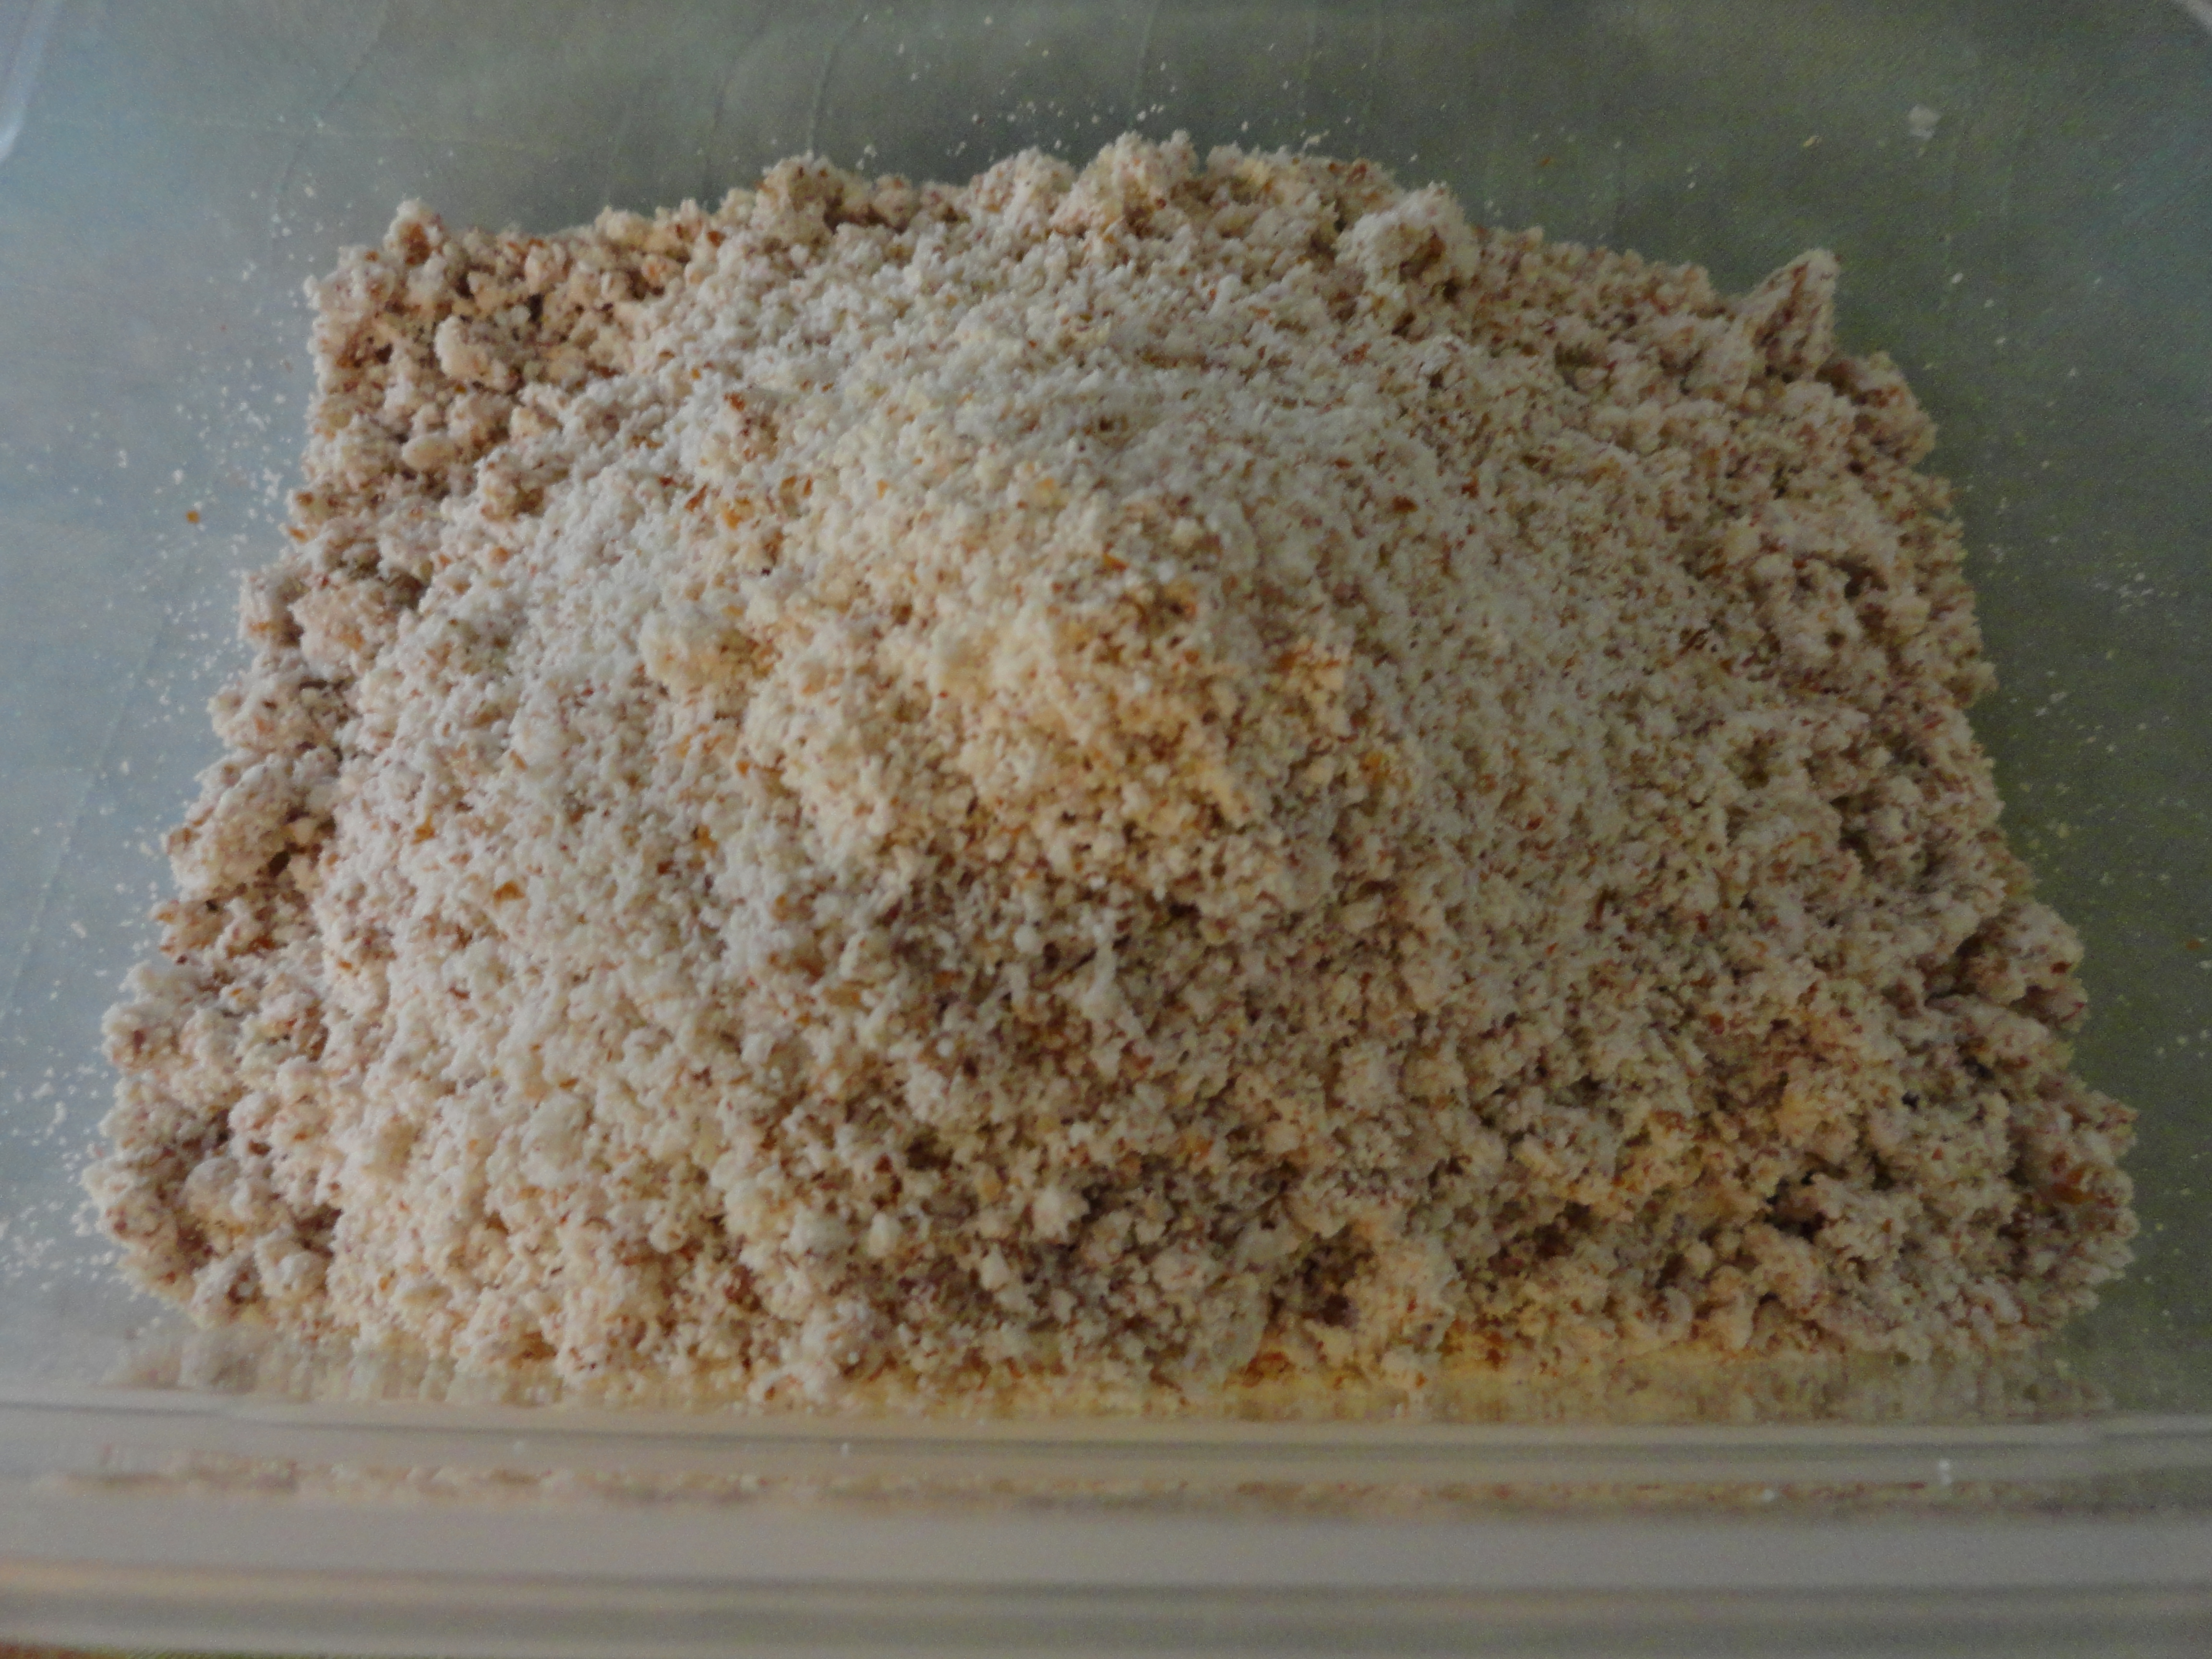
The process is fairly easy, and all you need is a high speed blender or food processor. After making the nut milk, dry out the leftover pulp for at least a few hours until the clumps break apart easily. You're left over with something that looks like this:


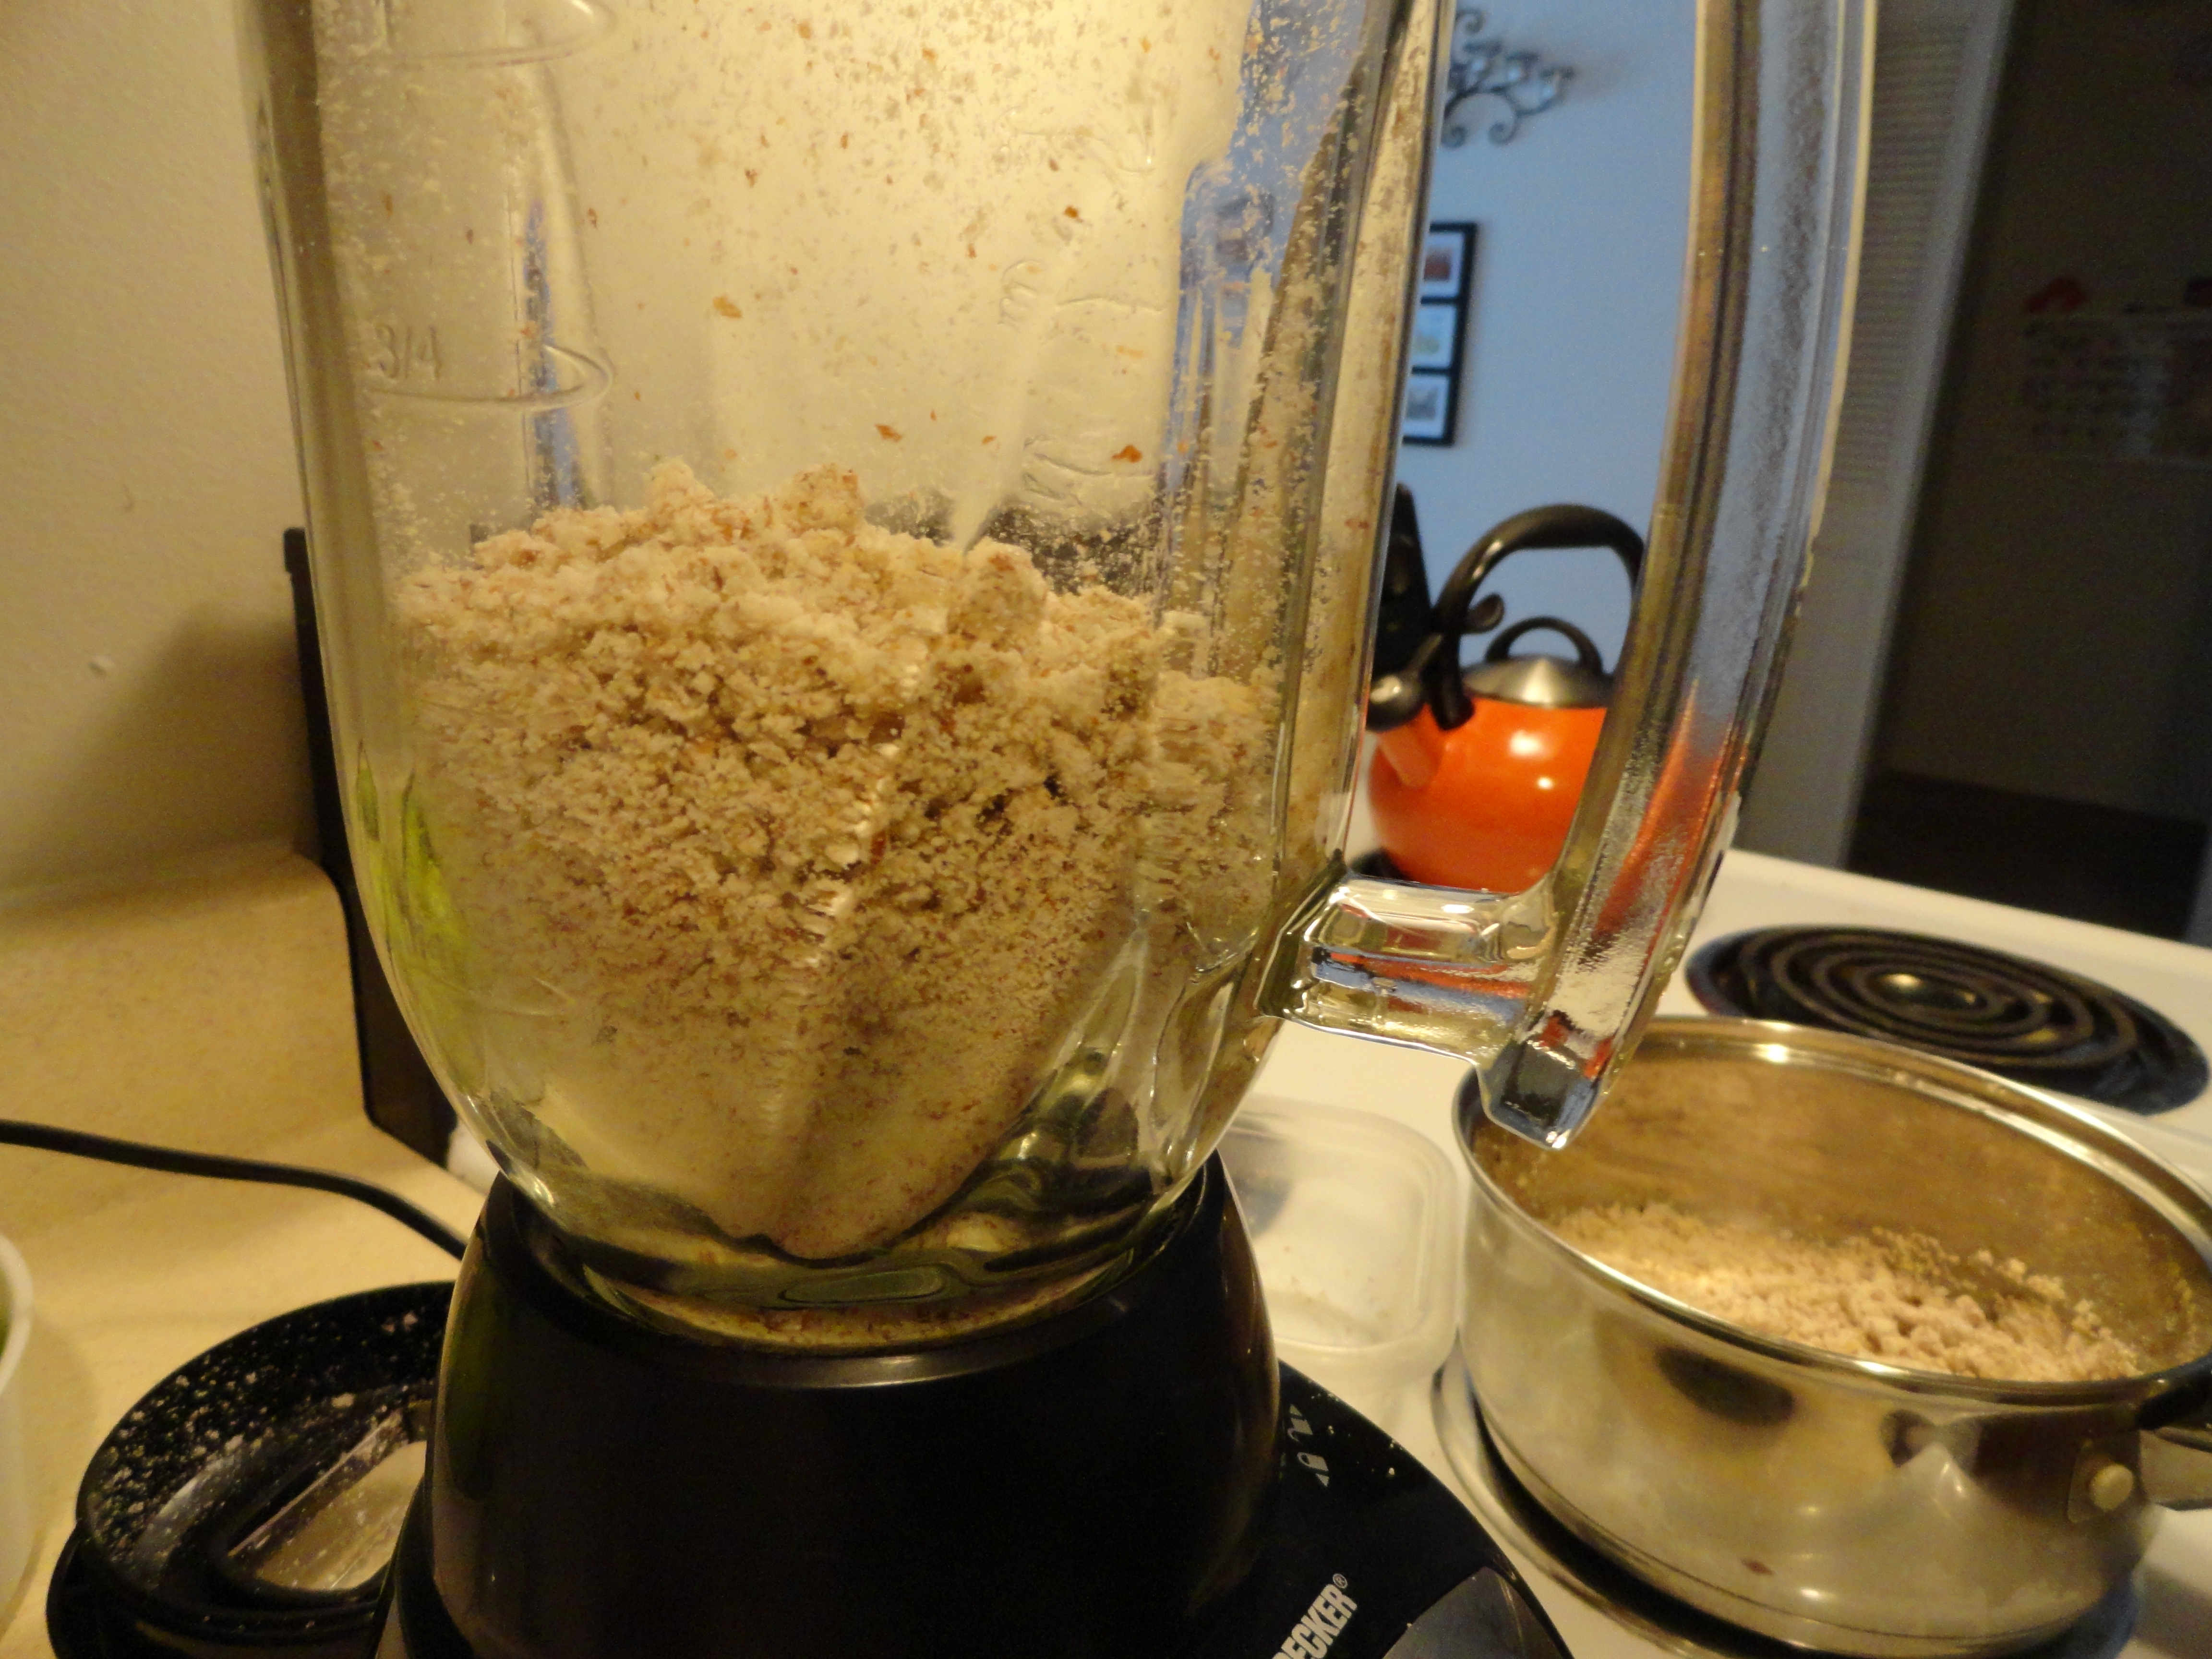
Pour the almond pulp into a blender or food processor and blend on the highest speed for a few minutes. You may have to stop a few times to shake around the flour from the sides of the blender, or gently shake the base of the blender.


After blending the pulp finer, you can use it how it is, or sift it through a wire colander to get an even finer flour. But since this time I had unblanched almond meal (with the skin still on) it's meant to be a little grittier and courser in texture. Do keep in mind there are certain recipes that only call for blanched almond flour. The process for blanched flour is very easy too and basically instead of making almond milk, you take a cup or two of raw almonds and drop them into a boiling pot of water for about 1 minute. After taking them out of the water, rinse them and the skins or peeling comes right off. Those are the blanched almonds, which then can be ground into flour directly in the blender or food processor.


Almond flour is the best flour replacement I've found for wheat flour so far. It's Gluten-free, low-carb, high in protein, and doesn't have to be mixed with 18 other flours for the right consistency in baking. It's a great stand alone staple to keep in the kitchen at all times. We'll be making an almond flour cake later this week, so watch out for the recipe coming soon.

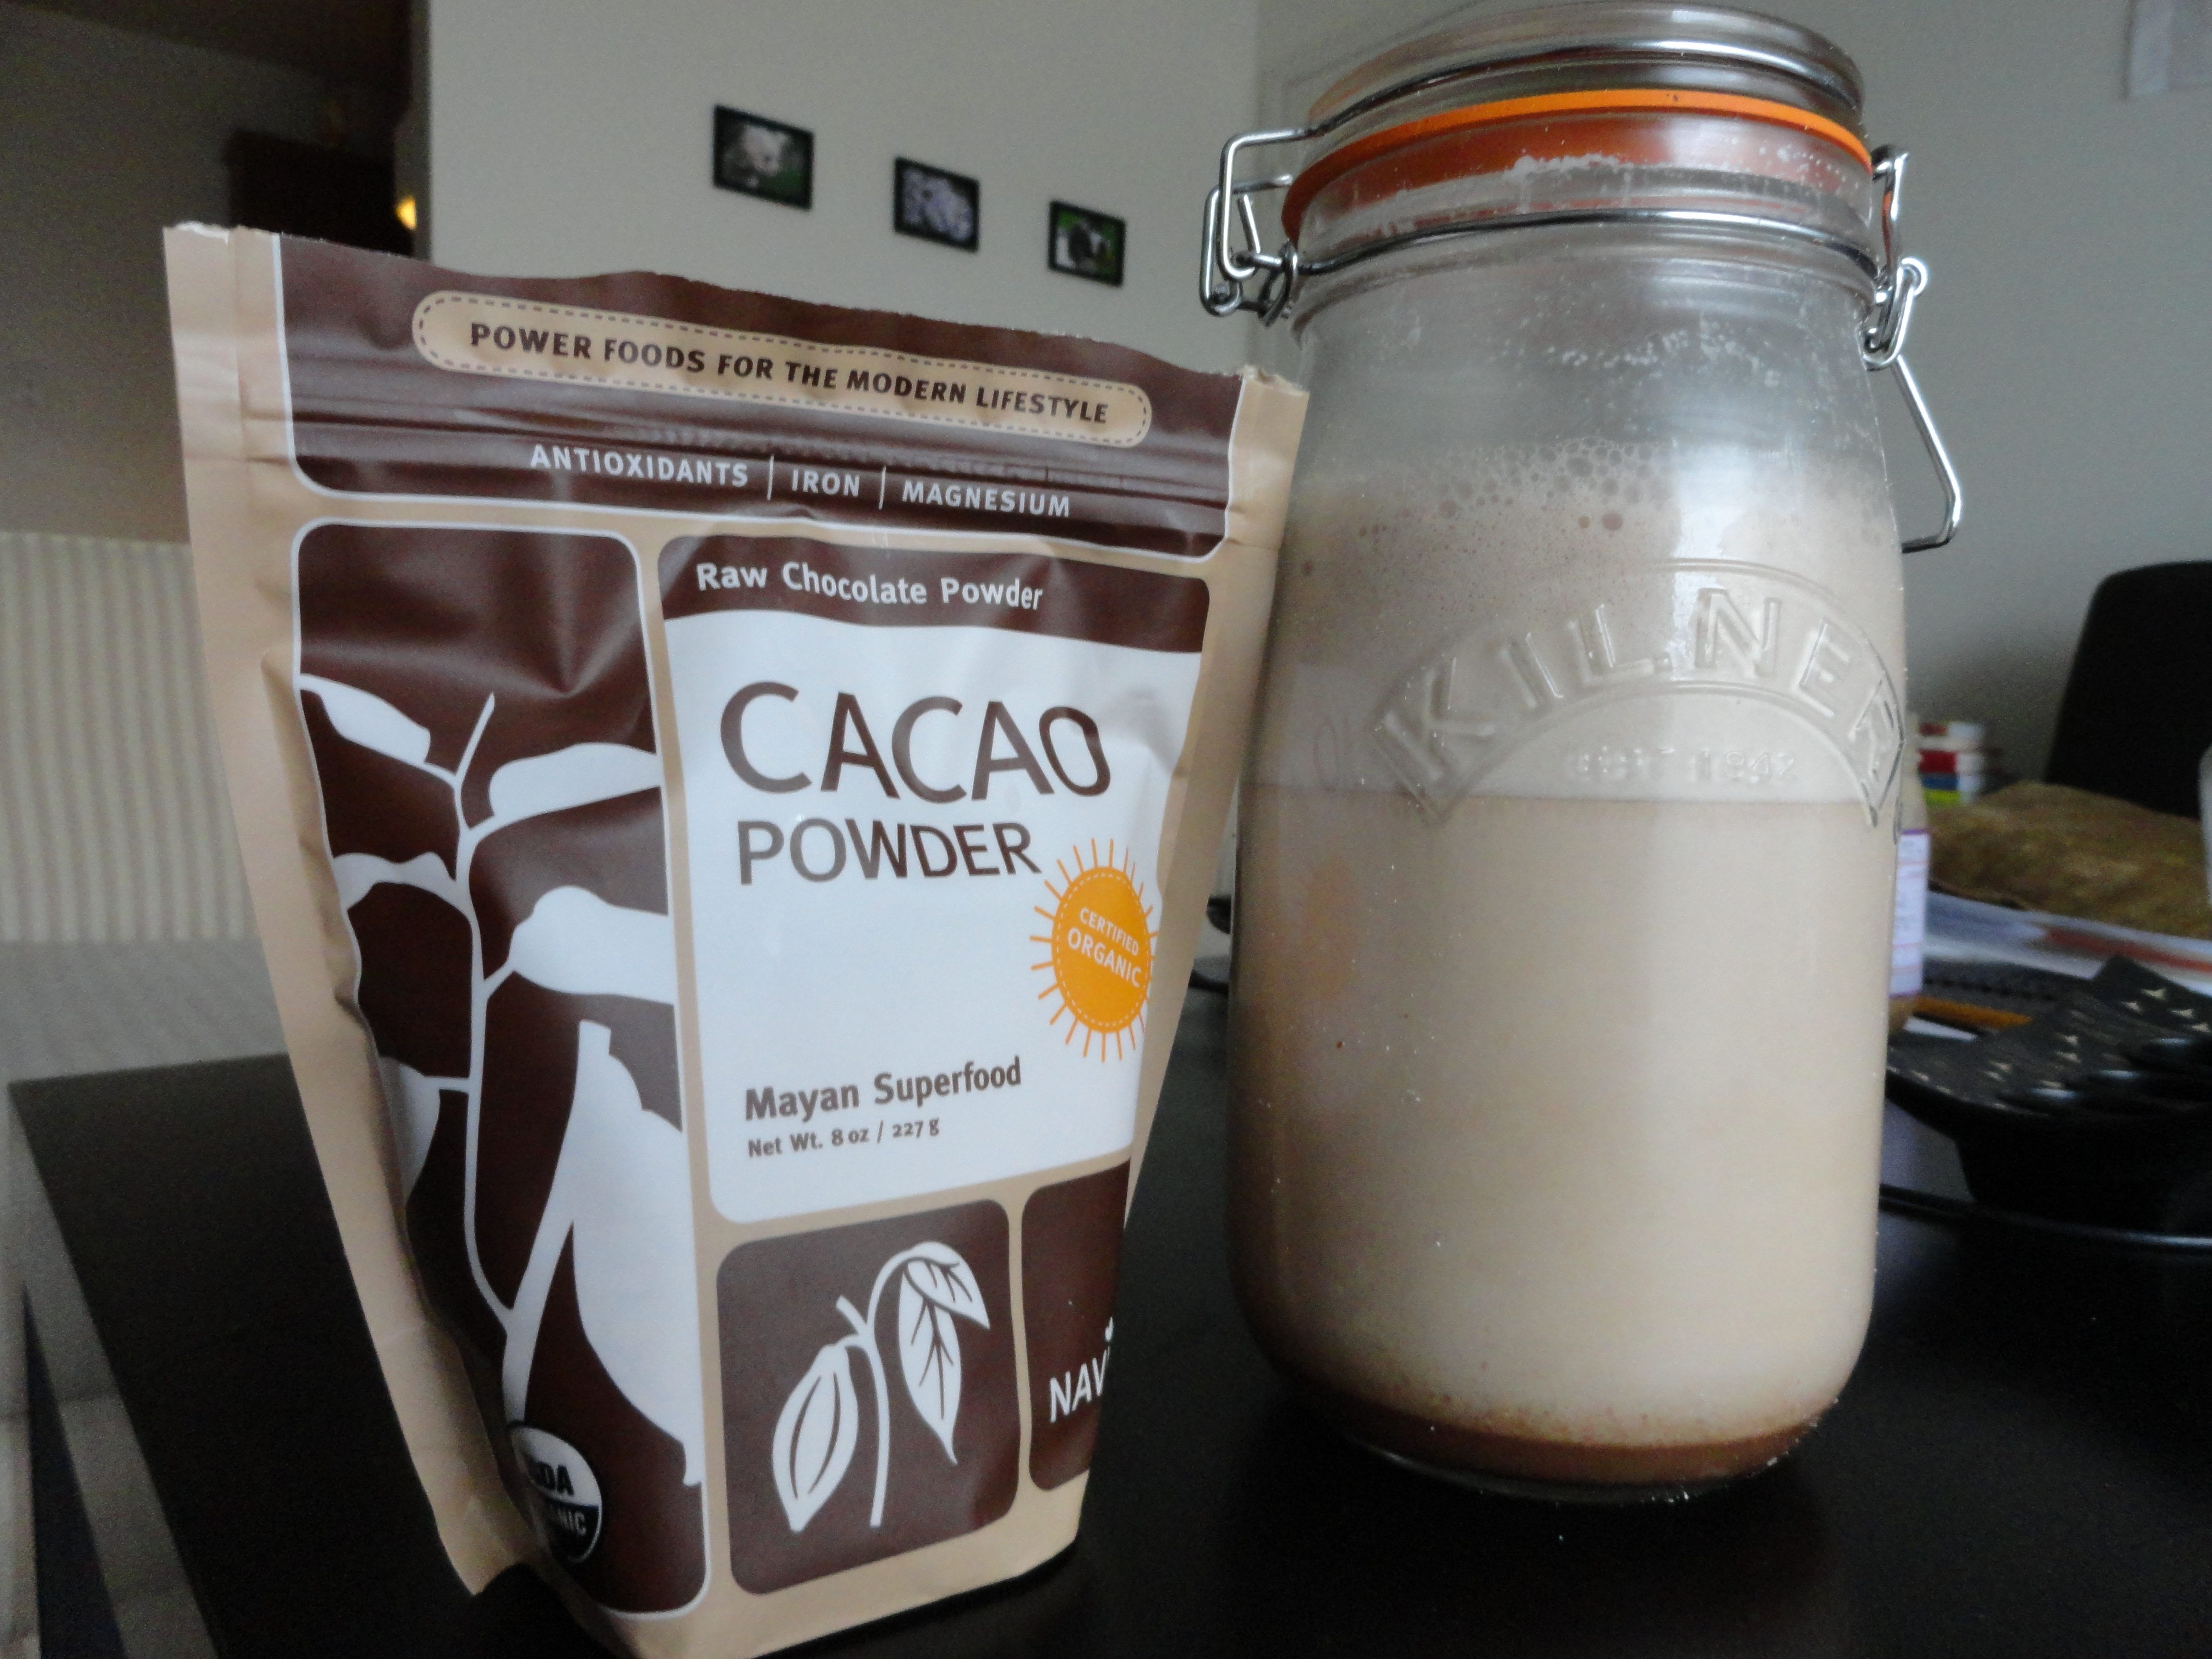
I also made a Cacao and Spiced Almond Milk that turned out fabulous. Follow my basic Almond Milk recipe here, and then add 2 tablespoons of Navitas Naturals Raw Organic Cacao Powder (or powder of choice), a few shakes of organic cinnamon, and 2 teaspoons pure vanilla extract (or to taste).


Do you have any favorite recipes that use almond flour? I'd love to hear about them!

~~~~~~~~~~~~~~~~~

Wednesday, March 7, 2012

Homemade Almond Milk with Cinnamon


I've been wanting to make a big batch of homemade almond milk for awhile now, and I've finally gotten down to business. Before, I was buying pre-made coconut milk, but wanted to shake things up a bit. I feel it's best to rotate between alternative milks in order to ward off development of new food sensitivities or allergies, which can develop if you rely too heavily on one ingredient for an extended period of time.

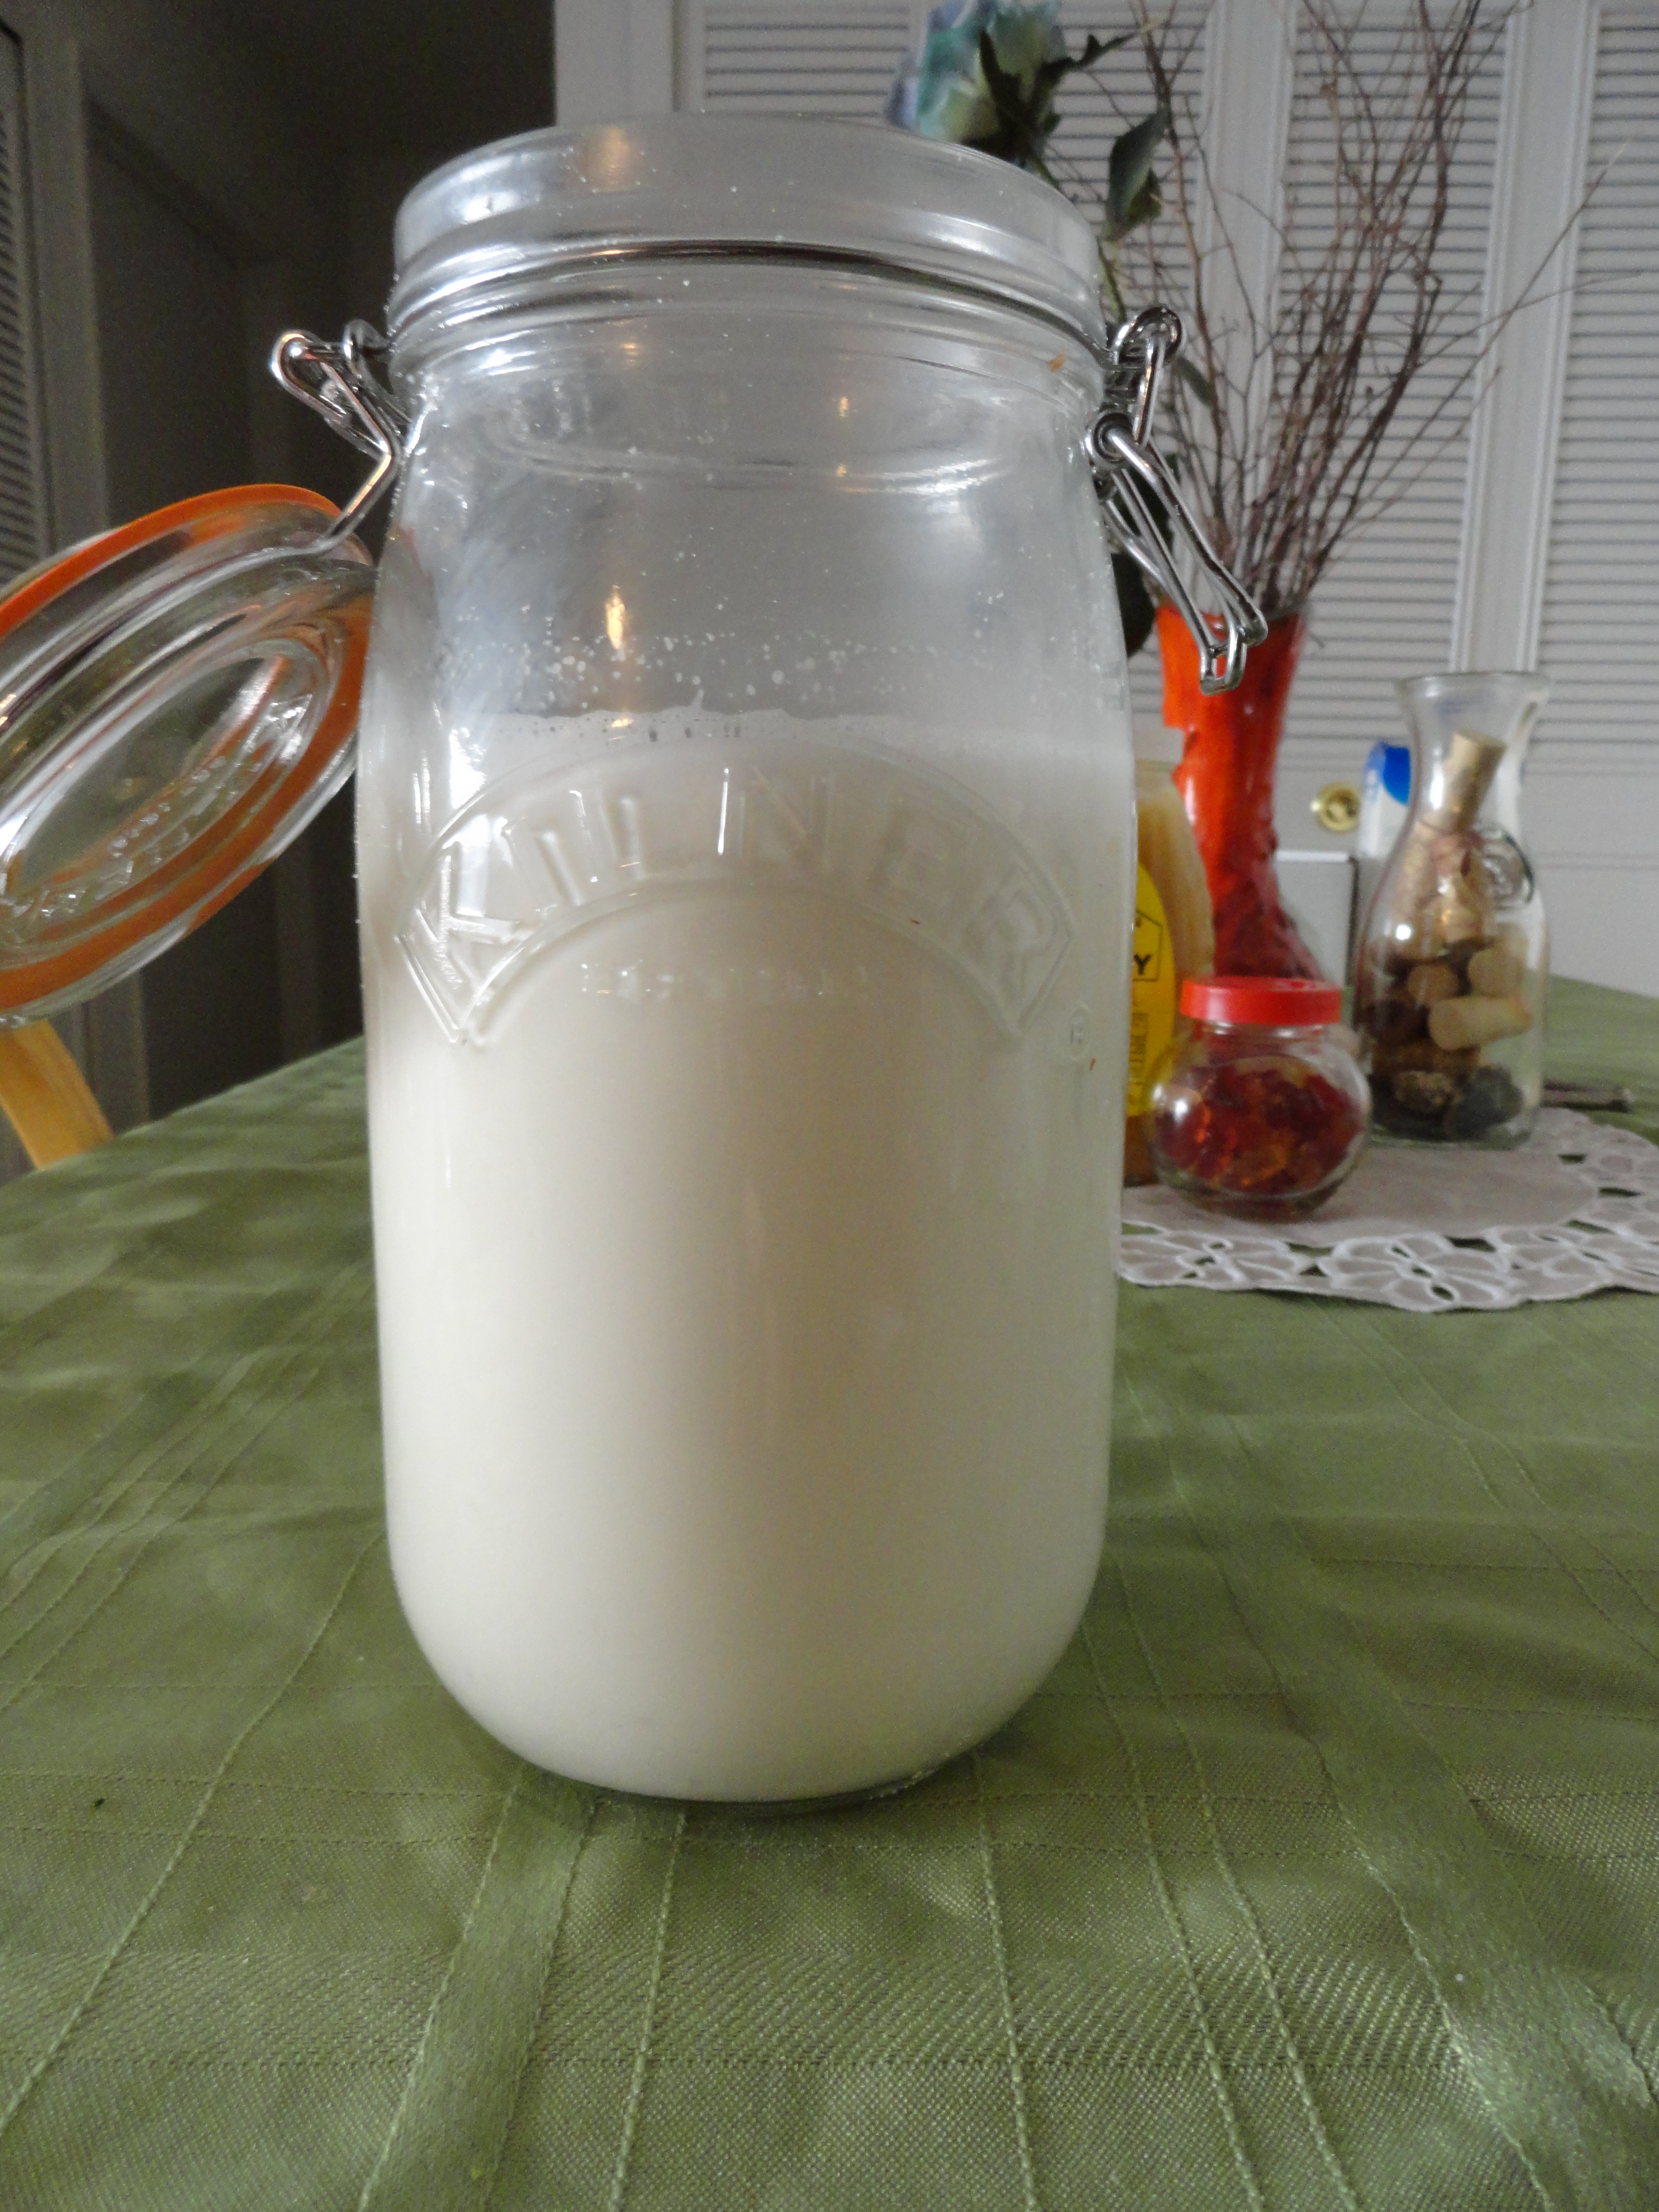
The almond milk came out smooth, creamy and delicious. The hardest part was waiting for the nuts to soak adequately for about 8-12 hours before the rest of the process began.

 
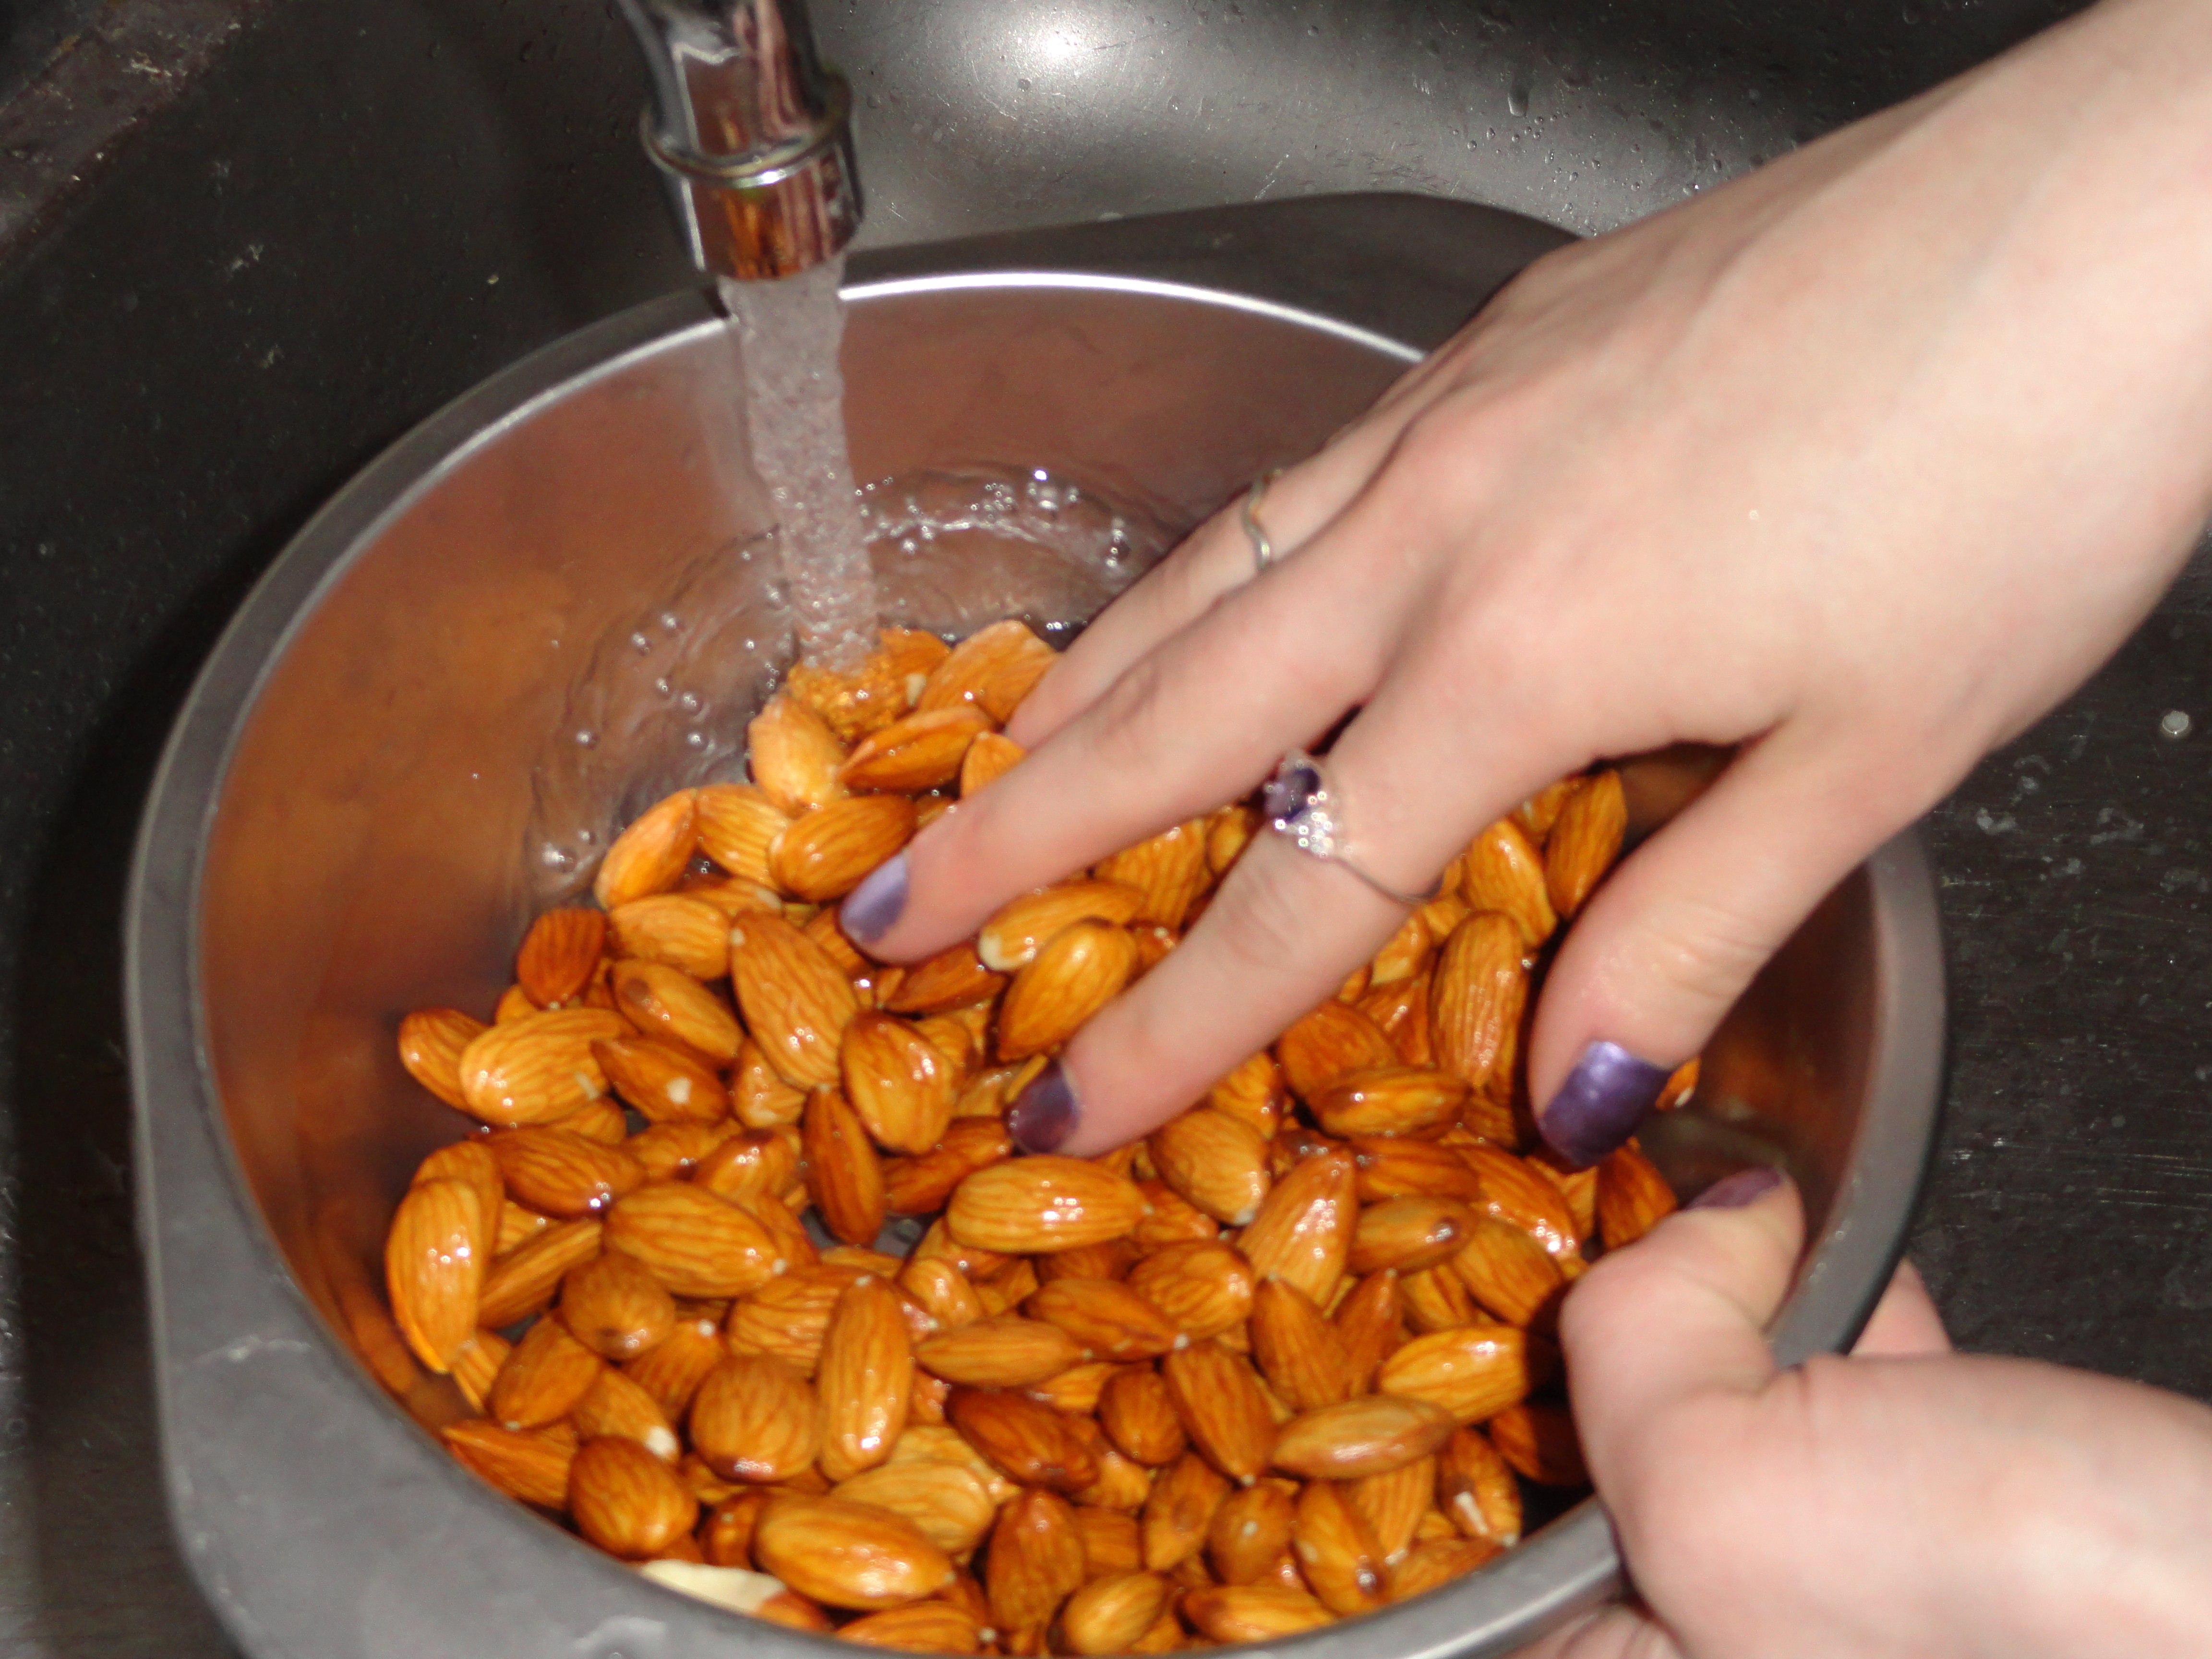
Rinse your almonds (or nuts of choice) before soaking them for 8-12 hours.

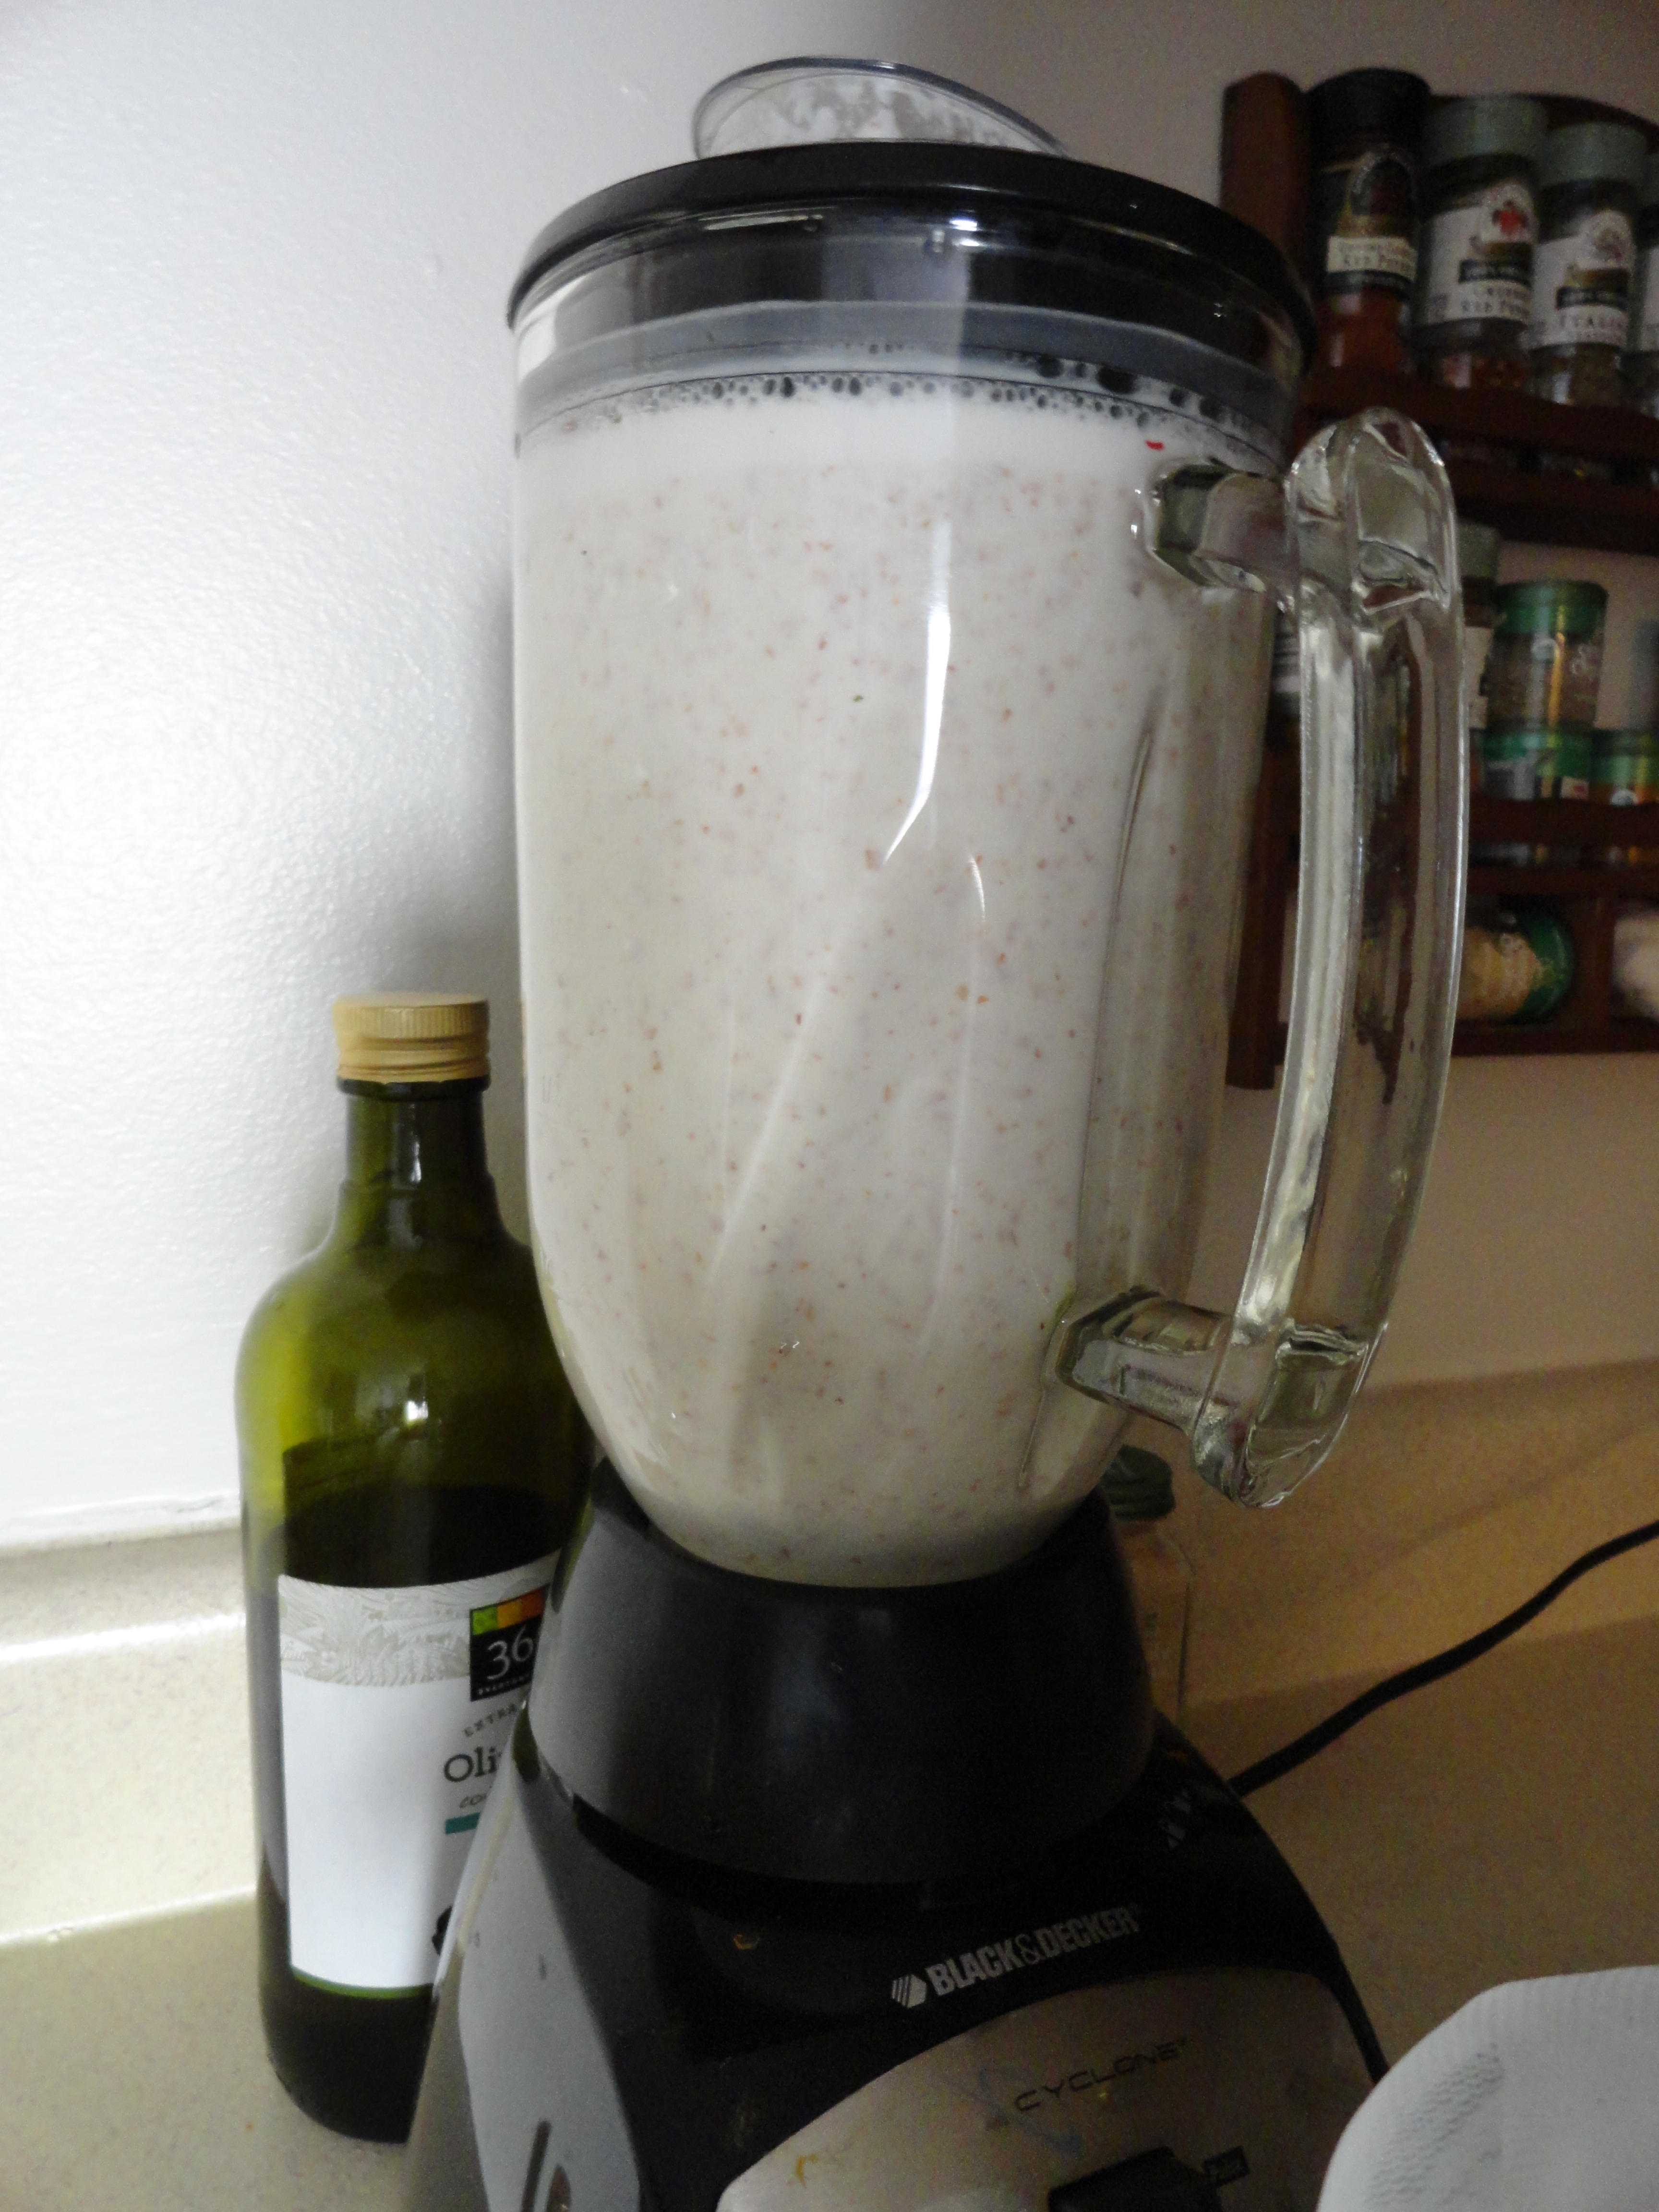
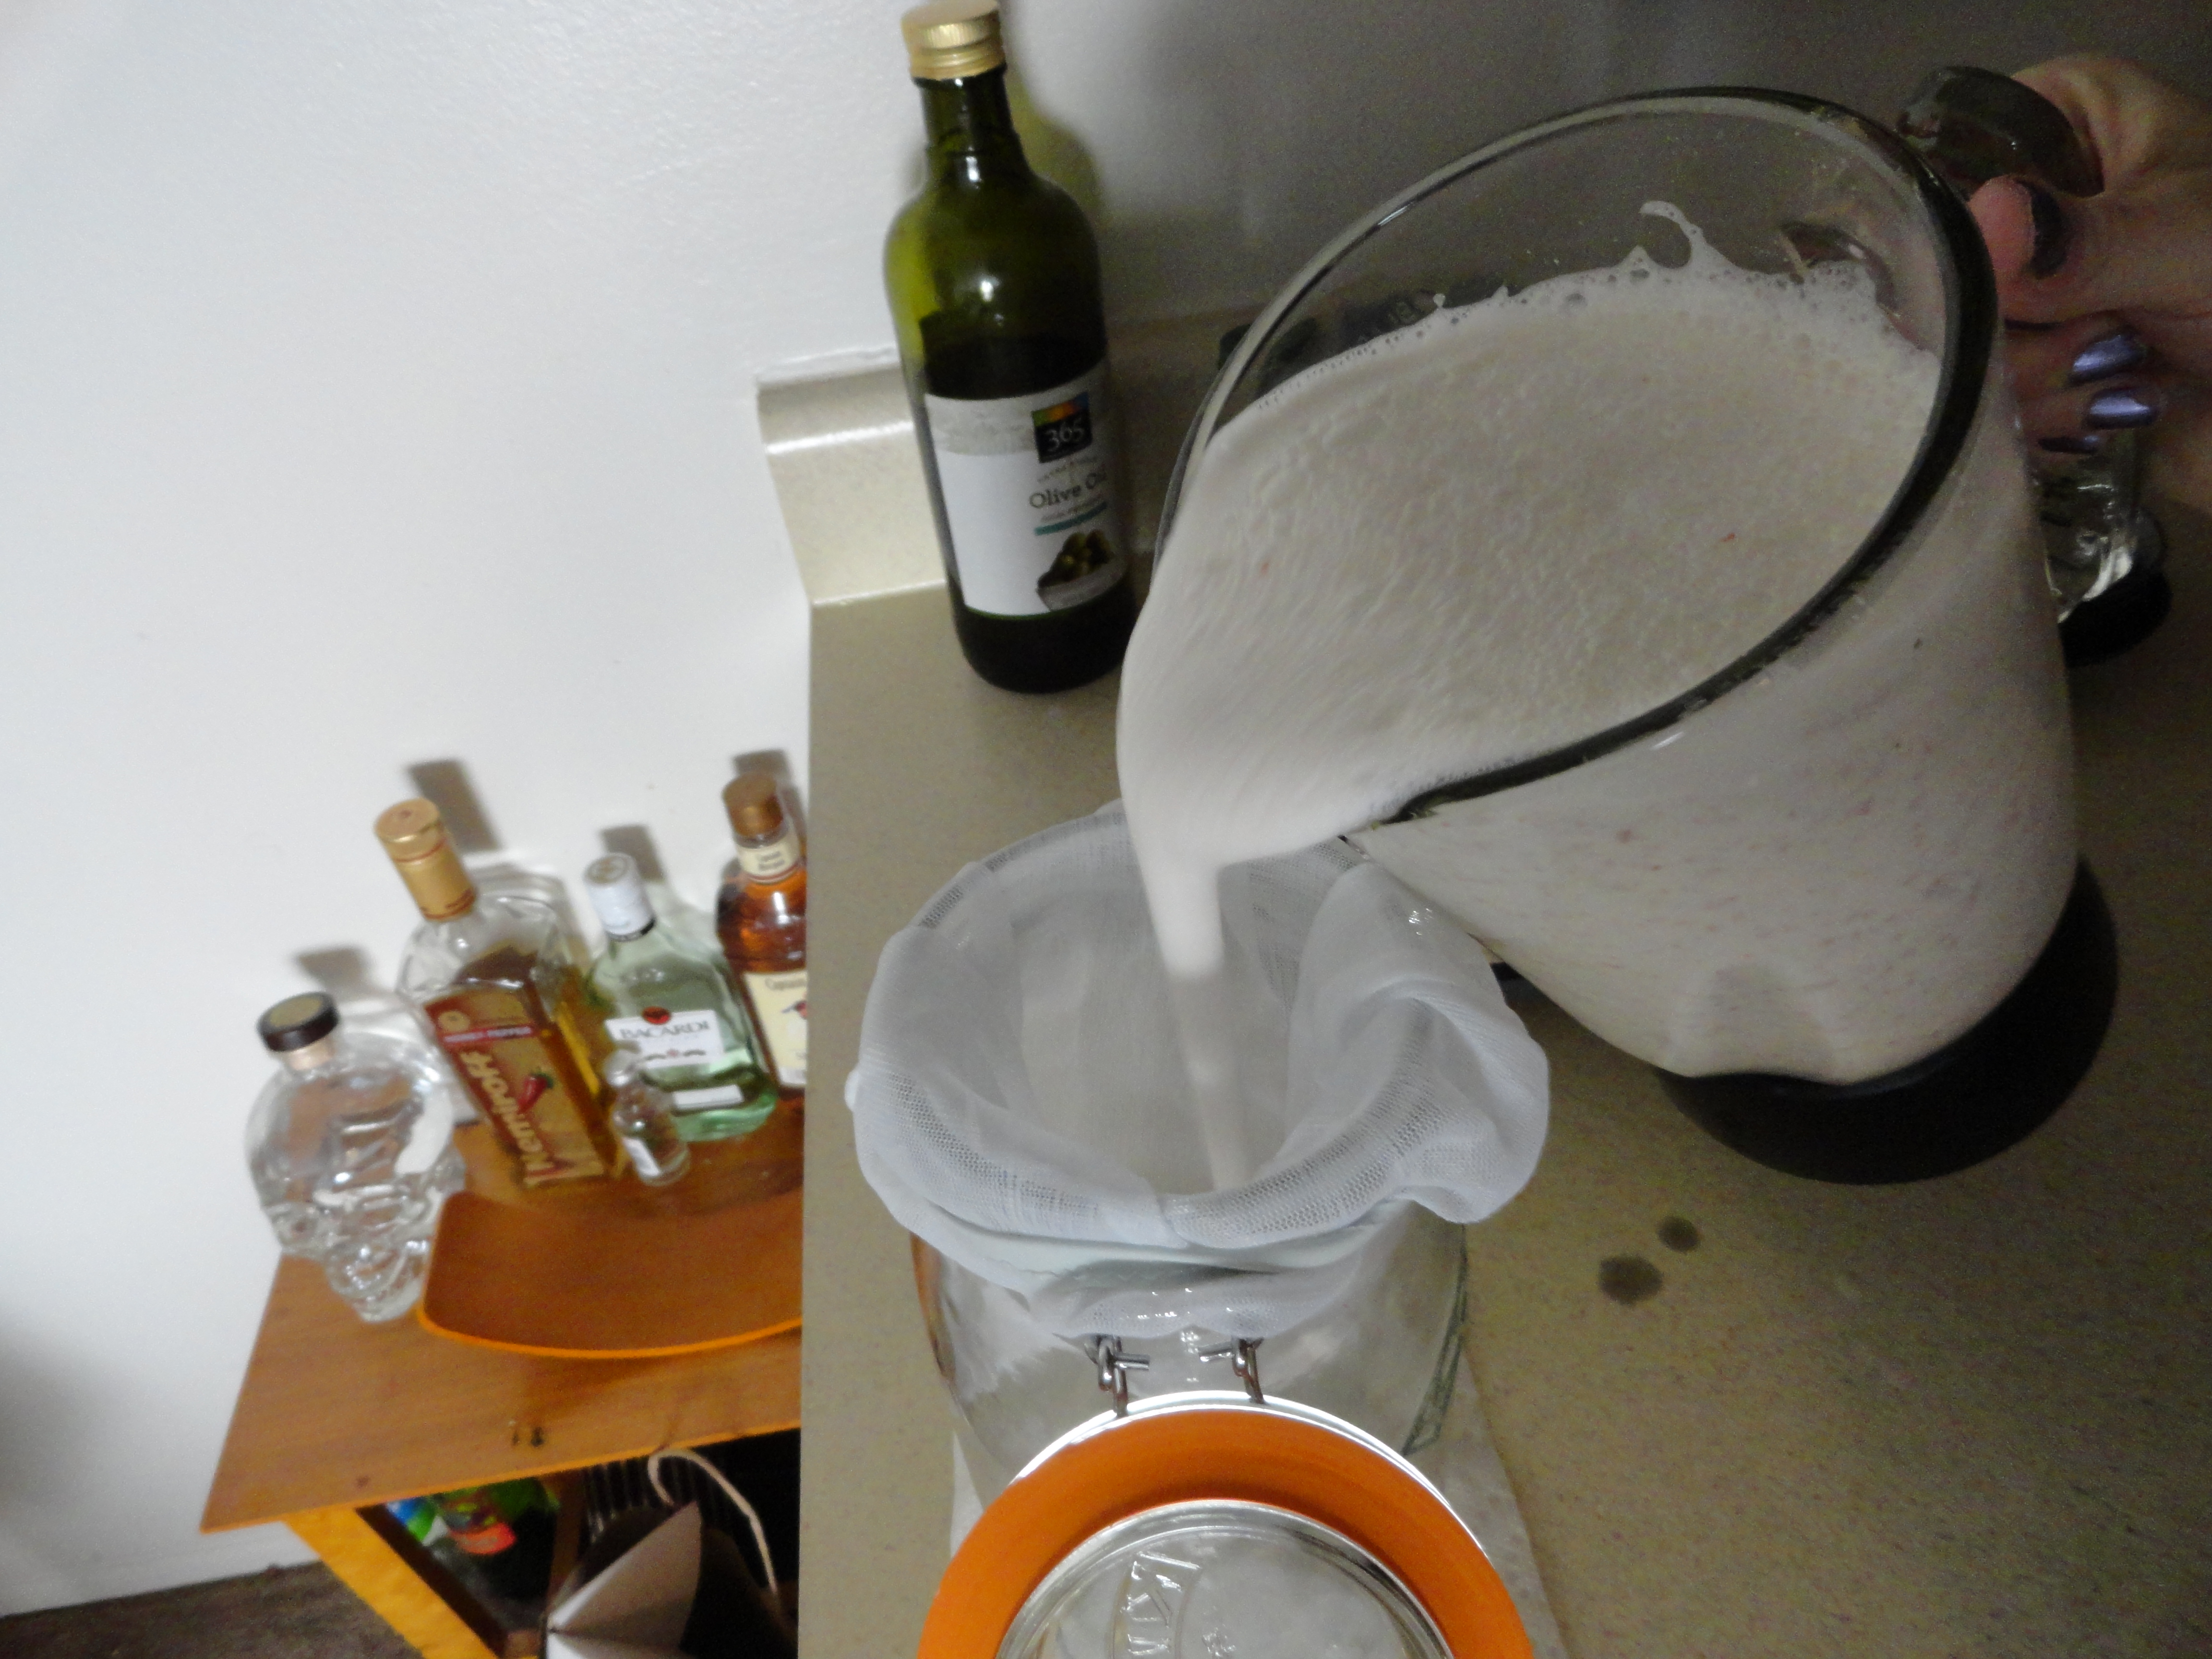
After soaking the almonds (I soak them in a colander sitting in a sauce pan of water for easy extraction), pull them out, rinse, and dump into a high powered blender. Our blender is Black and Decker and it works like a dream.


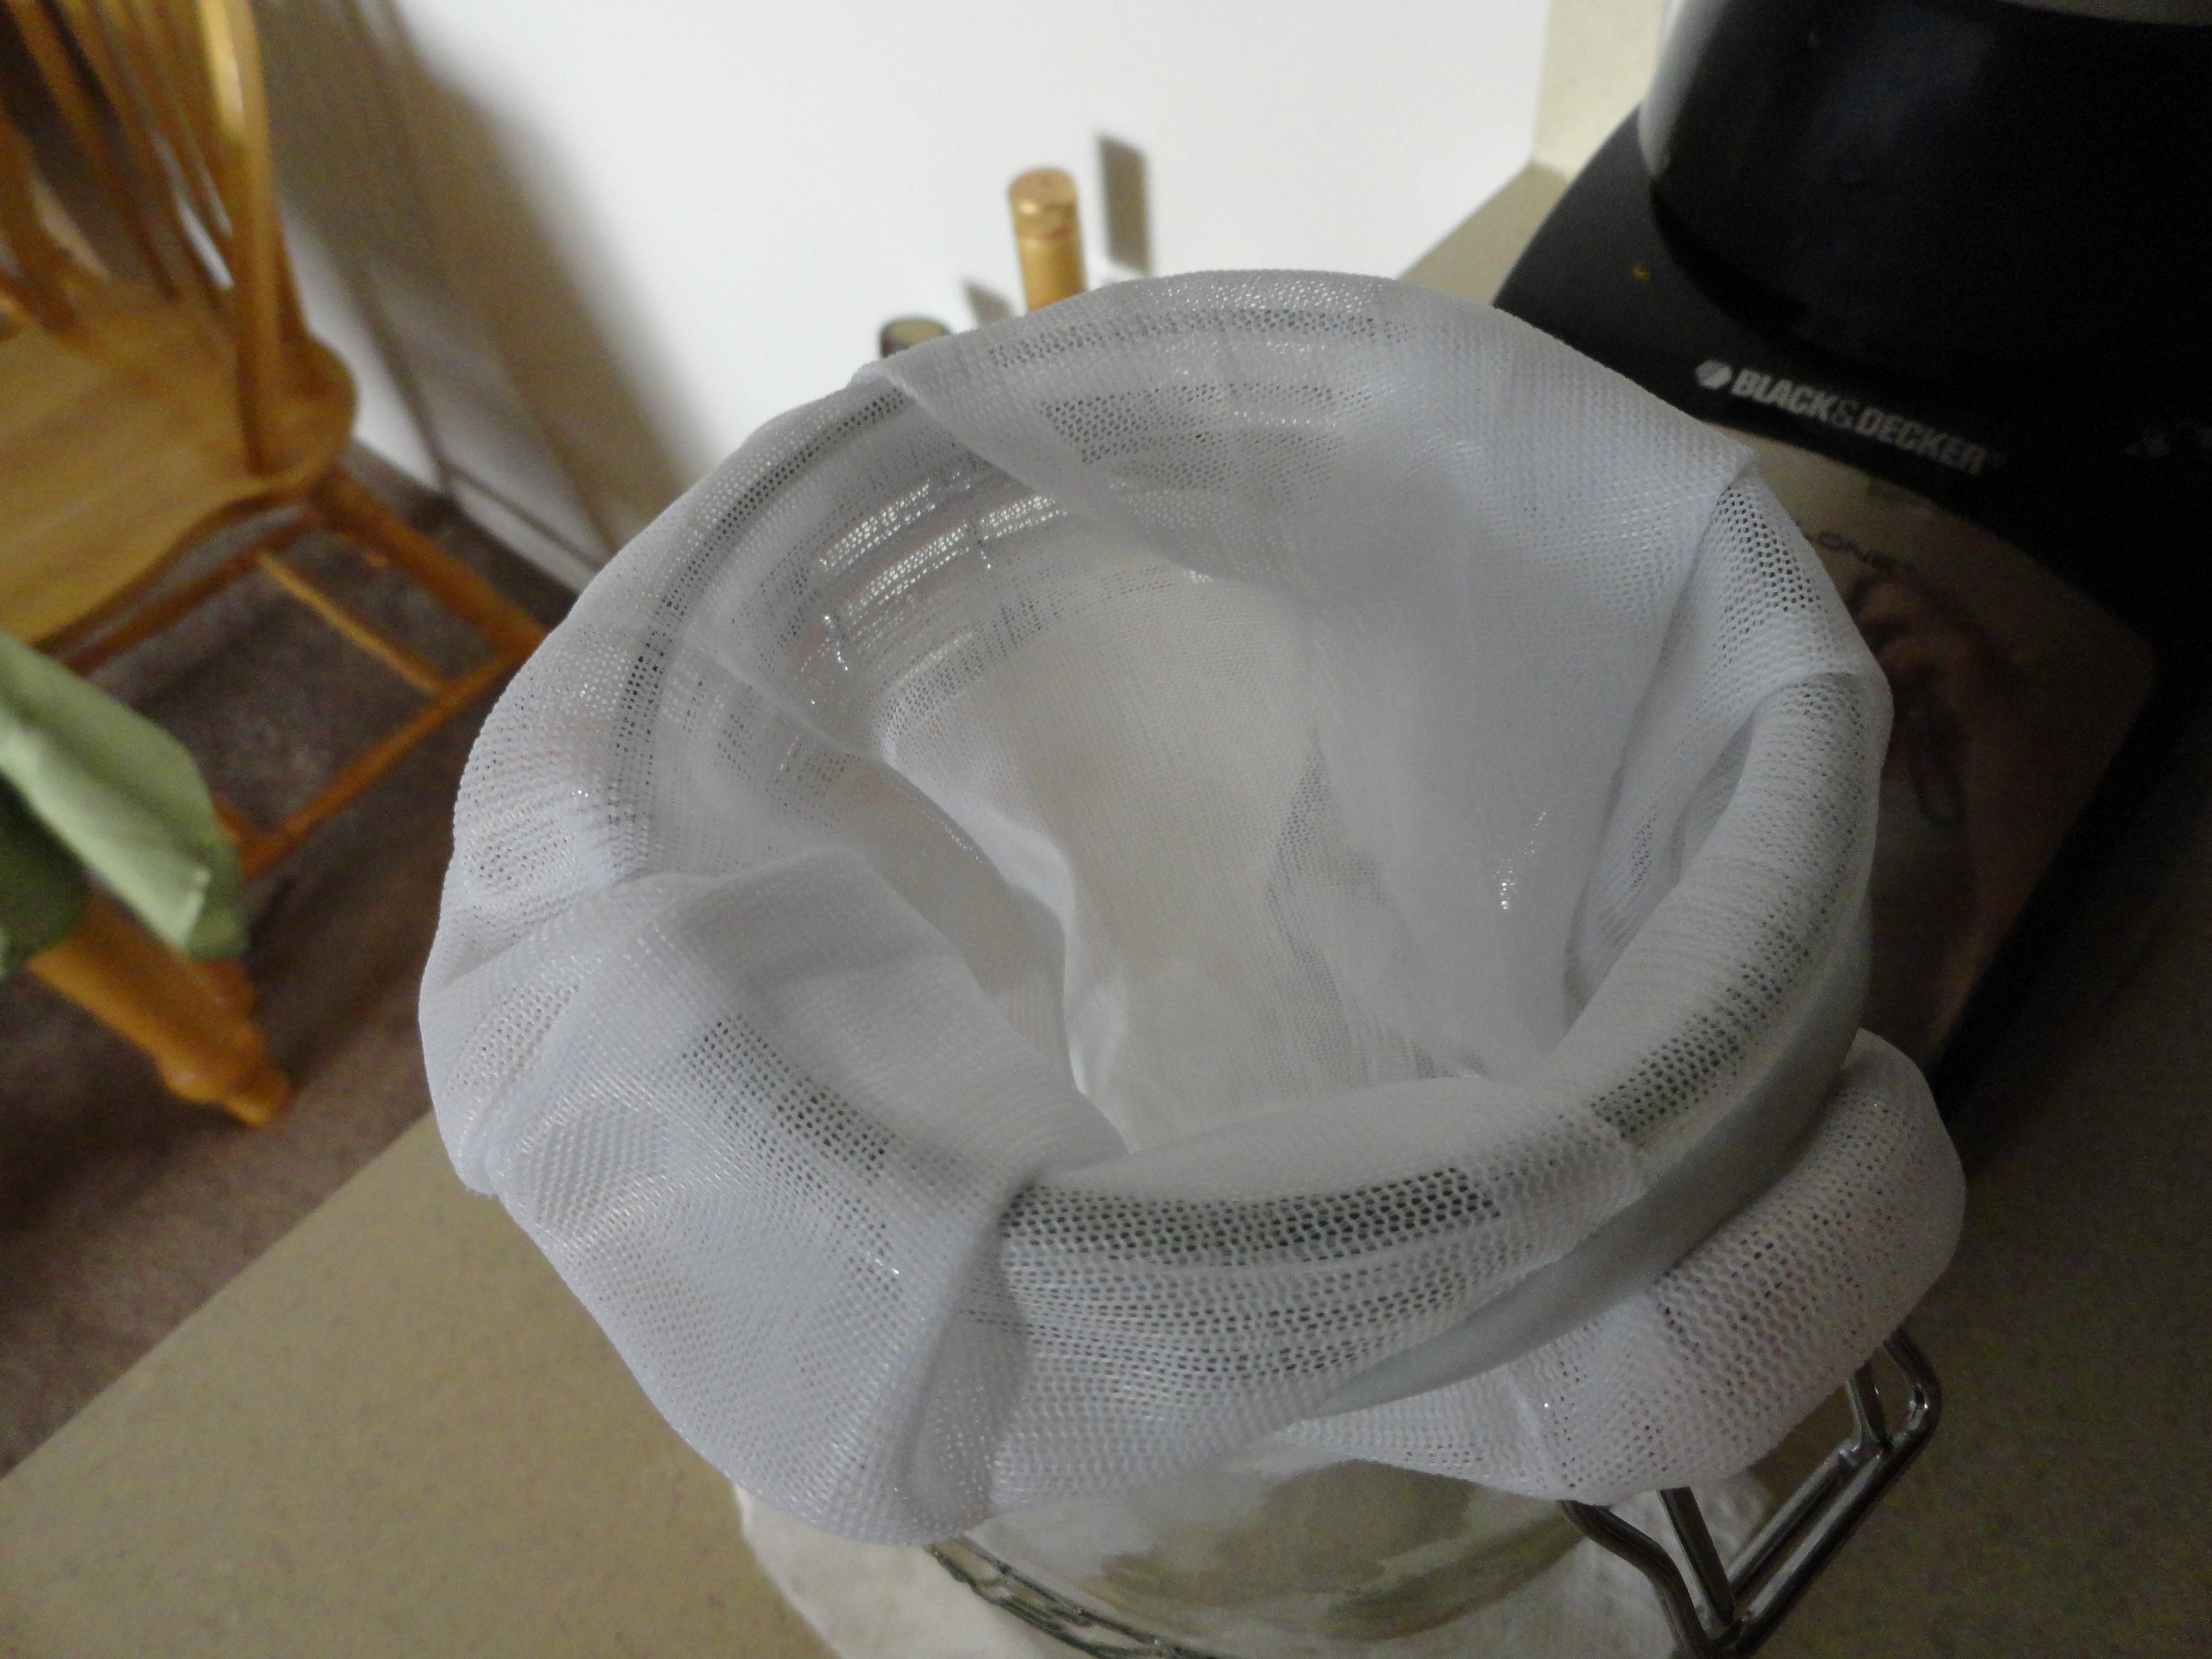
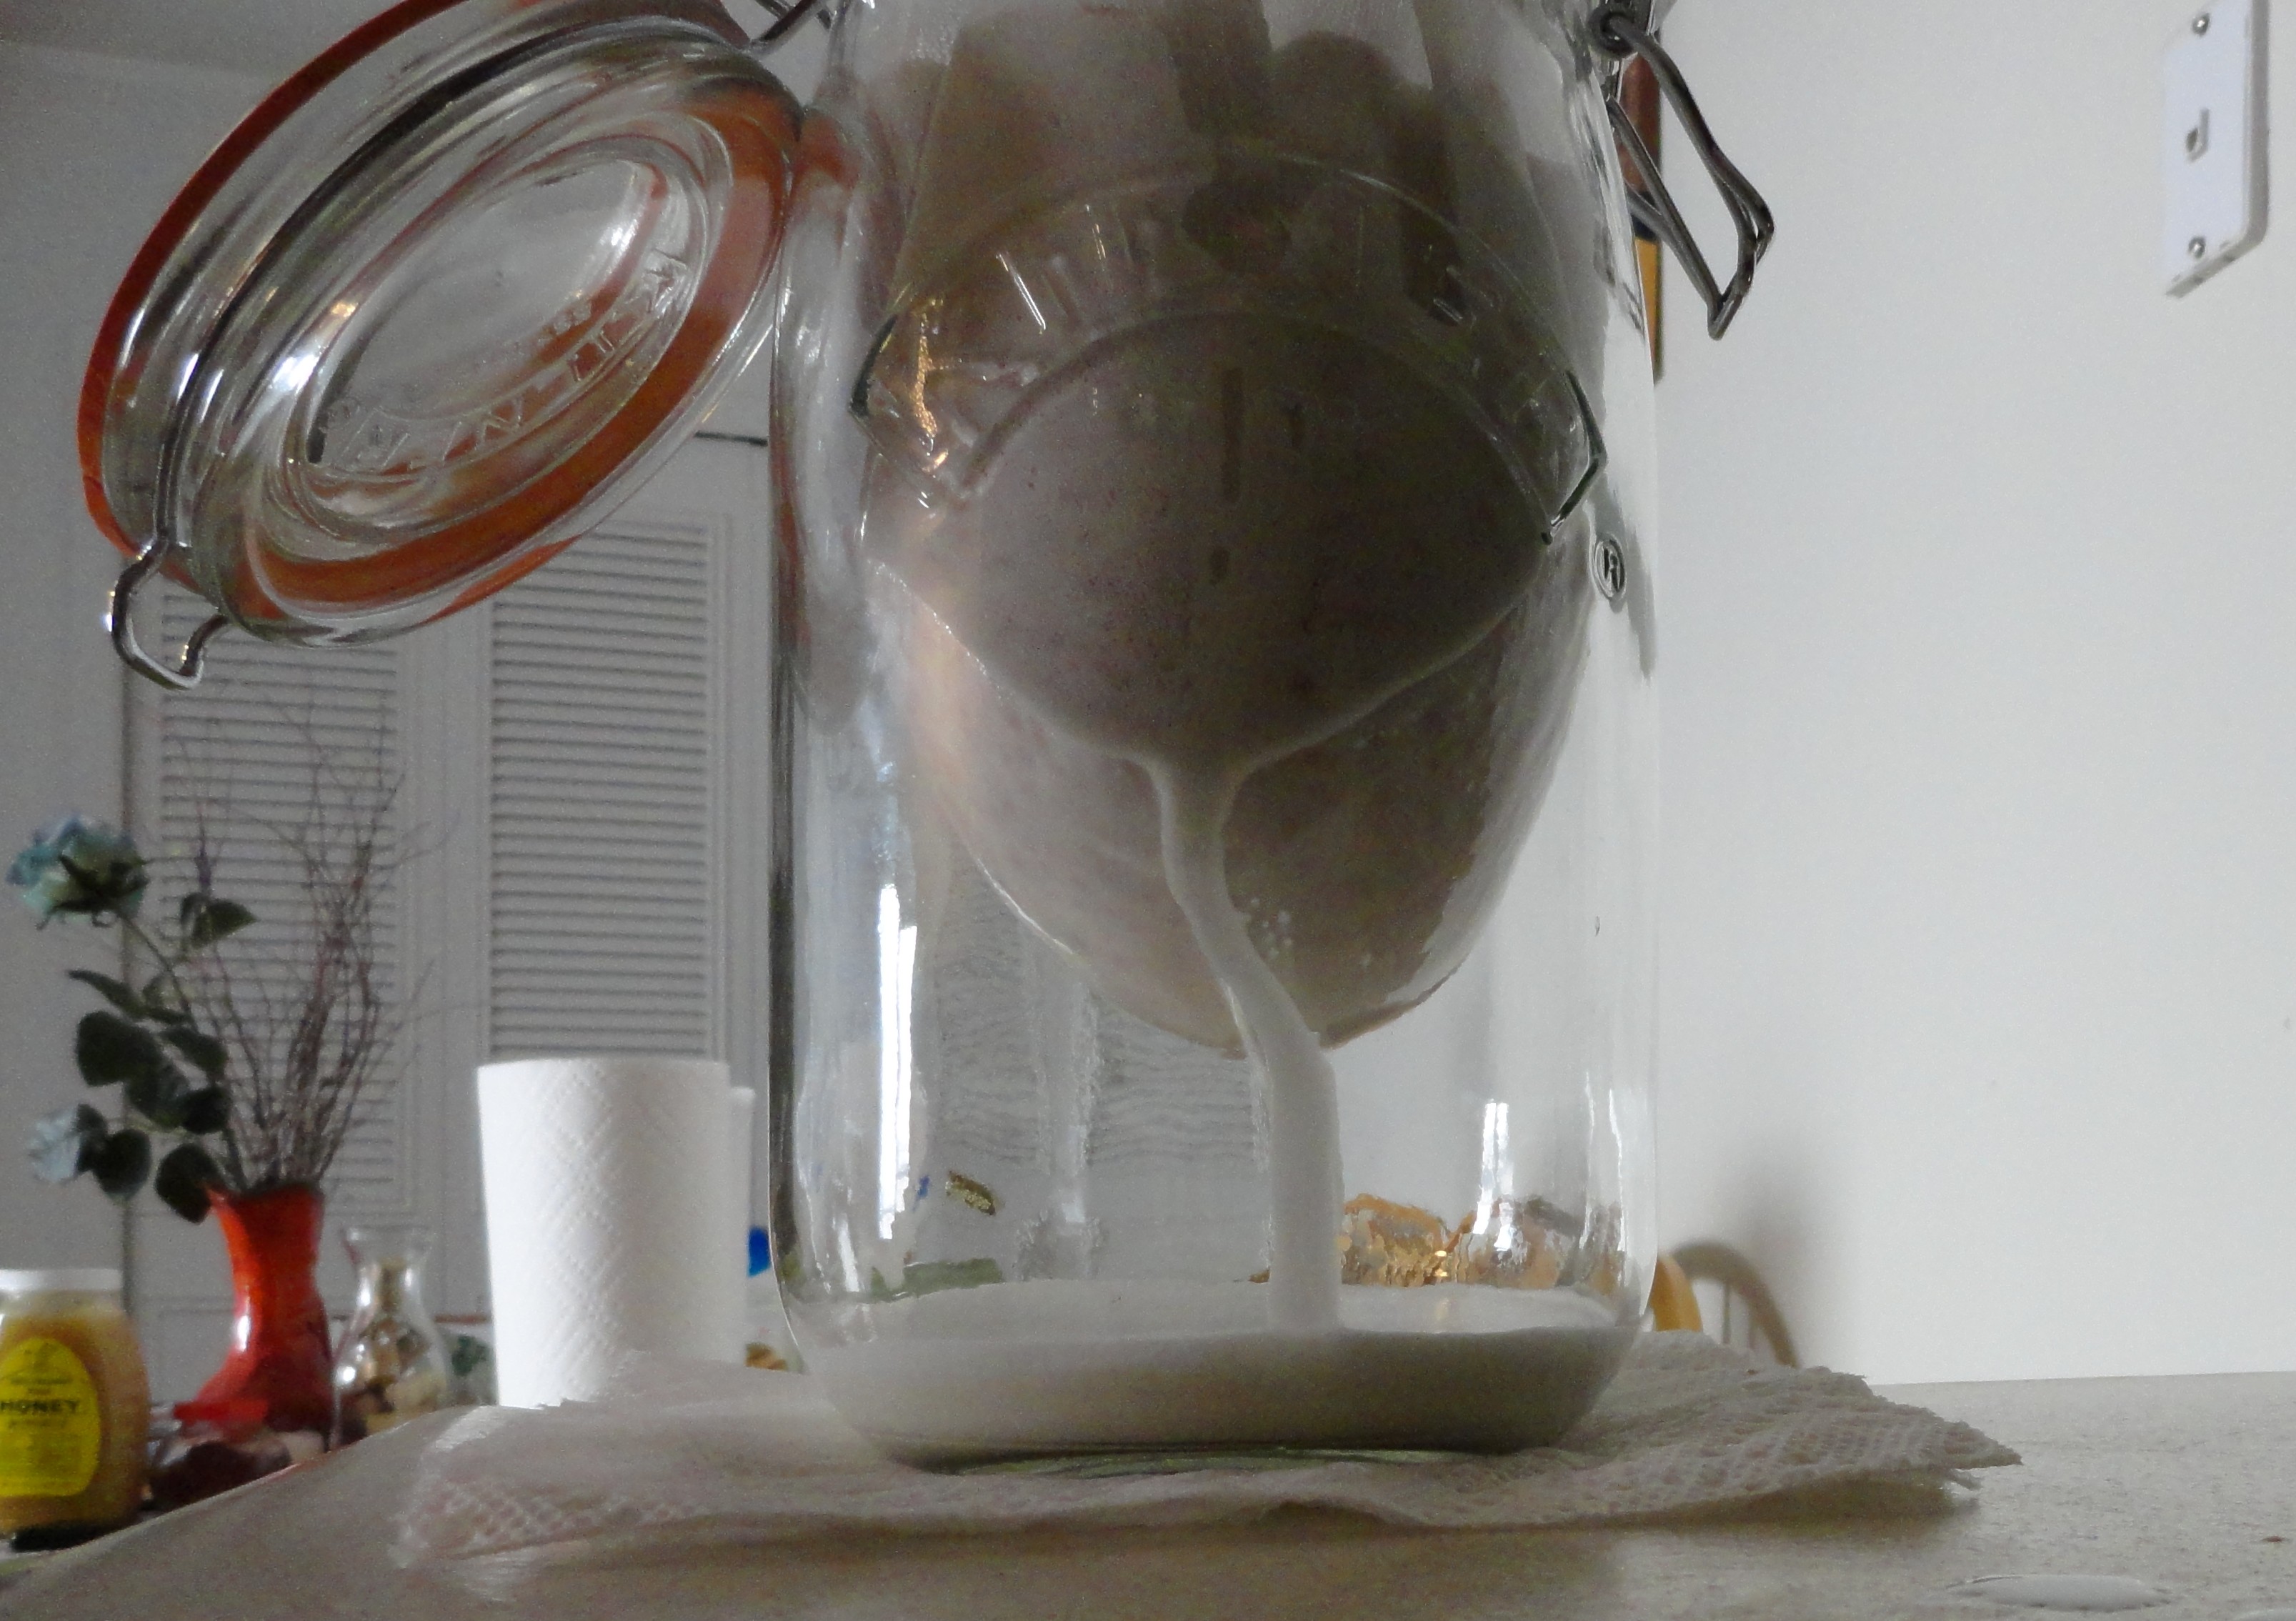
Blend the 2 cups of soaked nuts with about 6 cups of filtered water for a good 2-3 minutes. Hold your lid down tight! After blending, set up a jar and fine cloth bag for straining (we use cheese cloth bags, you can also use paint strainer bags which are really inexpensive).


Slowly pour the blend through the mesh bag into a storage jar. Emphasis on slowly, as it takes a bit for it to strain through. Pick up the bag and slowly begin to squeeze the the milk out of the bag. Once all the liquid is squeezed through, you're left with what looks like an almond meal substance. Right now I'm letting the almond pulp/meal dry out for about 3 hours. After, I'll blend it into a fine almond flour in my blender and use it for baking. You won't waste anything from this recipe, and you'll be saving money since pre-made almond flour is wicked expensive these days. The finished almond milk is full of nutrients and enzymes and is perfect for making smoothies or drinking it alone.


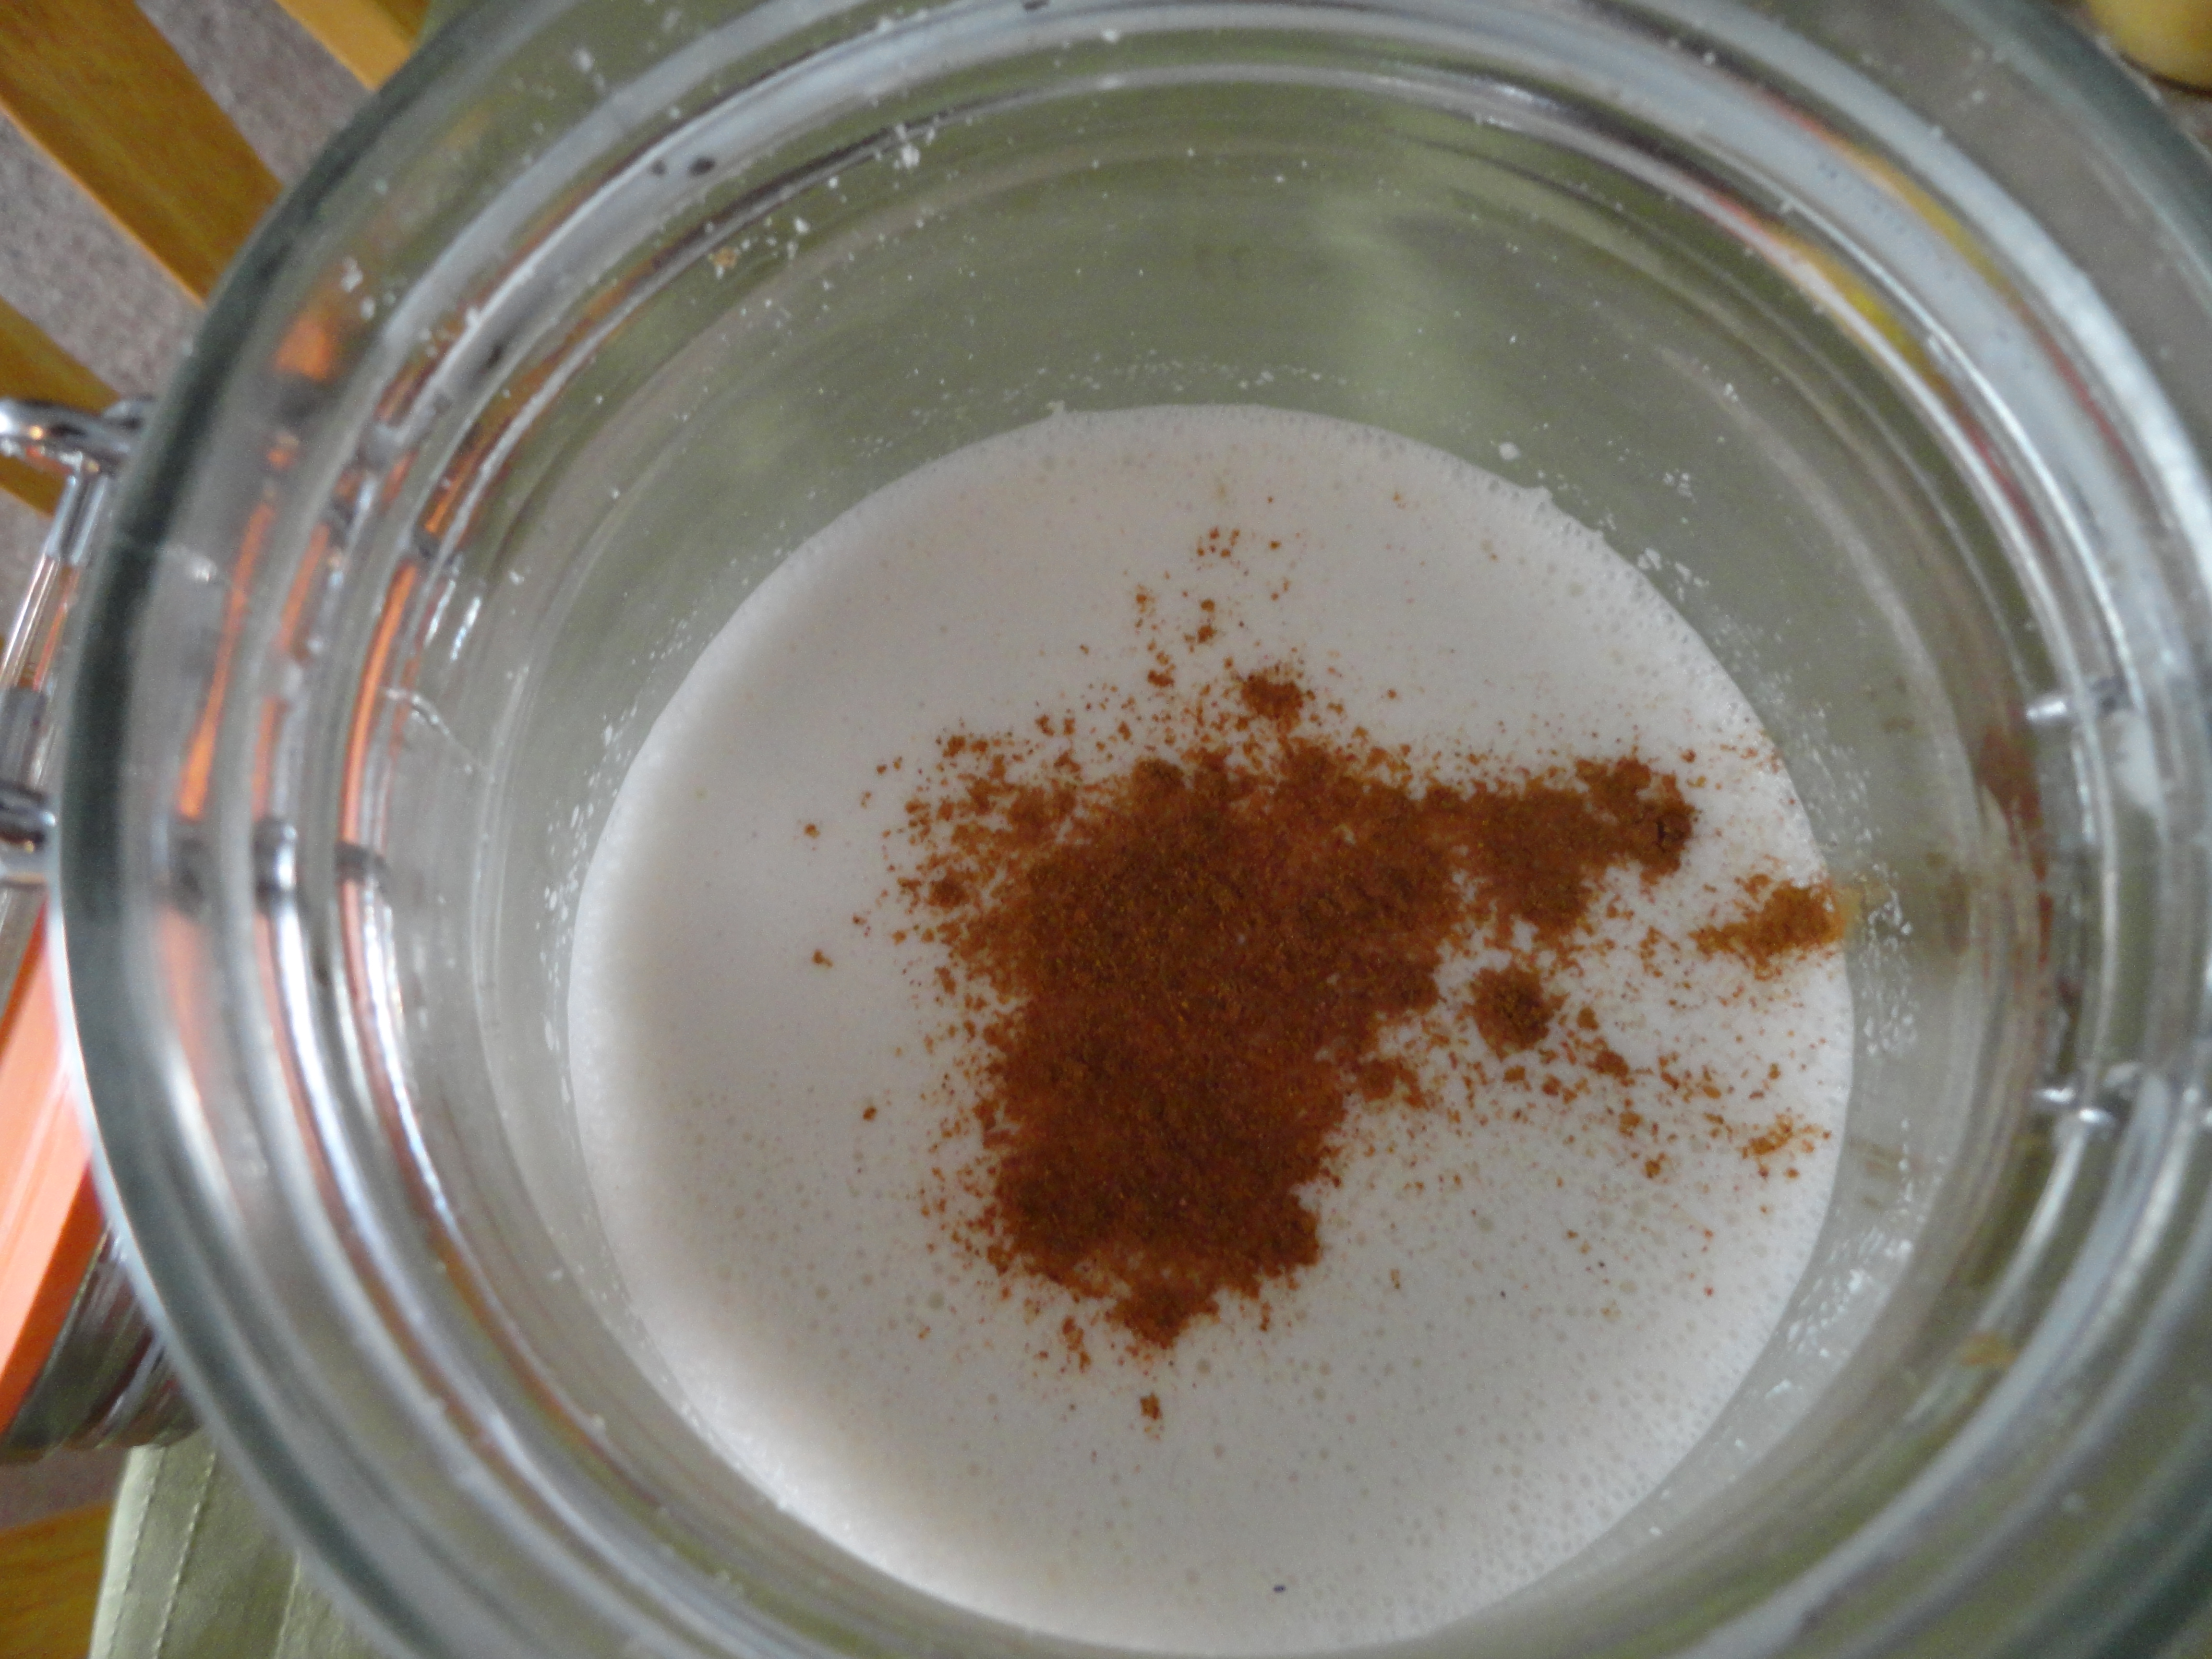
Add a few good shakes of organic cinnamon (I use McCormick or Simply Organic) and stir until well blended. Refrigerate the milk and use it within 3-4 days for freshness. Next time I'll be experimenting with adding vanilla extract or maybe some cacao powder for a chocolate almond milk. This is my new favorite alternative milk by far.

Check out other ways to use left over almond pulp after milk making here.

What's your favorite way to make non-dairy milk?

~~~~~~~~~~~~~~~~~~~~~~
Tuesday, March 6, 2012

Fashionably Gluten-Free


I recently stumbled across another awesome site with cute Gluten-free apparel: The Gluten-Free Boutique! All of the items below are from their products listed through their Cafepress.com site. Check out the Gluten-Free Boutique here. Bumper stickers, mugs, and cute handy totes are available as well as tees, tanks, and hoodies.

What do you think of GF fashion? Would you wear it? Yea or Nay?

~~~~~~~~~~~~~~~~~~~~~~~~~~~~~~~~